
This section covers my final pieces of research, design and making which lead up to my final collection. My focus has changed through the project from the initial intention of bringing people closer to the materials which facilitate the everyday, and in extension to that reacting to the rise of the technological revolution, and is now less directly responding to this question but beginning to find ways of working to create objects which instead try to more simply ask how the standard can be made special? Working within a climate I feel all makers currently sit within.
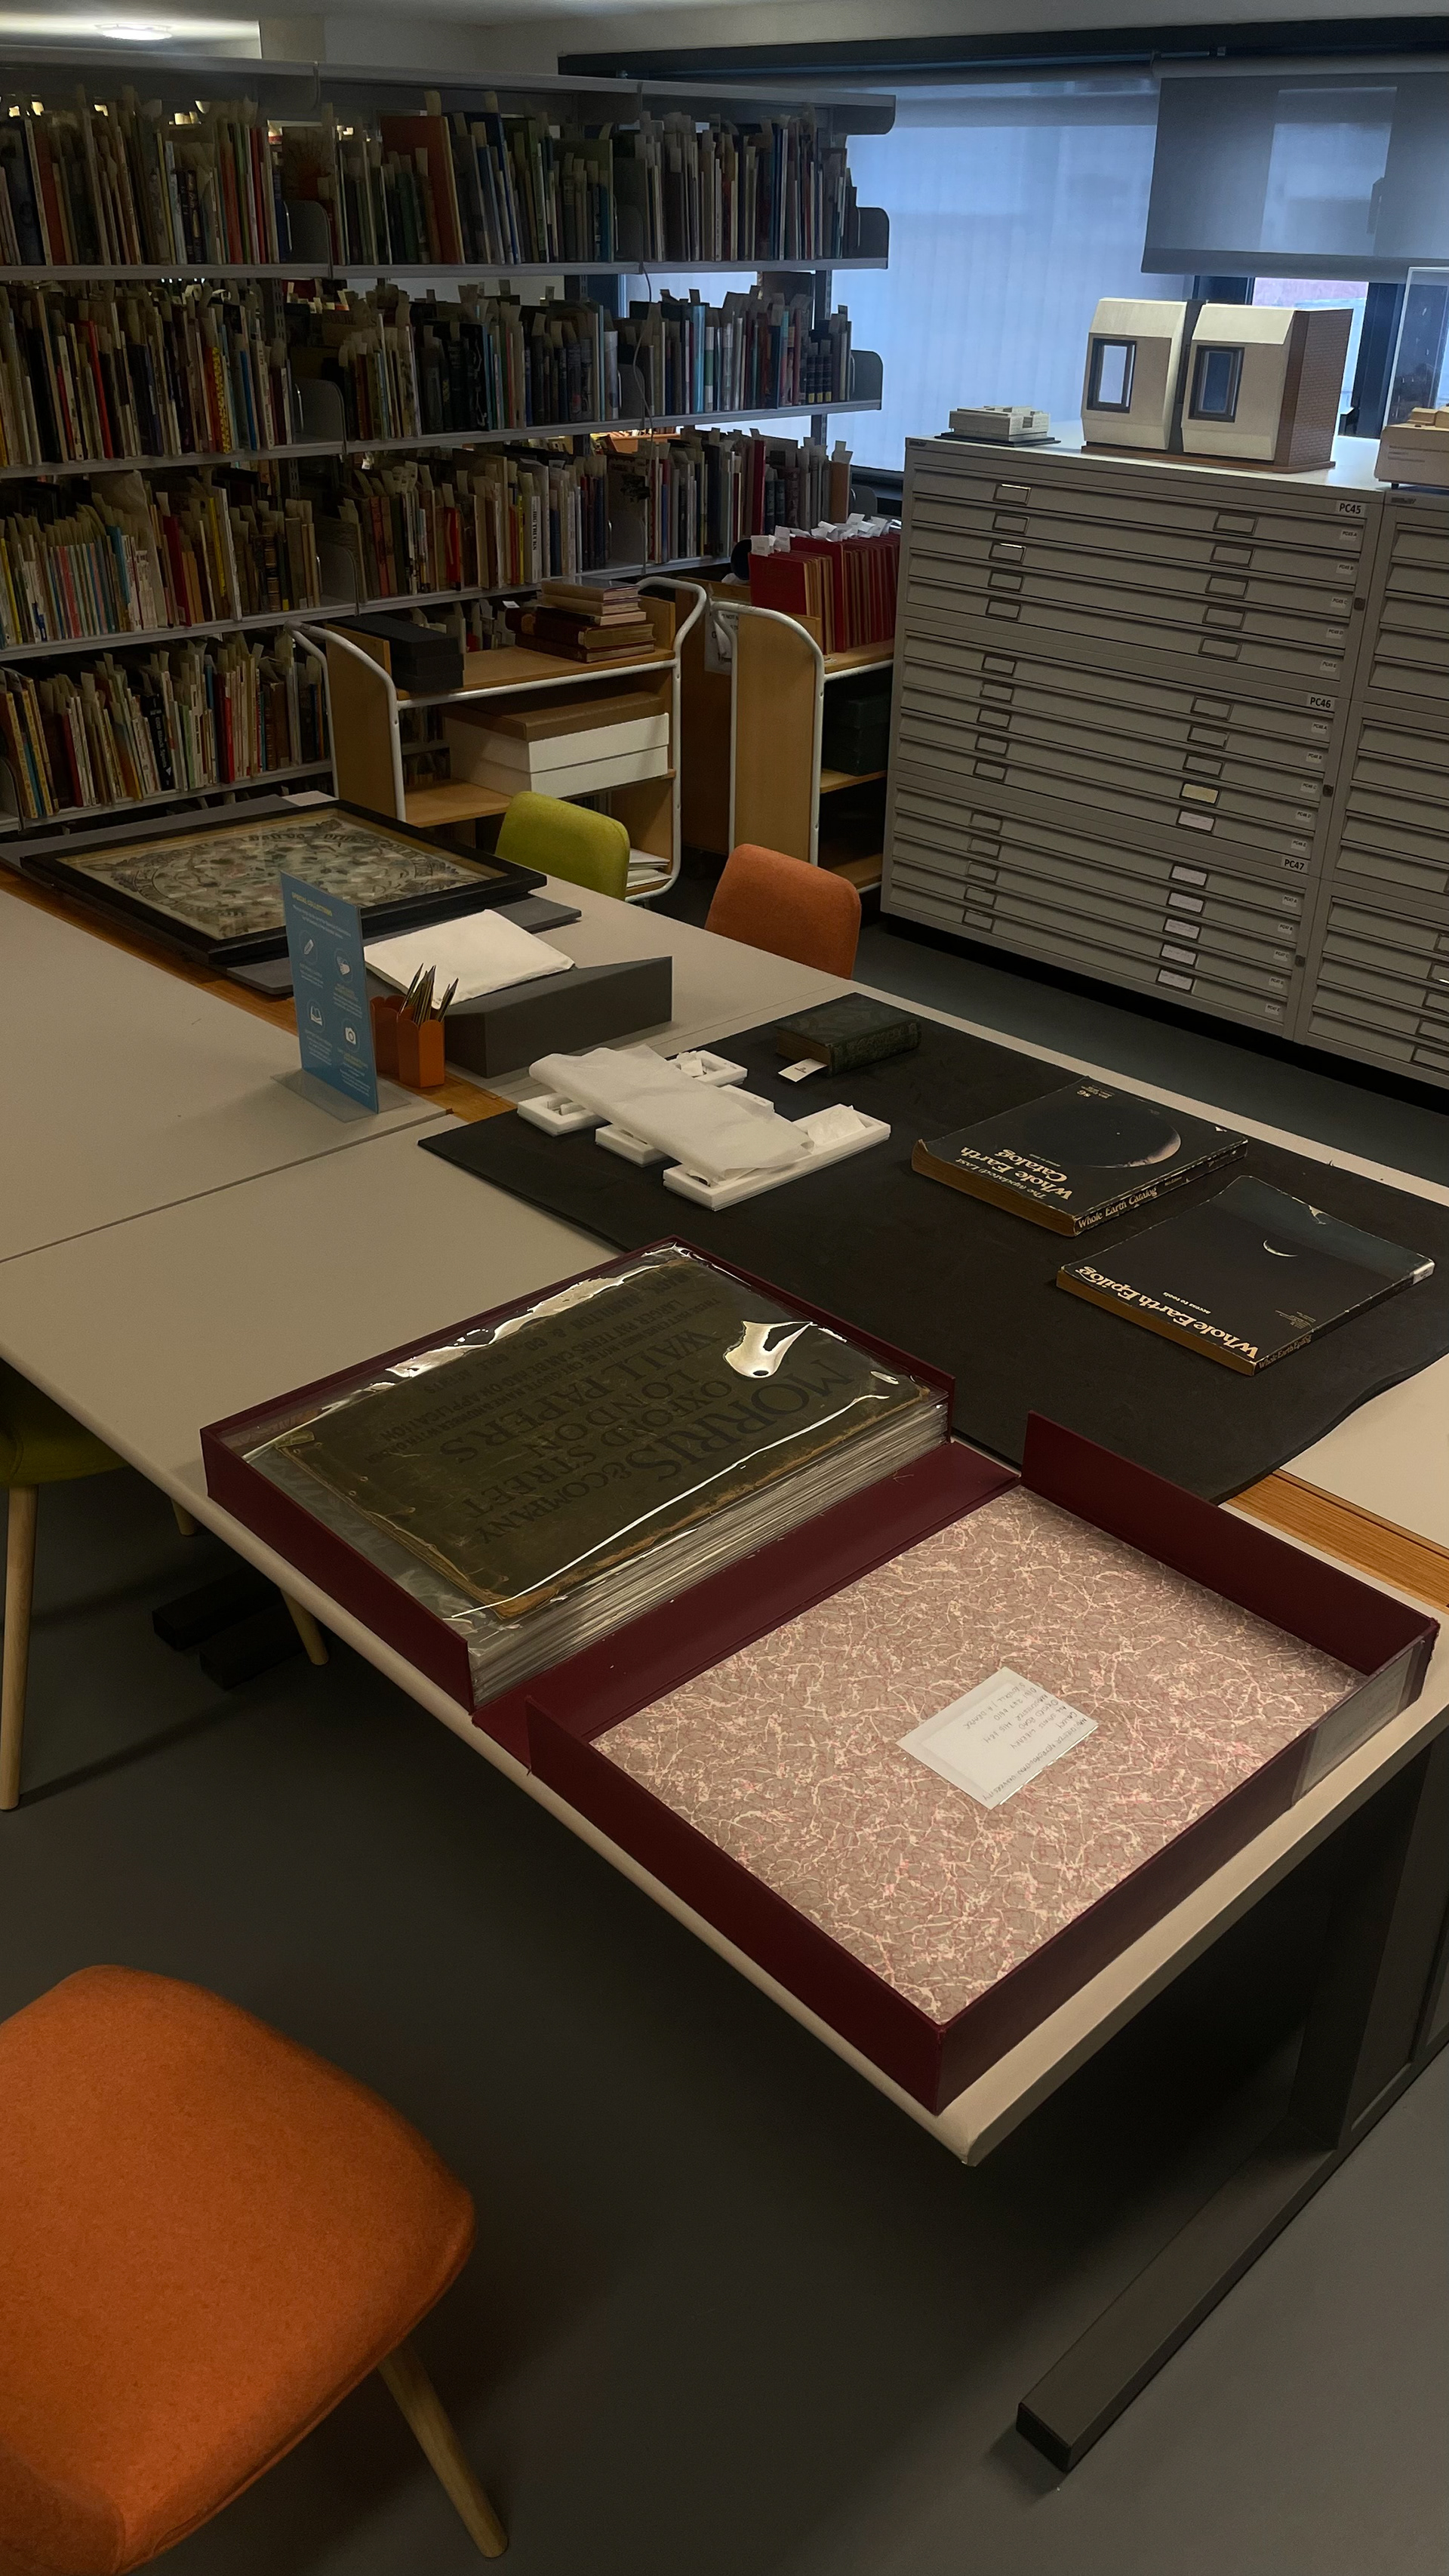
Special collections - take aways - May Morris
To begin with last leg of my project I wanted to get into the meat of William Morris and the arts and crafts movement to see what I could draw out from that but in a tutorial with Geoff he warned that if I kept going into rabbit holes or research I wouldn't have time to actually make anything. So I abandoned the big books on the topic I had from the library and instead booked an appointment with the Special Collections Library to see what they had on William and May Morris.
What they got out for me to have a look at was so interesting and almost defiantly more valuable and relevant to this project. Actually seeing what was made instead of how people understand it 50-100 year on has helped me to consider how I might apply it to my own work. The team their had go out William Morris & Co wallpaper samples, original May Morris embroidery and book. I also had a look at two books called The Whole Earth Catalog, an interesting collection of essays, pamphlets, products and recommendations on how to live life correctly in the 20th Century.
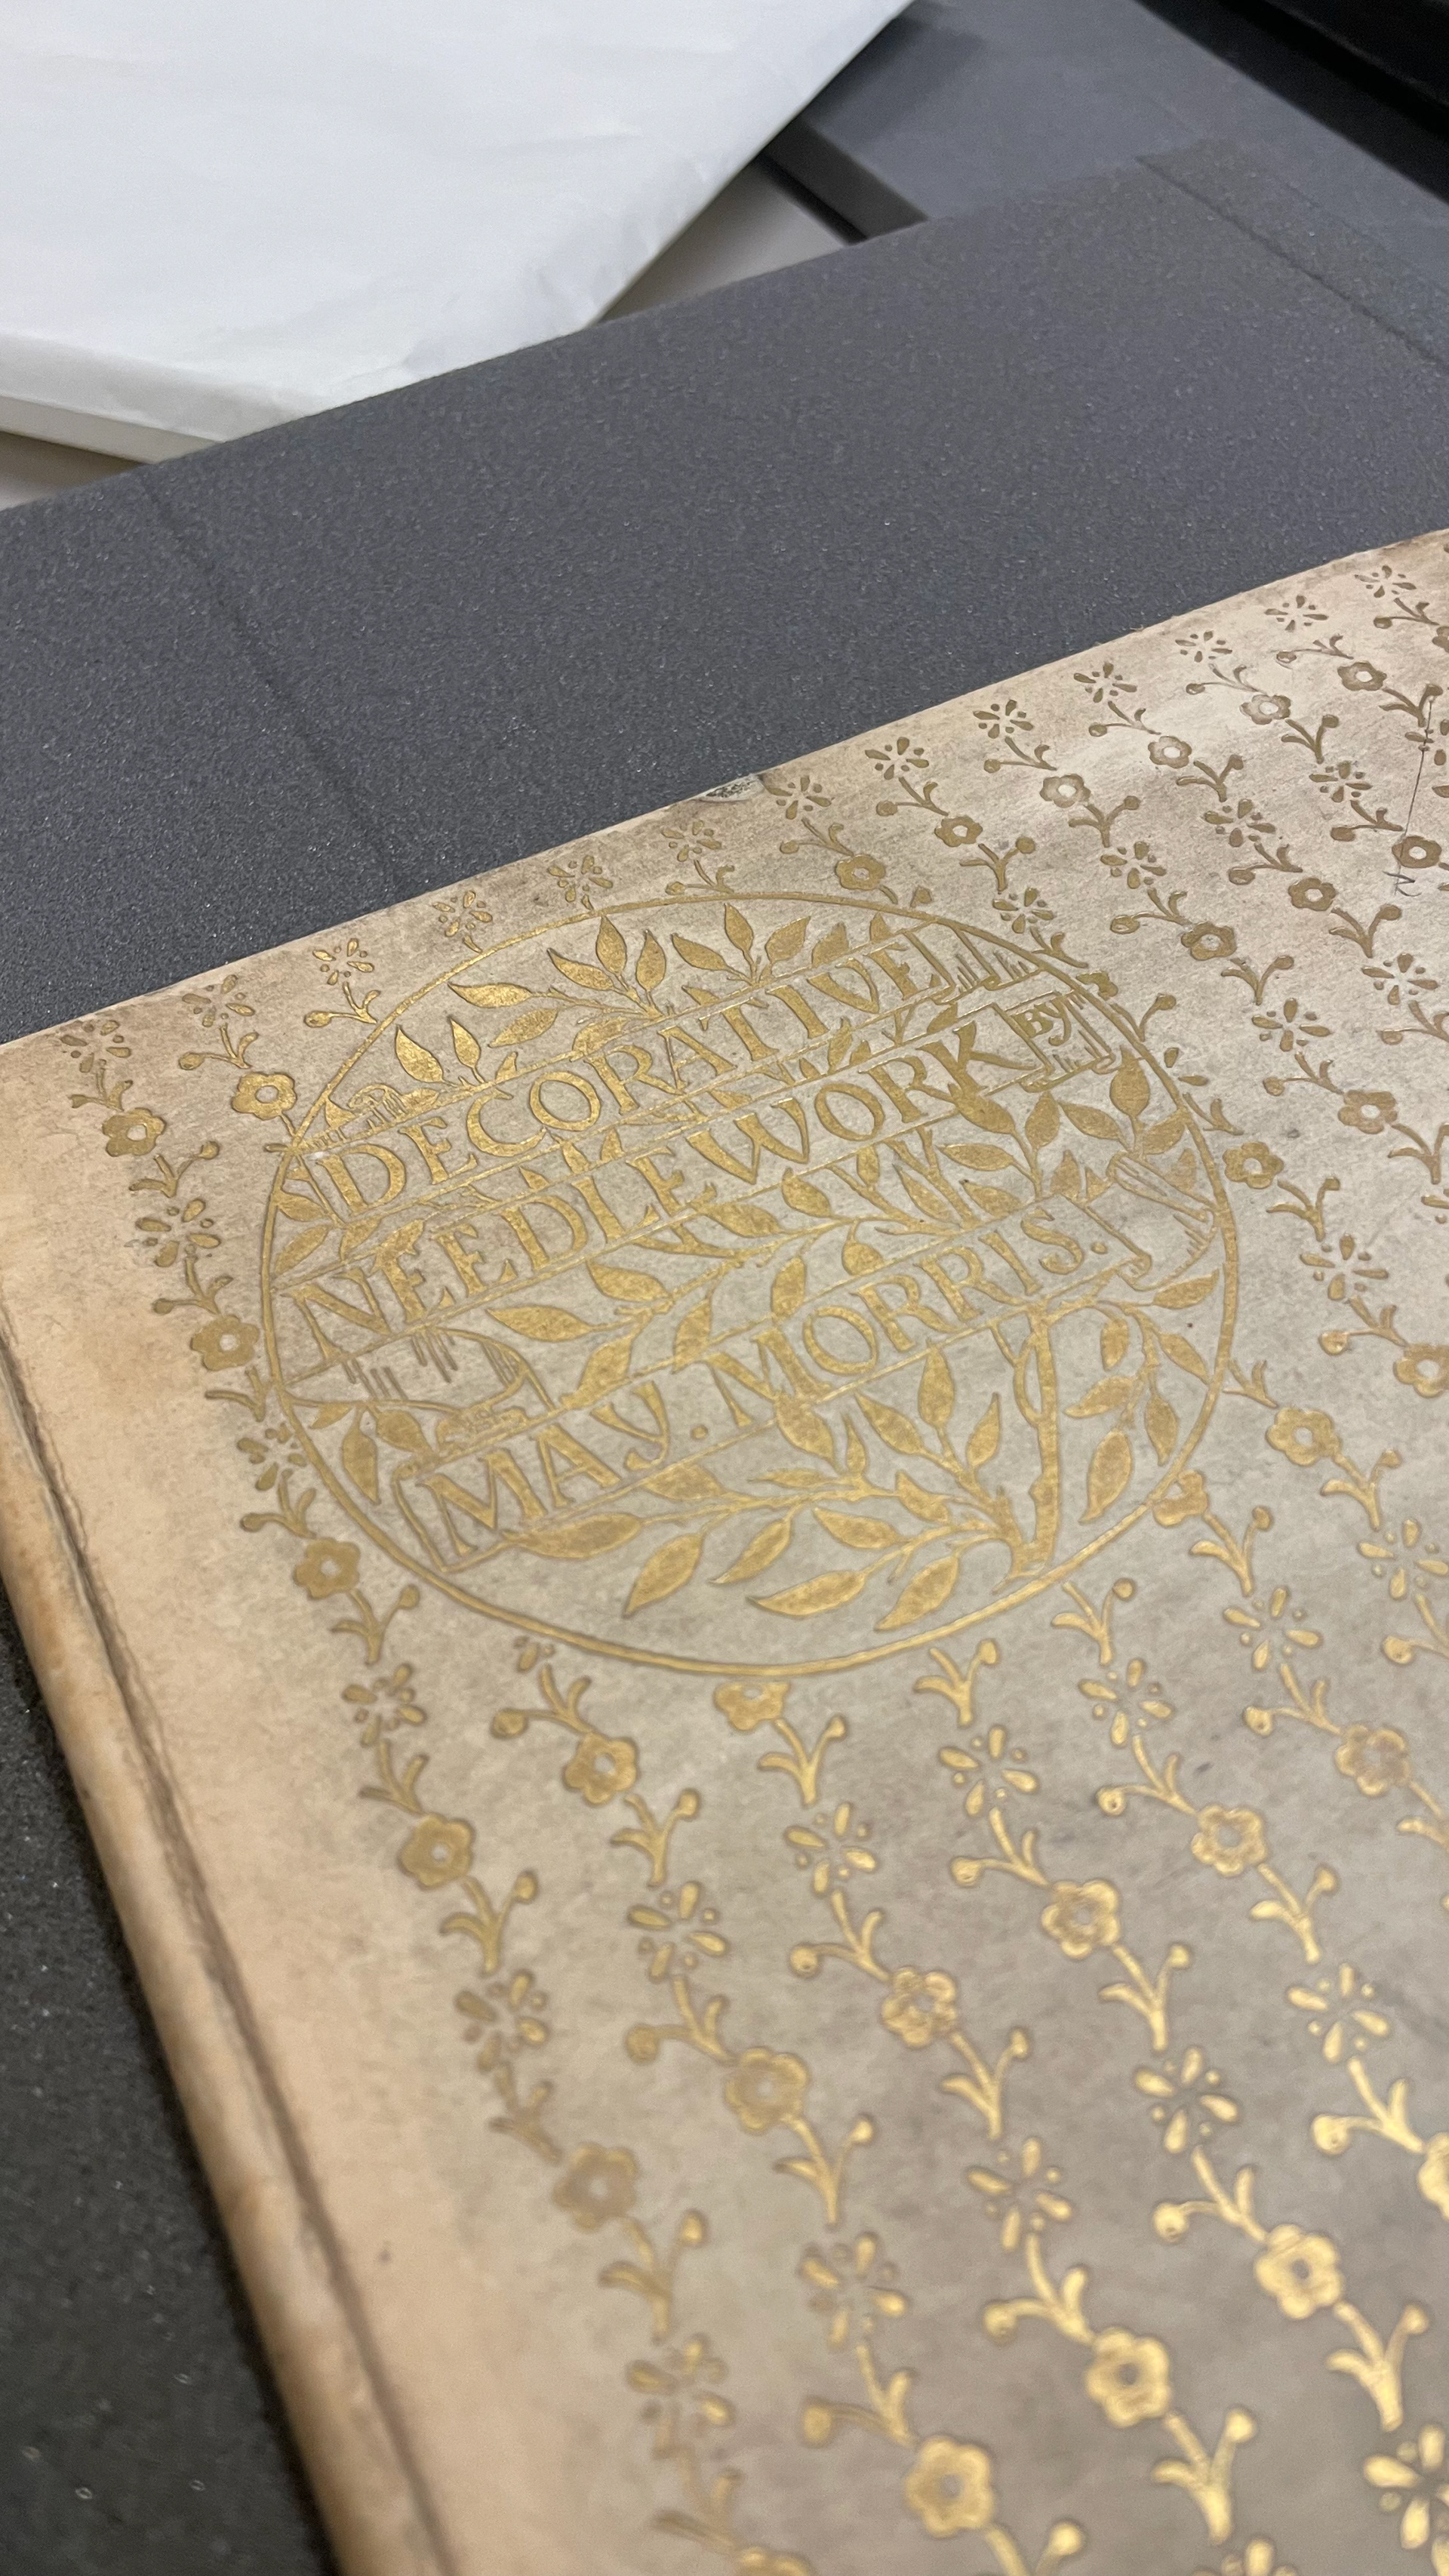
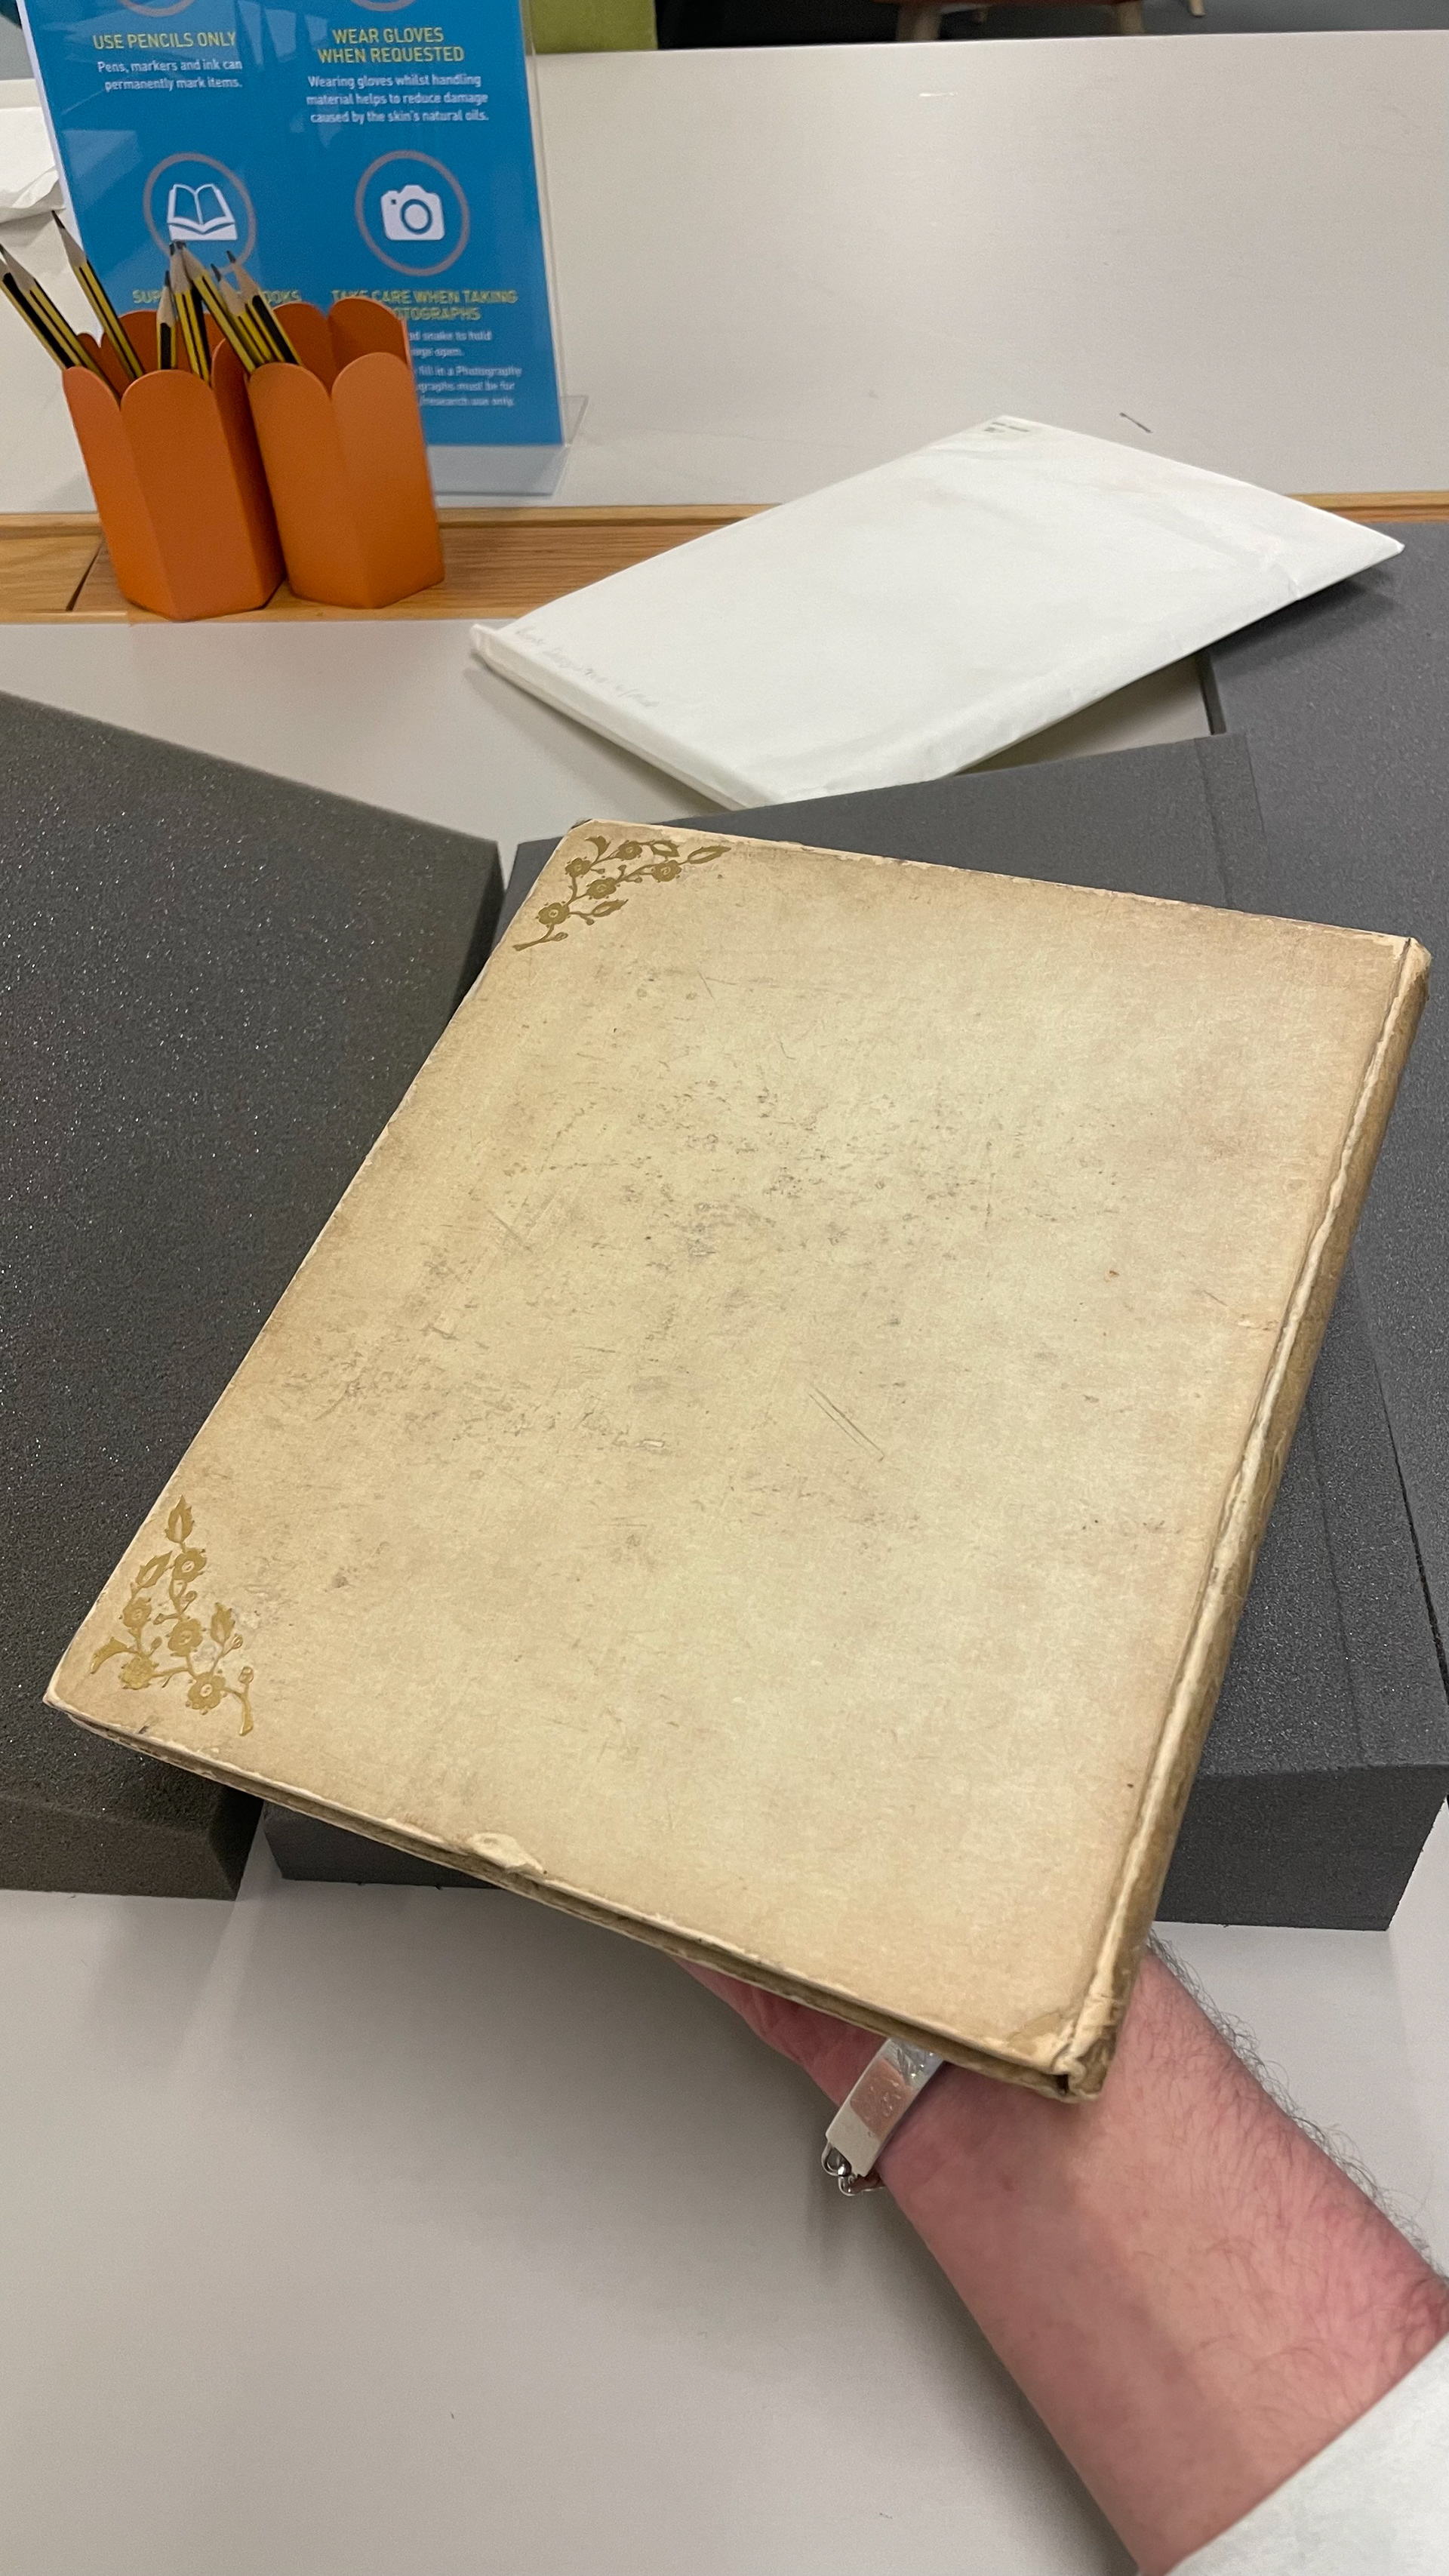
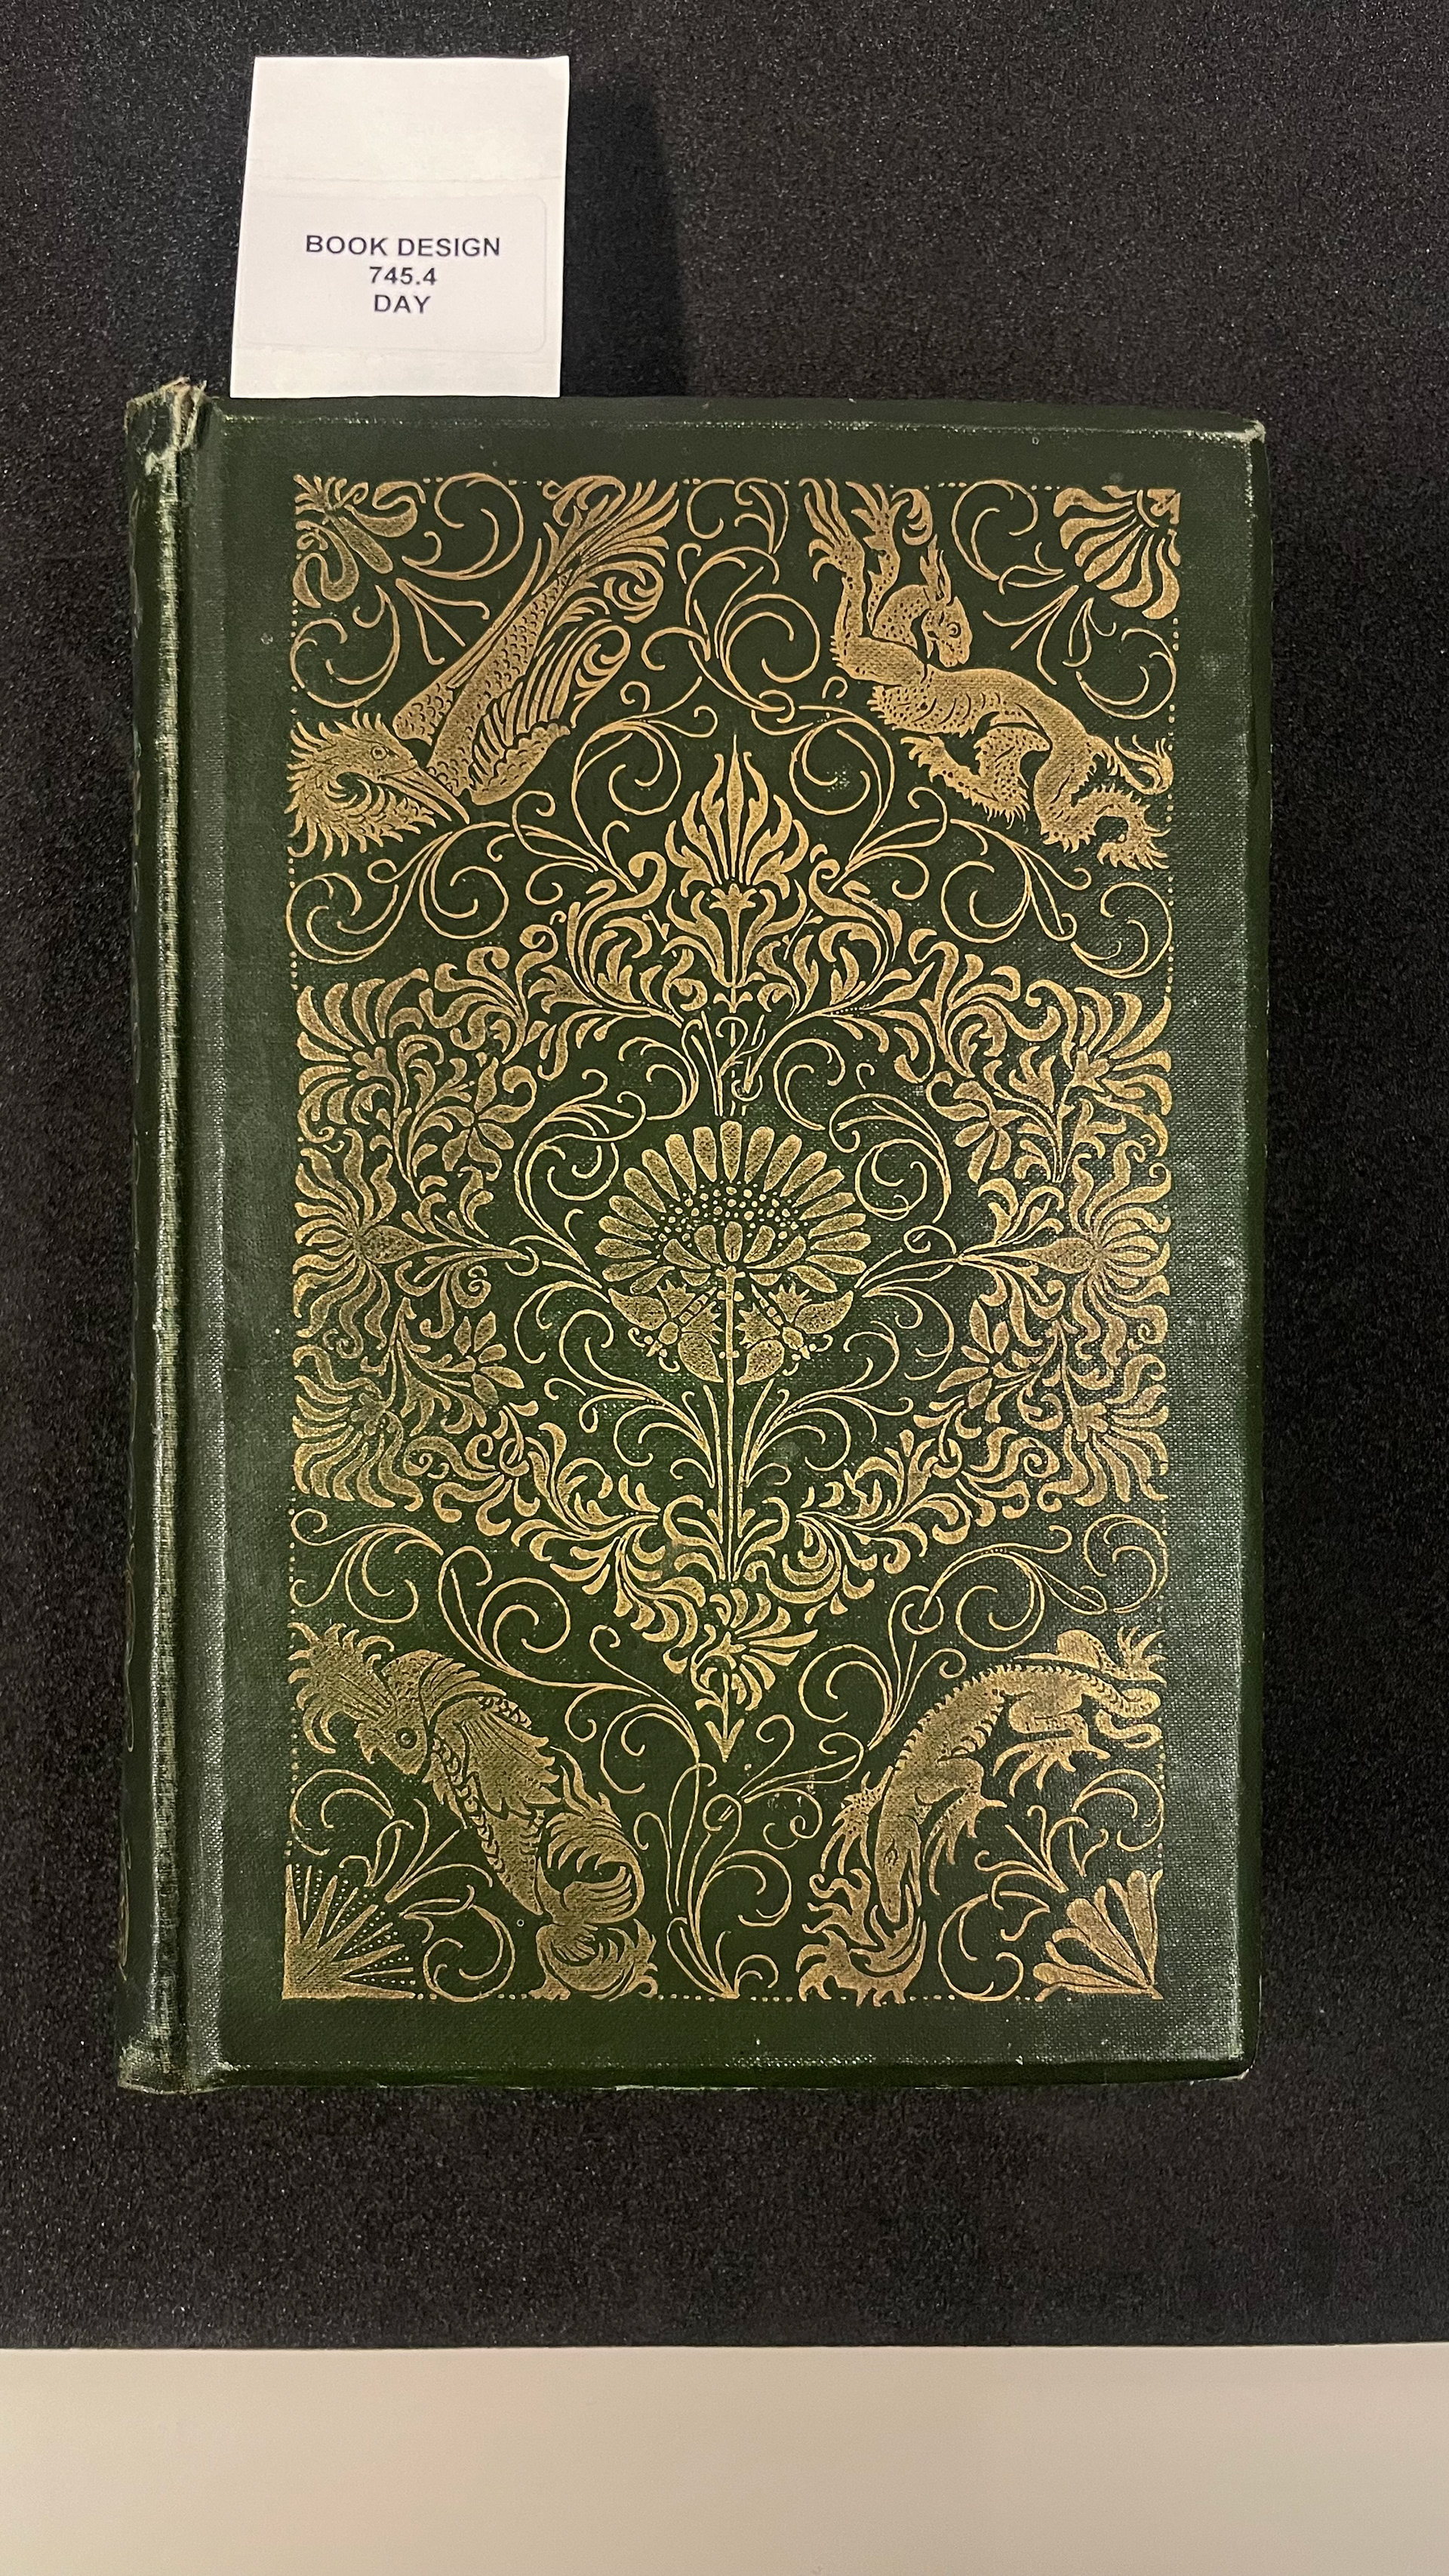
Below is the May Morris book which cover made me think how the patterns and shapes of the arts and craft period could be embossed into material, until now everything seemed very two dimensional. Also in the introduction to this instructional book on decorative needlework I found this extract quite important:
"For work done at the demand of fashion or caprice and the work done inevitably, that it, for its own sake, are as widely dissimilar as can be: the first being discarded in a month or so as ridiculous and out of date, and the other remaining with us in all it's dignity of beauty and fitness, to be guarded as long as may be against the unavoidable wear and tear of time."
The overall design of the book did get my thinking about how until now I'd only seen these designs in two dimensions and now I'm able to see not only the wallpaper but also the other output from these people physical you realise it exists in three dimensions. This cover for example being embossed made me think how the designs might translate to a material like wood.
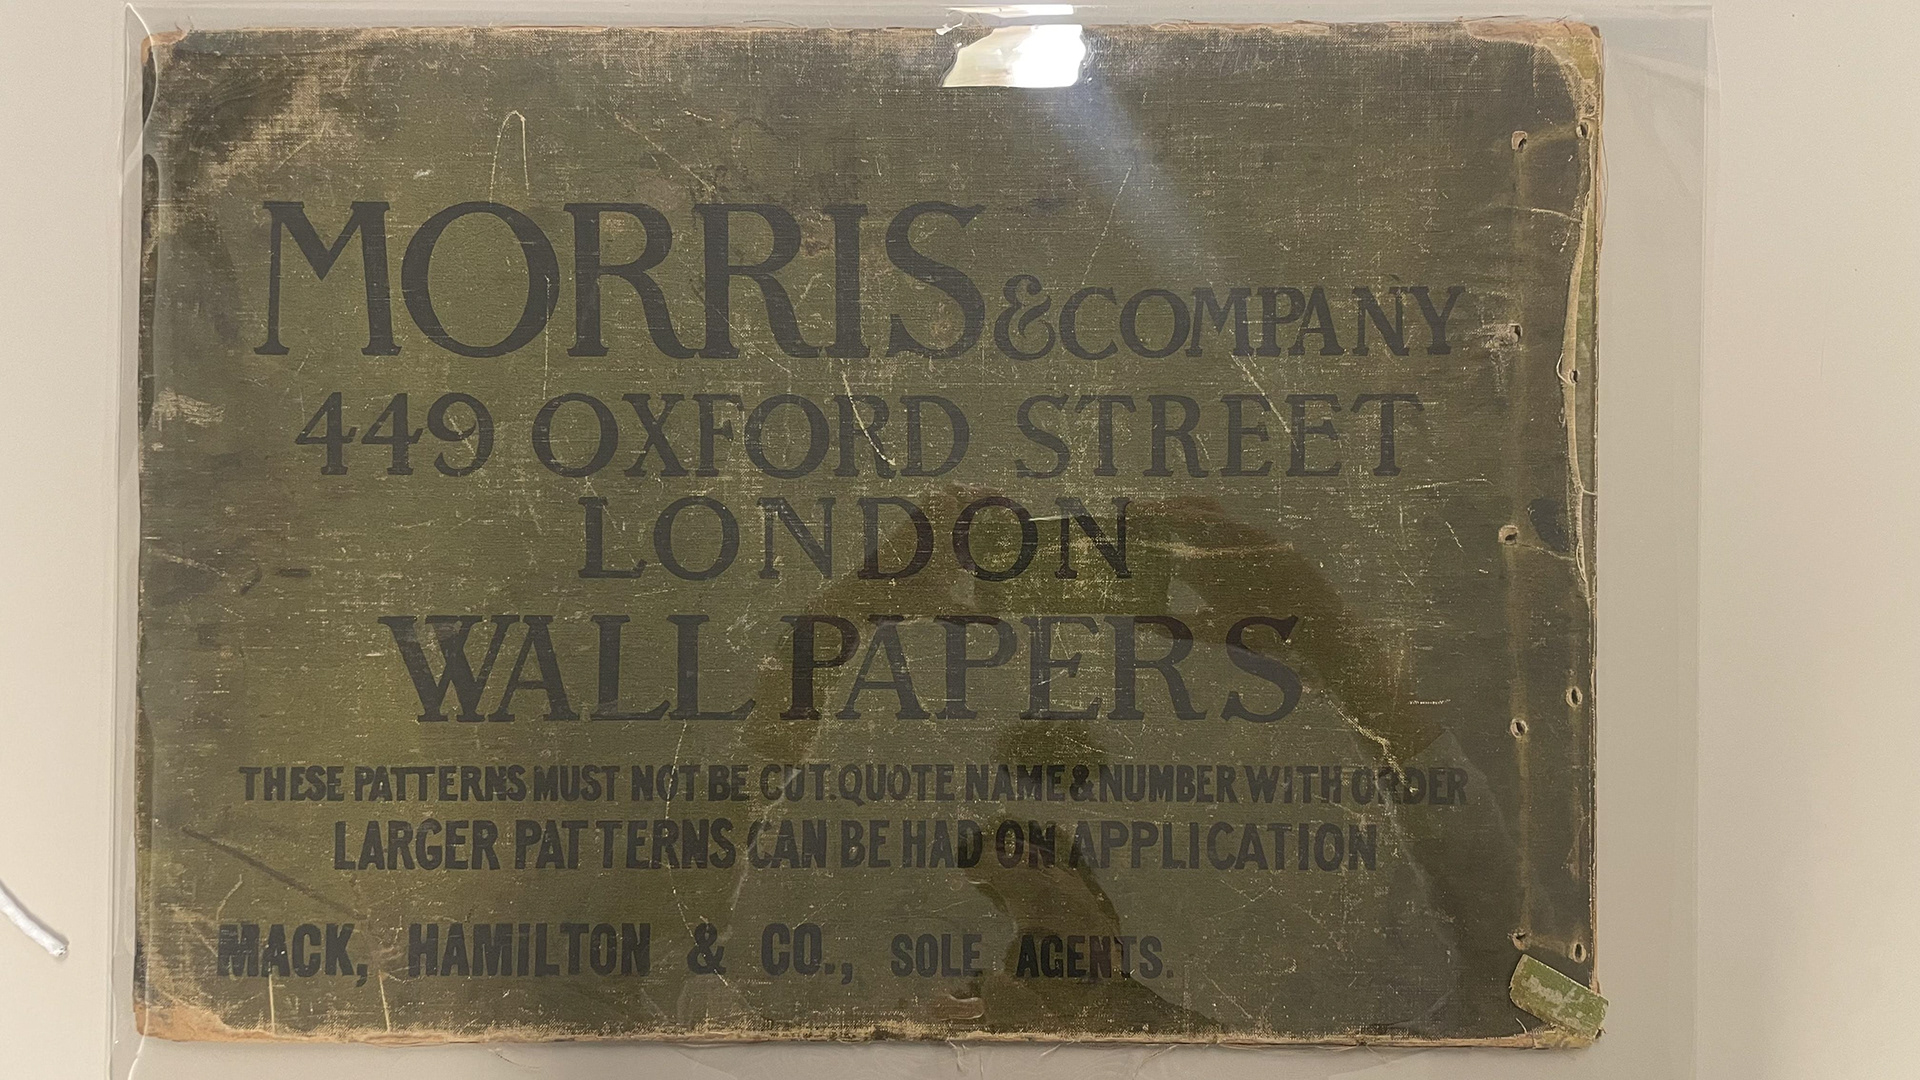
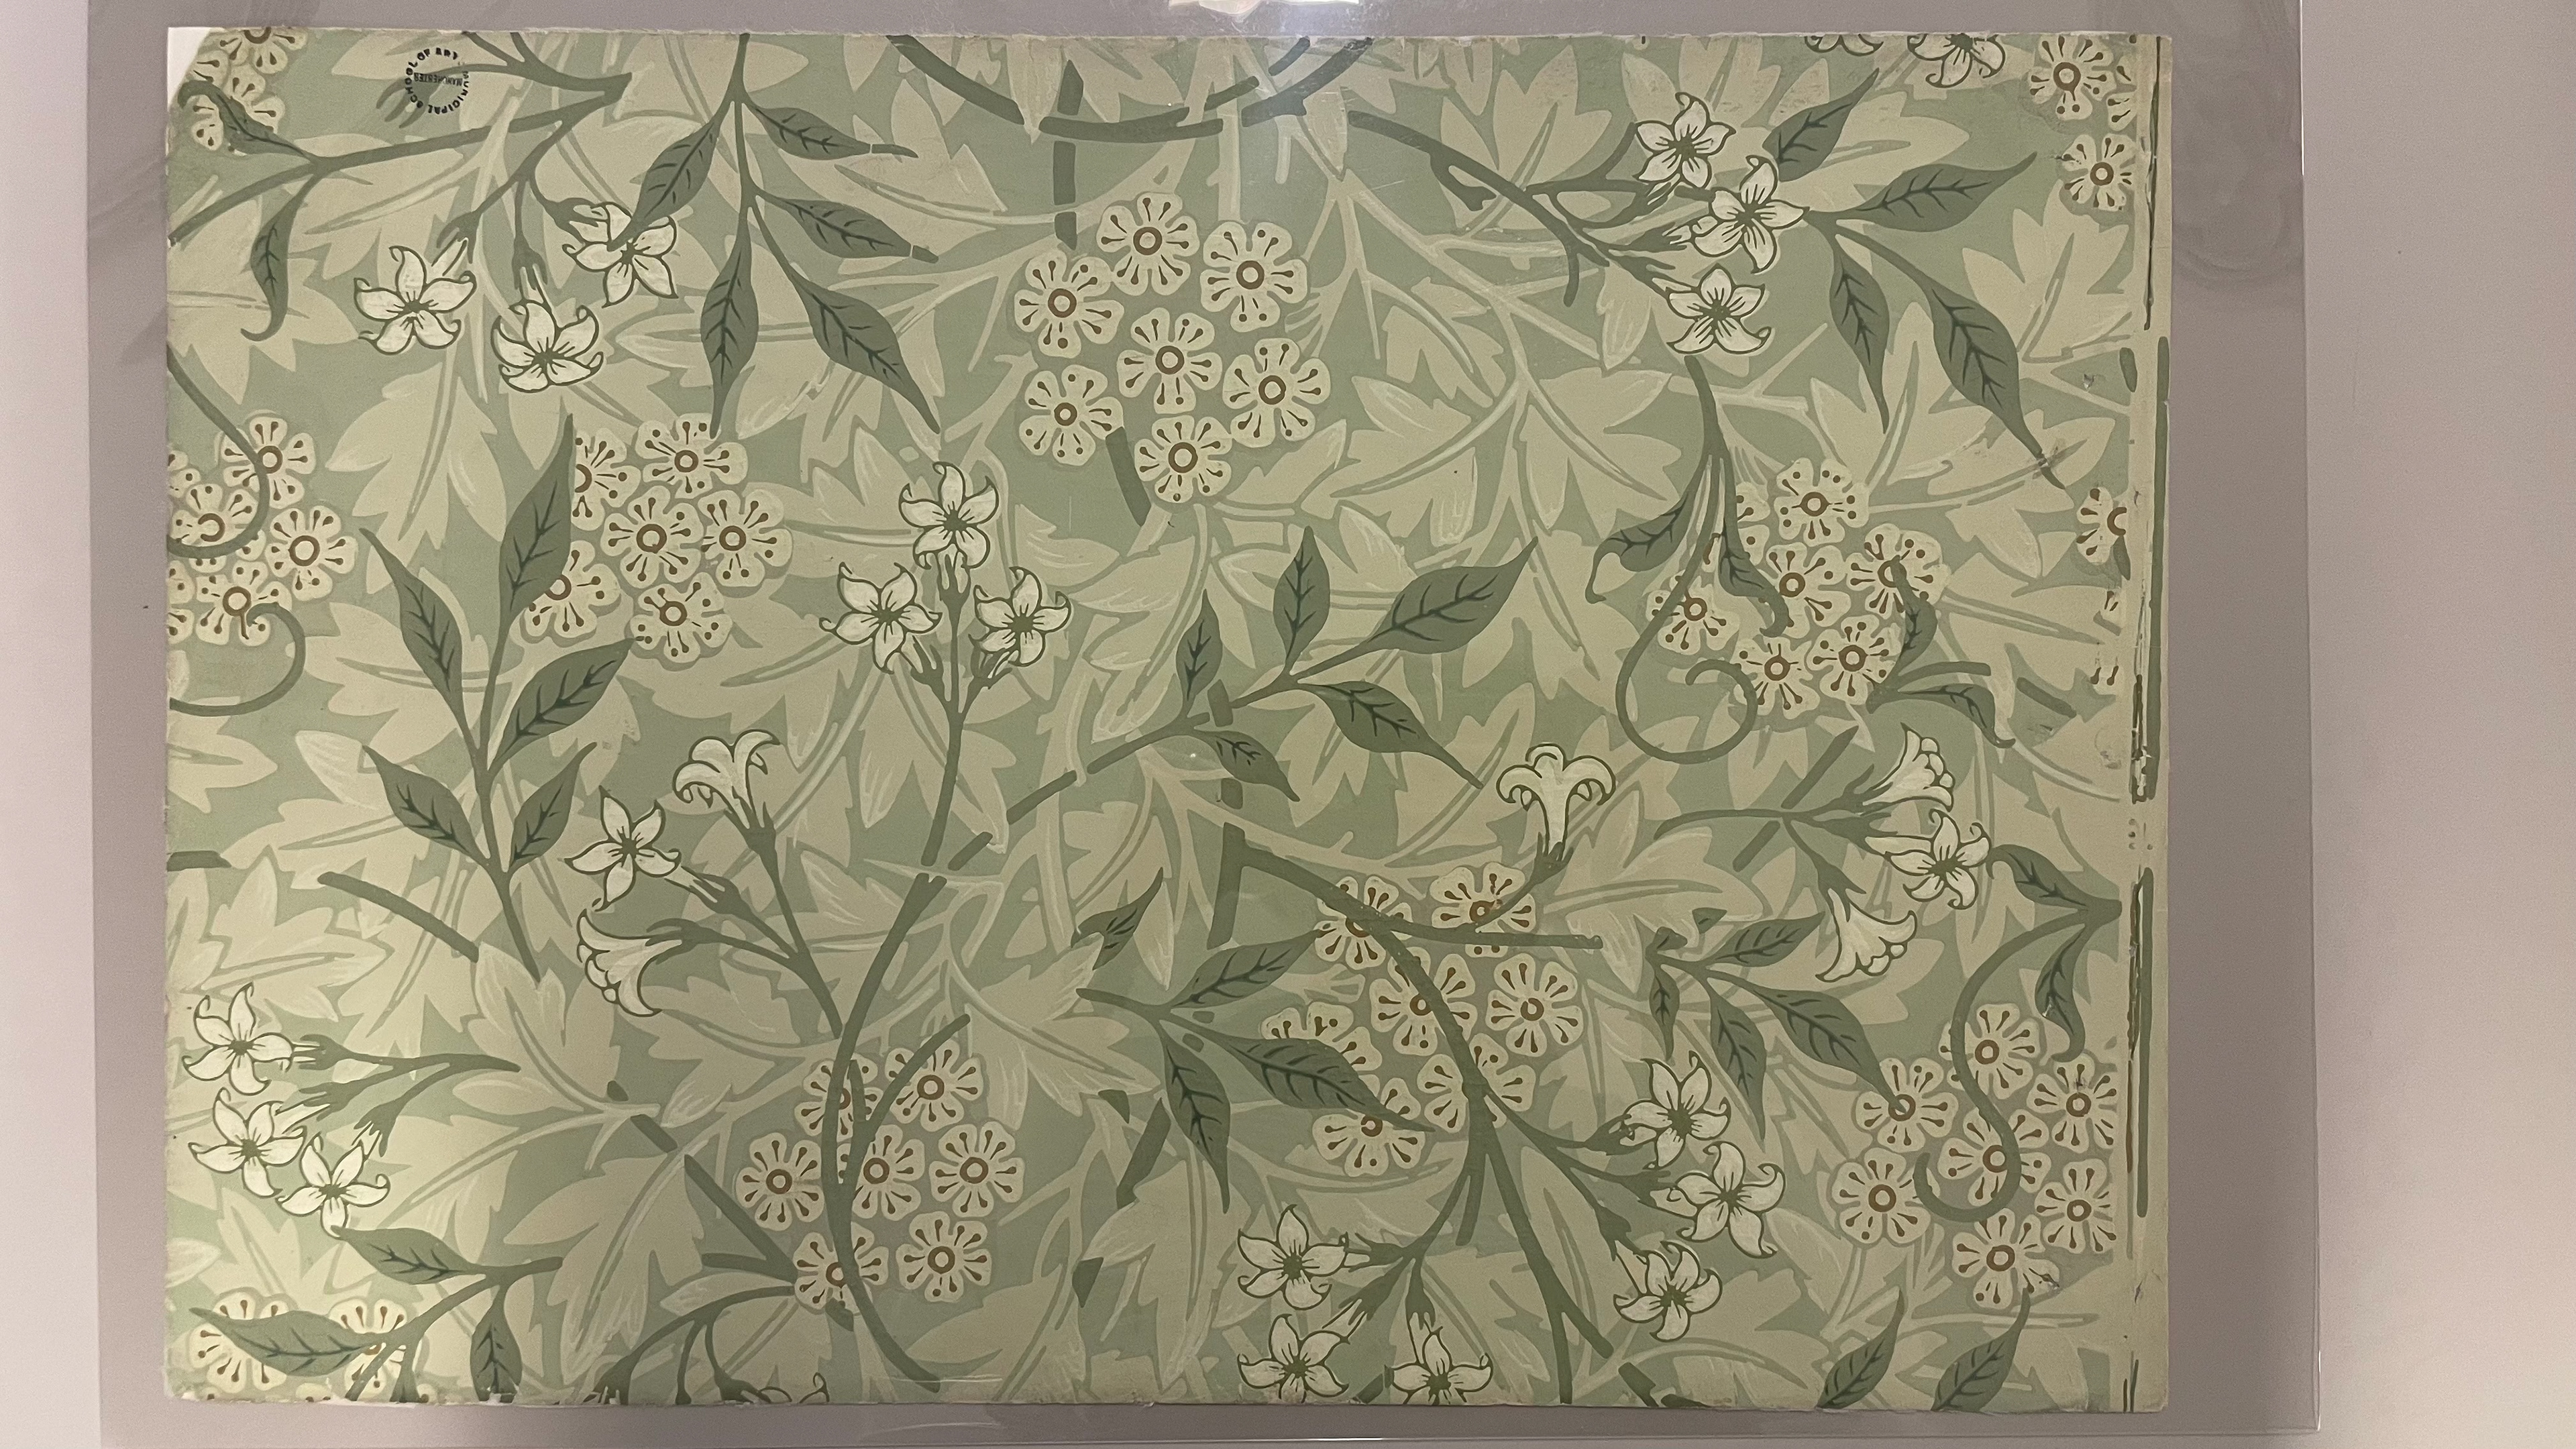
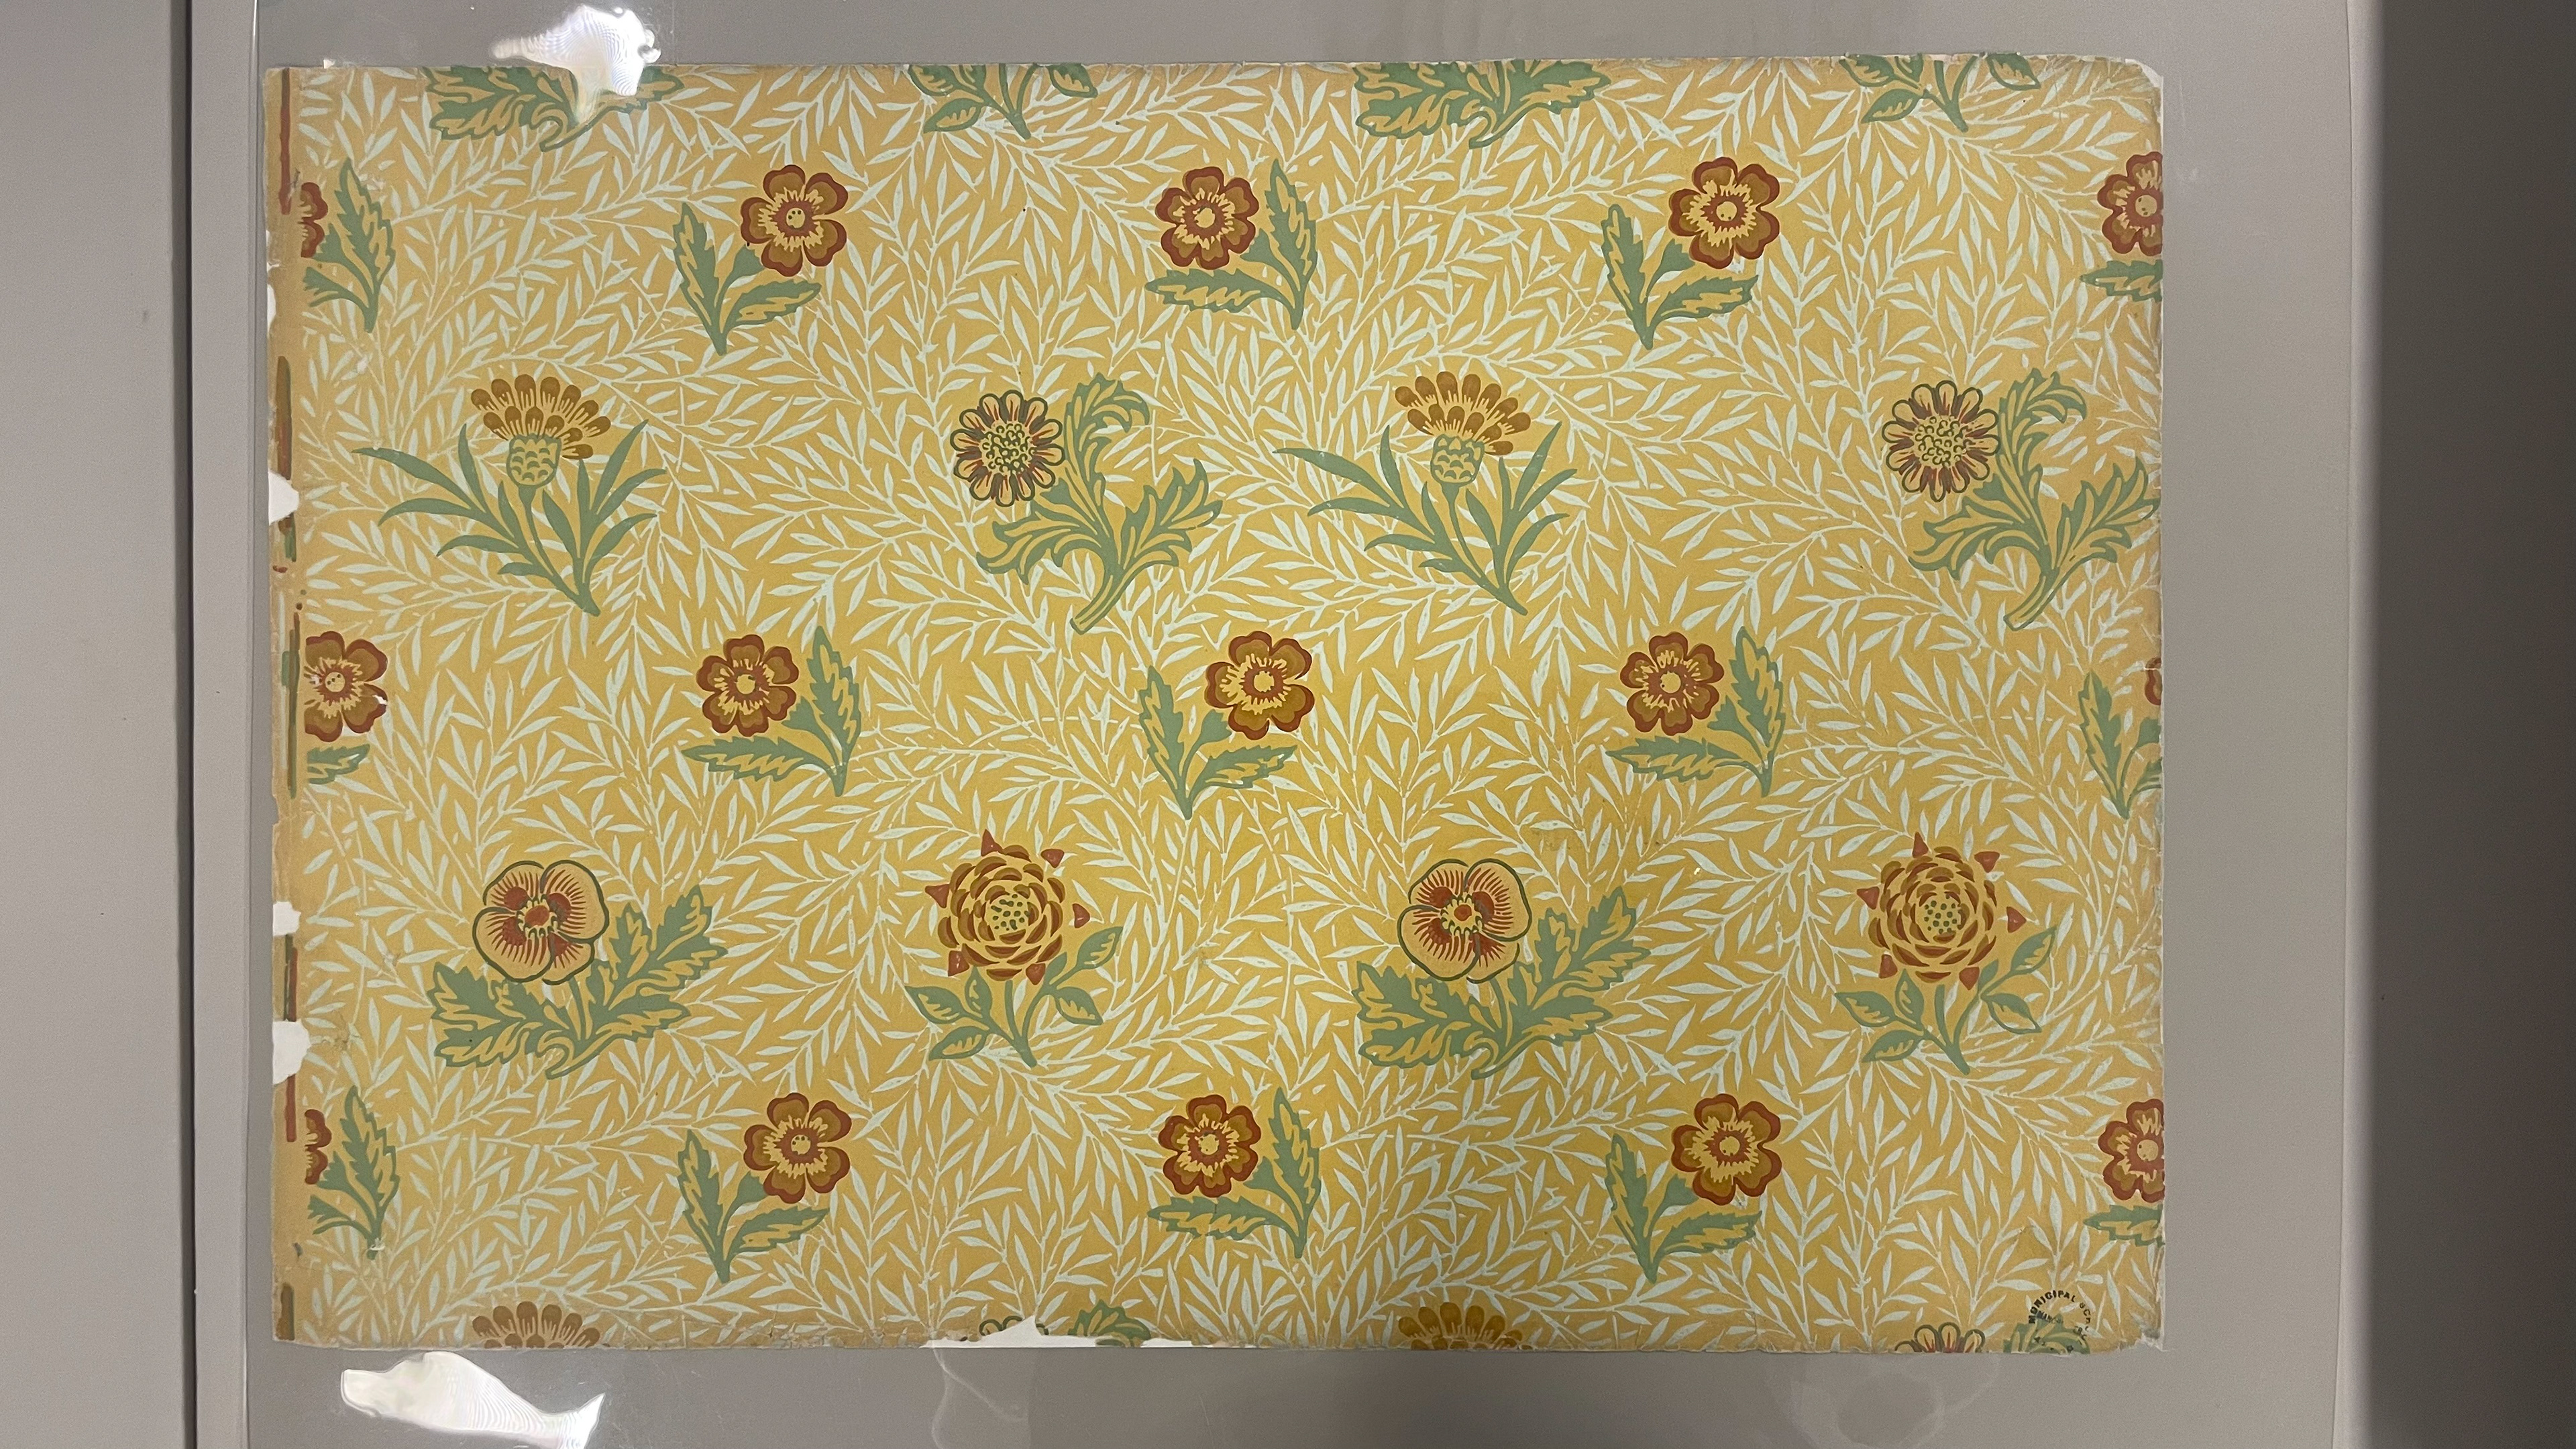
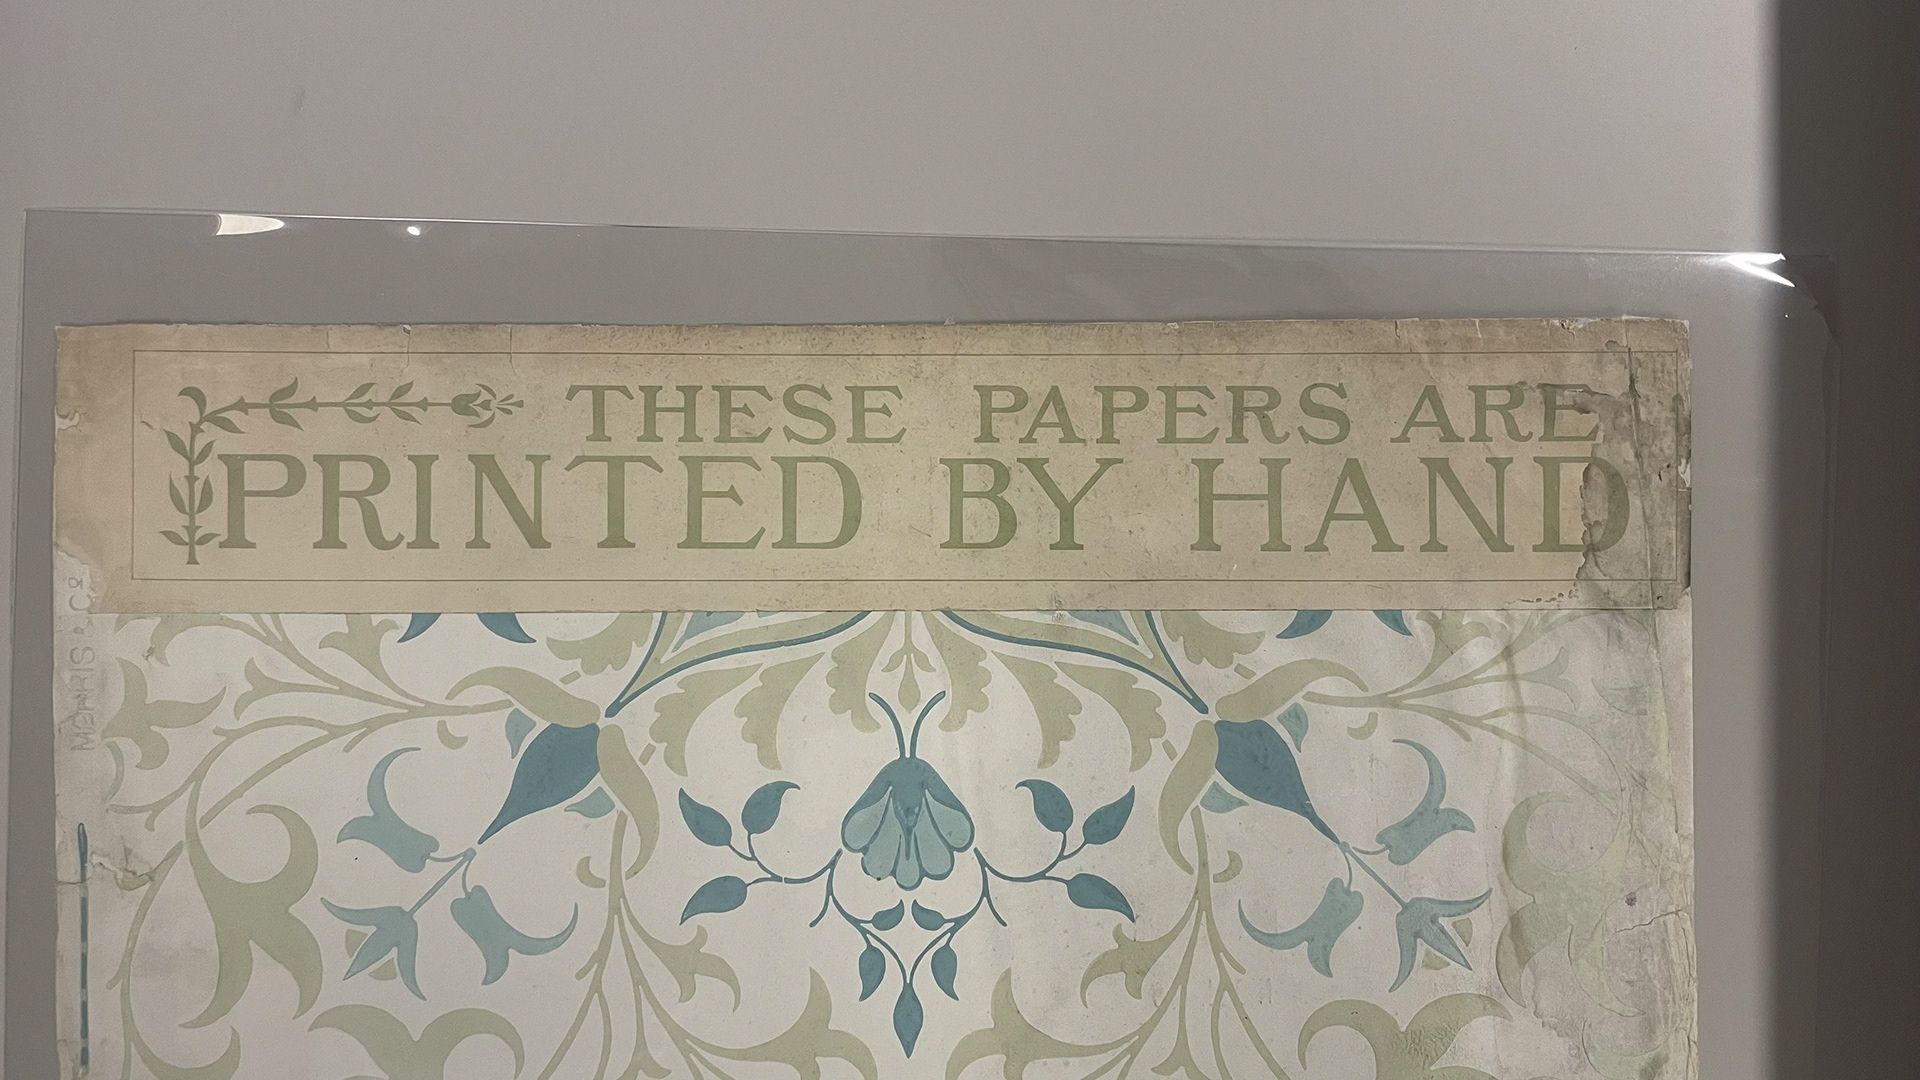
William Morris Wallpaper - Designs - Depth - Detail
The amount of designs and colour ways available in these wallpapers was amazing. In the box they must have had at least 100 if not more and I managed to identify that with the designs must have been sequenced in collections or groups. These groups must have been based on price, design elements, and season or type of nature. I'd also imagine that the colours must have altered prices quite significantly within the designs but the more crucial impact on cost which you can see in designs are the 'printed by hand' details. The tiniest shifts in layered colours or patterns this is the element which most excited me, this unique detail that all hand made object have but something about a product like wallpaper which today is so digitally produced. Elements of this handcrafting but overall detail has to carry over to the product which I want to make.
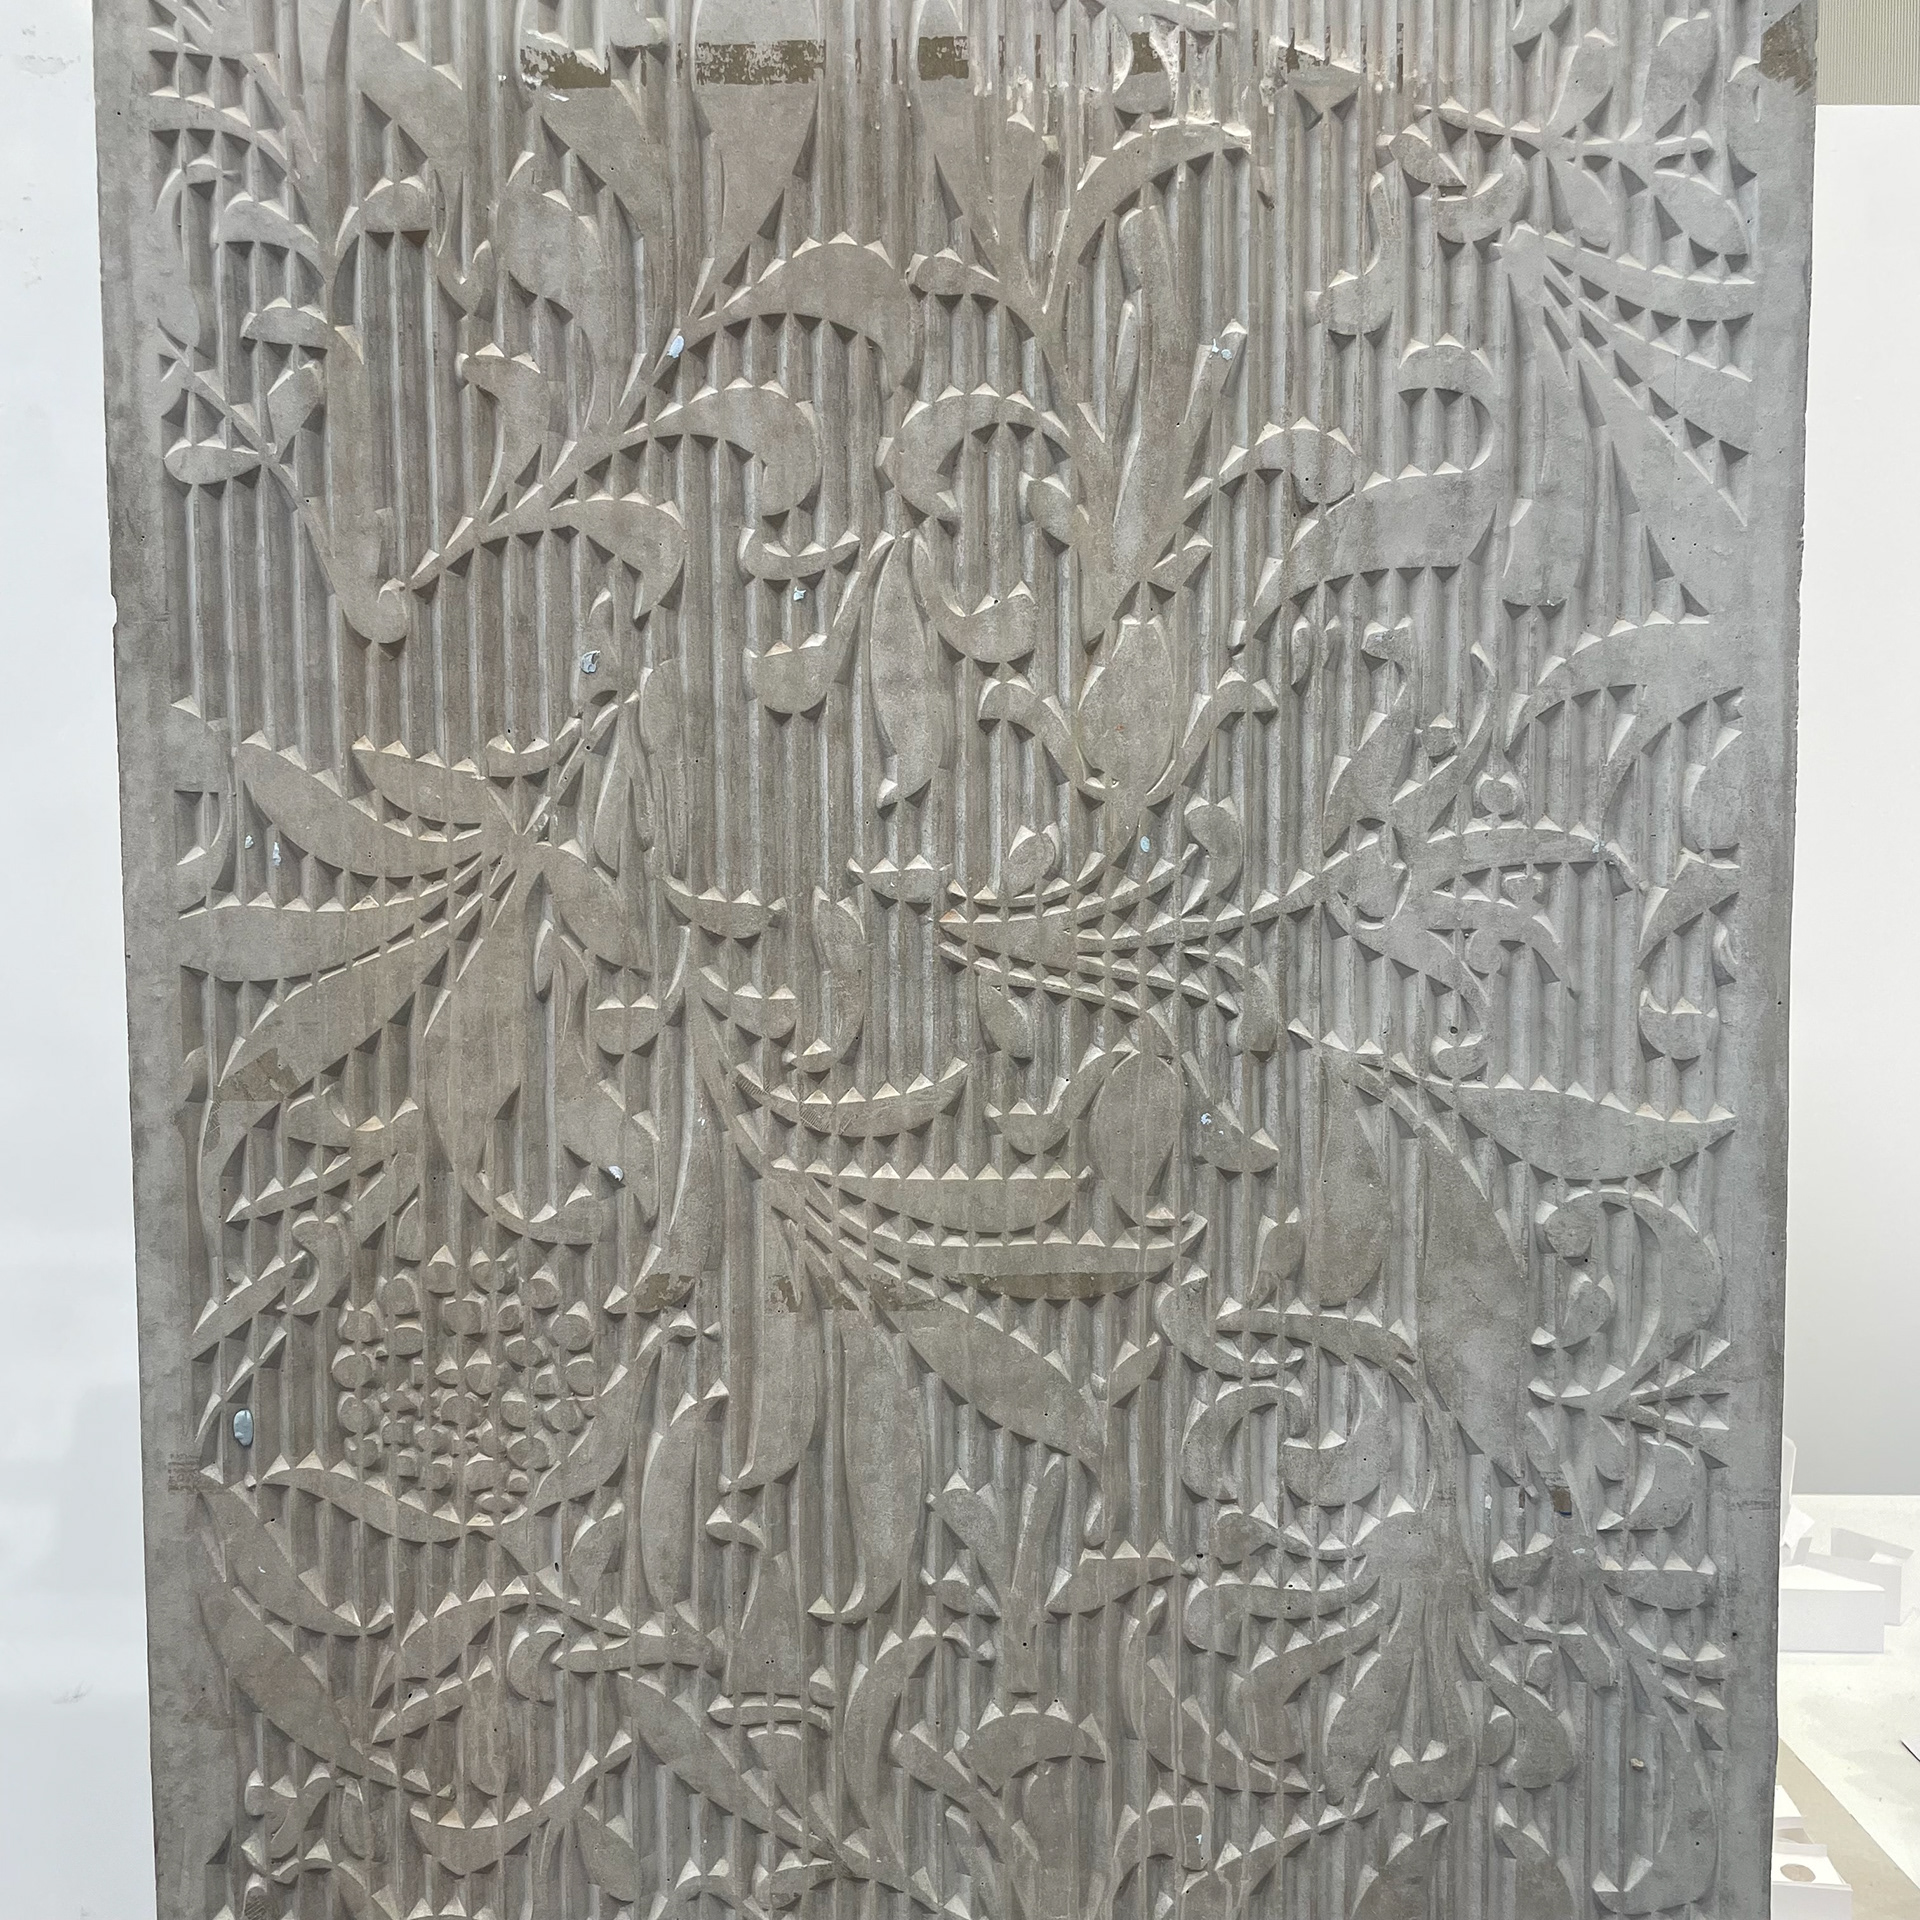
Lewis Foreman Day - 2D to 3D
Something which I'd obviously seen before but not done research into was the embossed concrete columns featured in the Benzie building village green. I remember taking an etching of this section above in a sketching task in first year so when the staff in special collections mentioned the book which the design was taken from I was interested to see with how much detail the original had. It's also the exact idea I was trying to piece together with the intrigue I have in the embossing on the May Morris cover.
I think that this reproduction or replication of the arts and crafts designs is something which feels special, this adornment of homes, books, furniture and entire lives is beauty, and perhaps contrasting or pairing it with something that is standard could be the exact jumping off point I need.


Nomadic Furniture - Human Measurements - Donal Judd Furniture
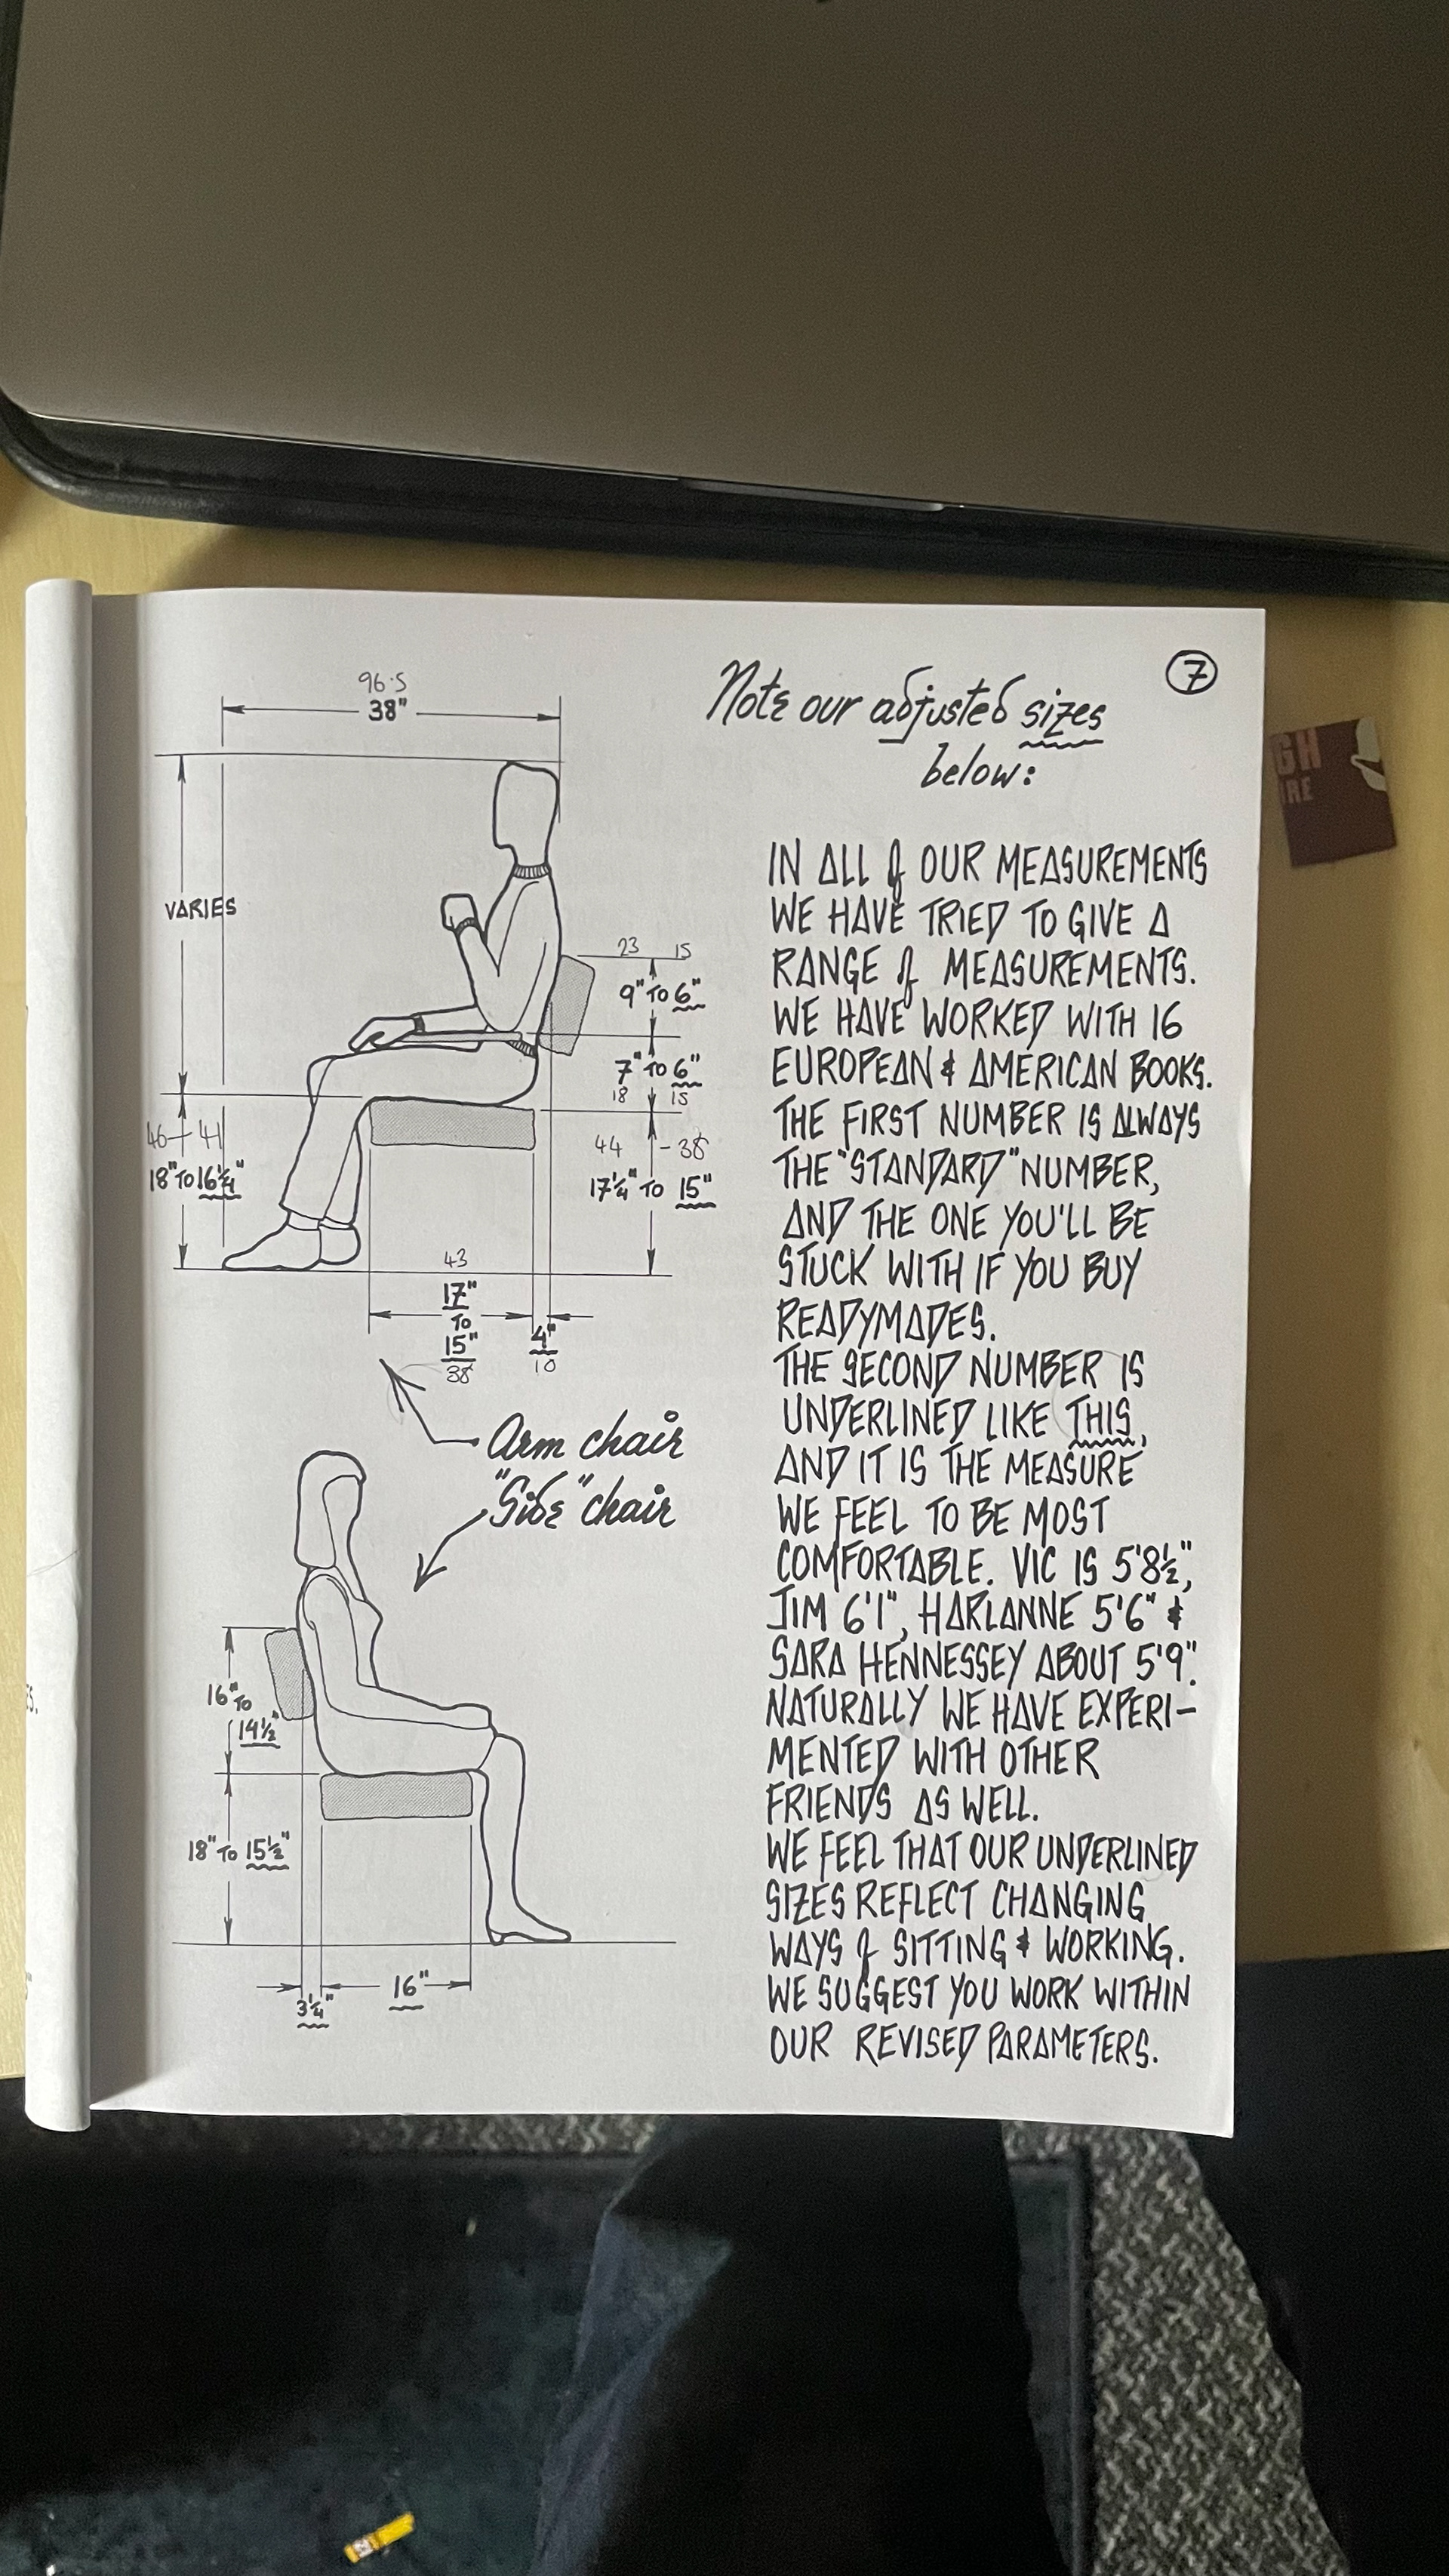
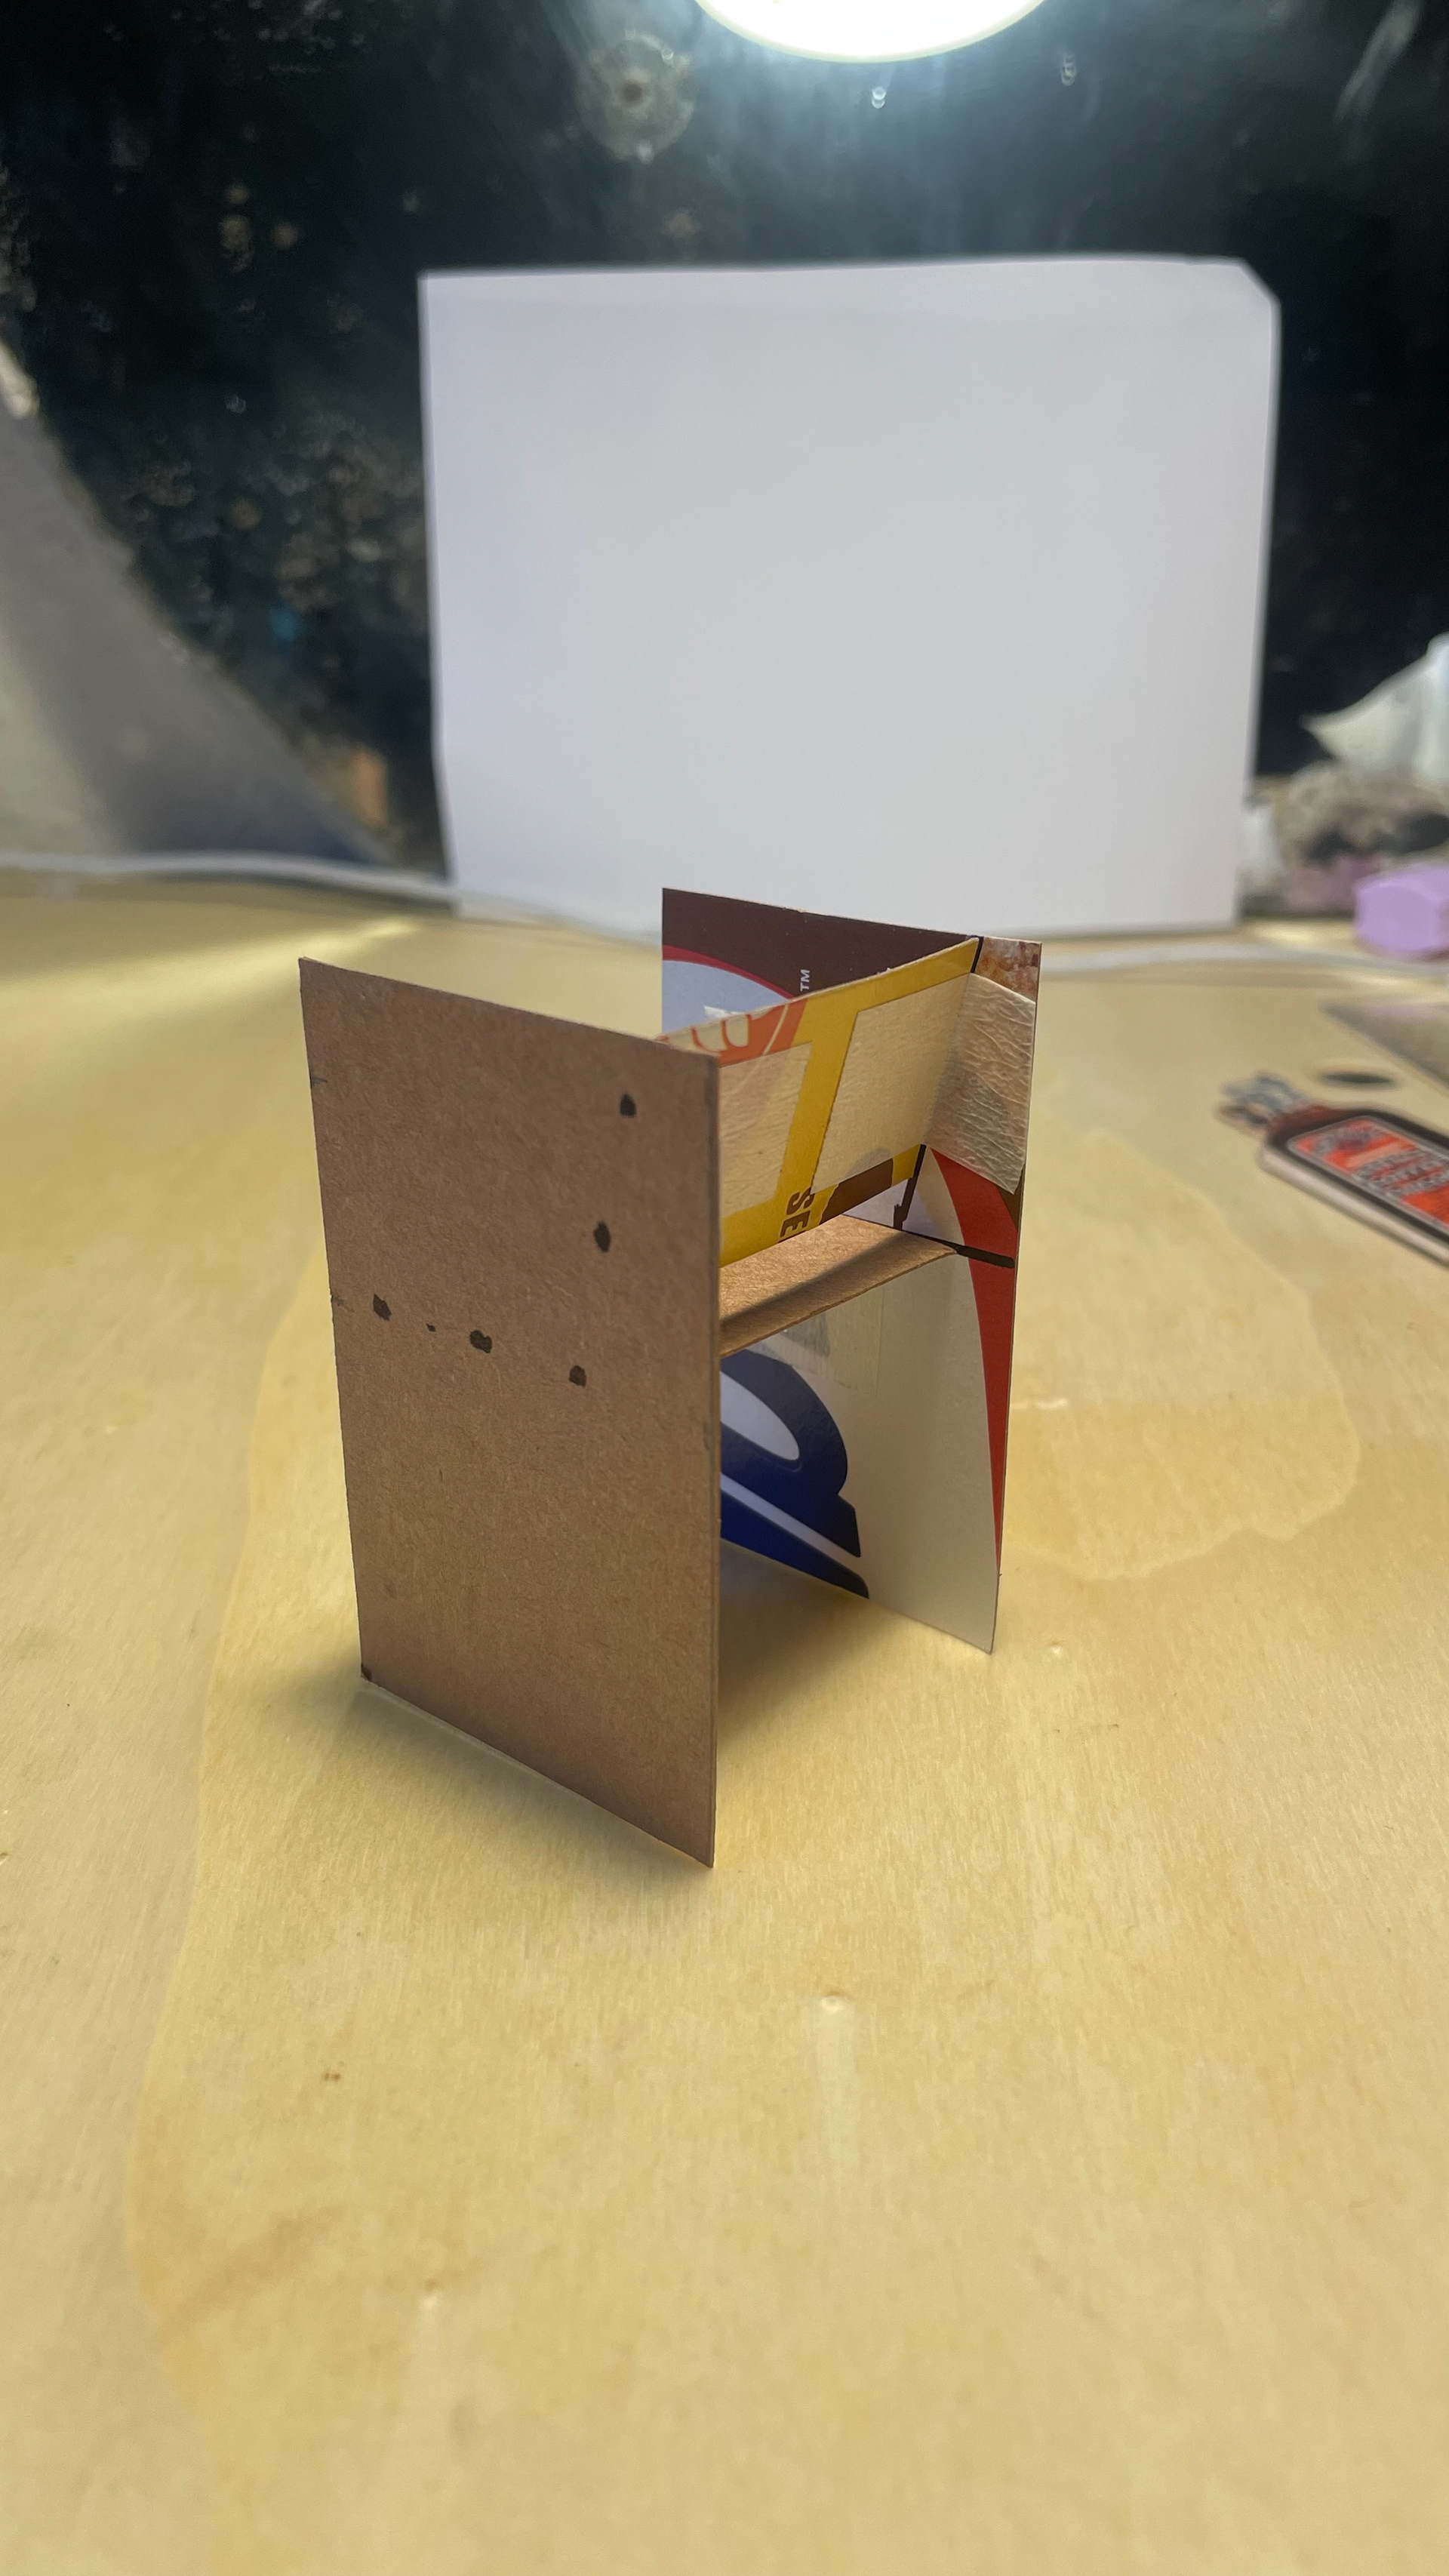
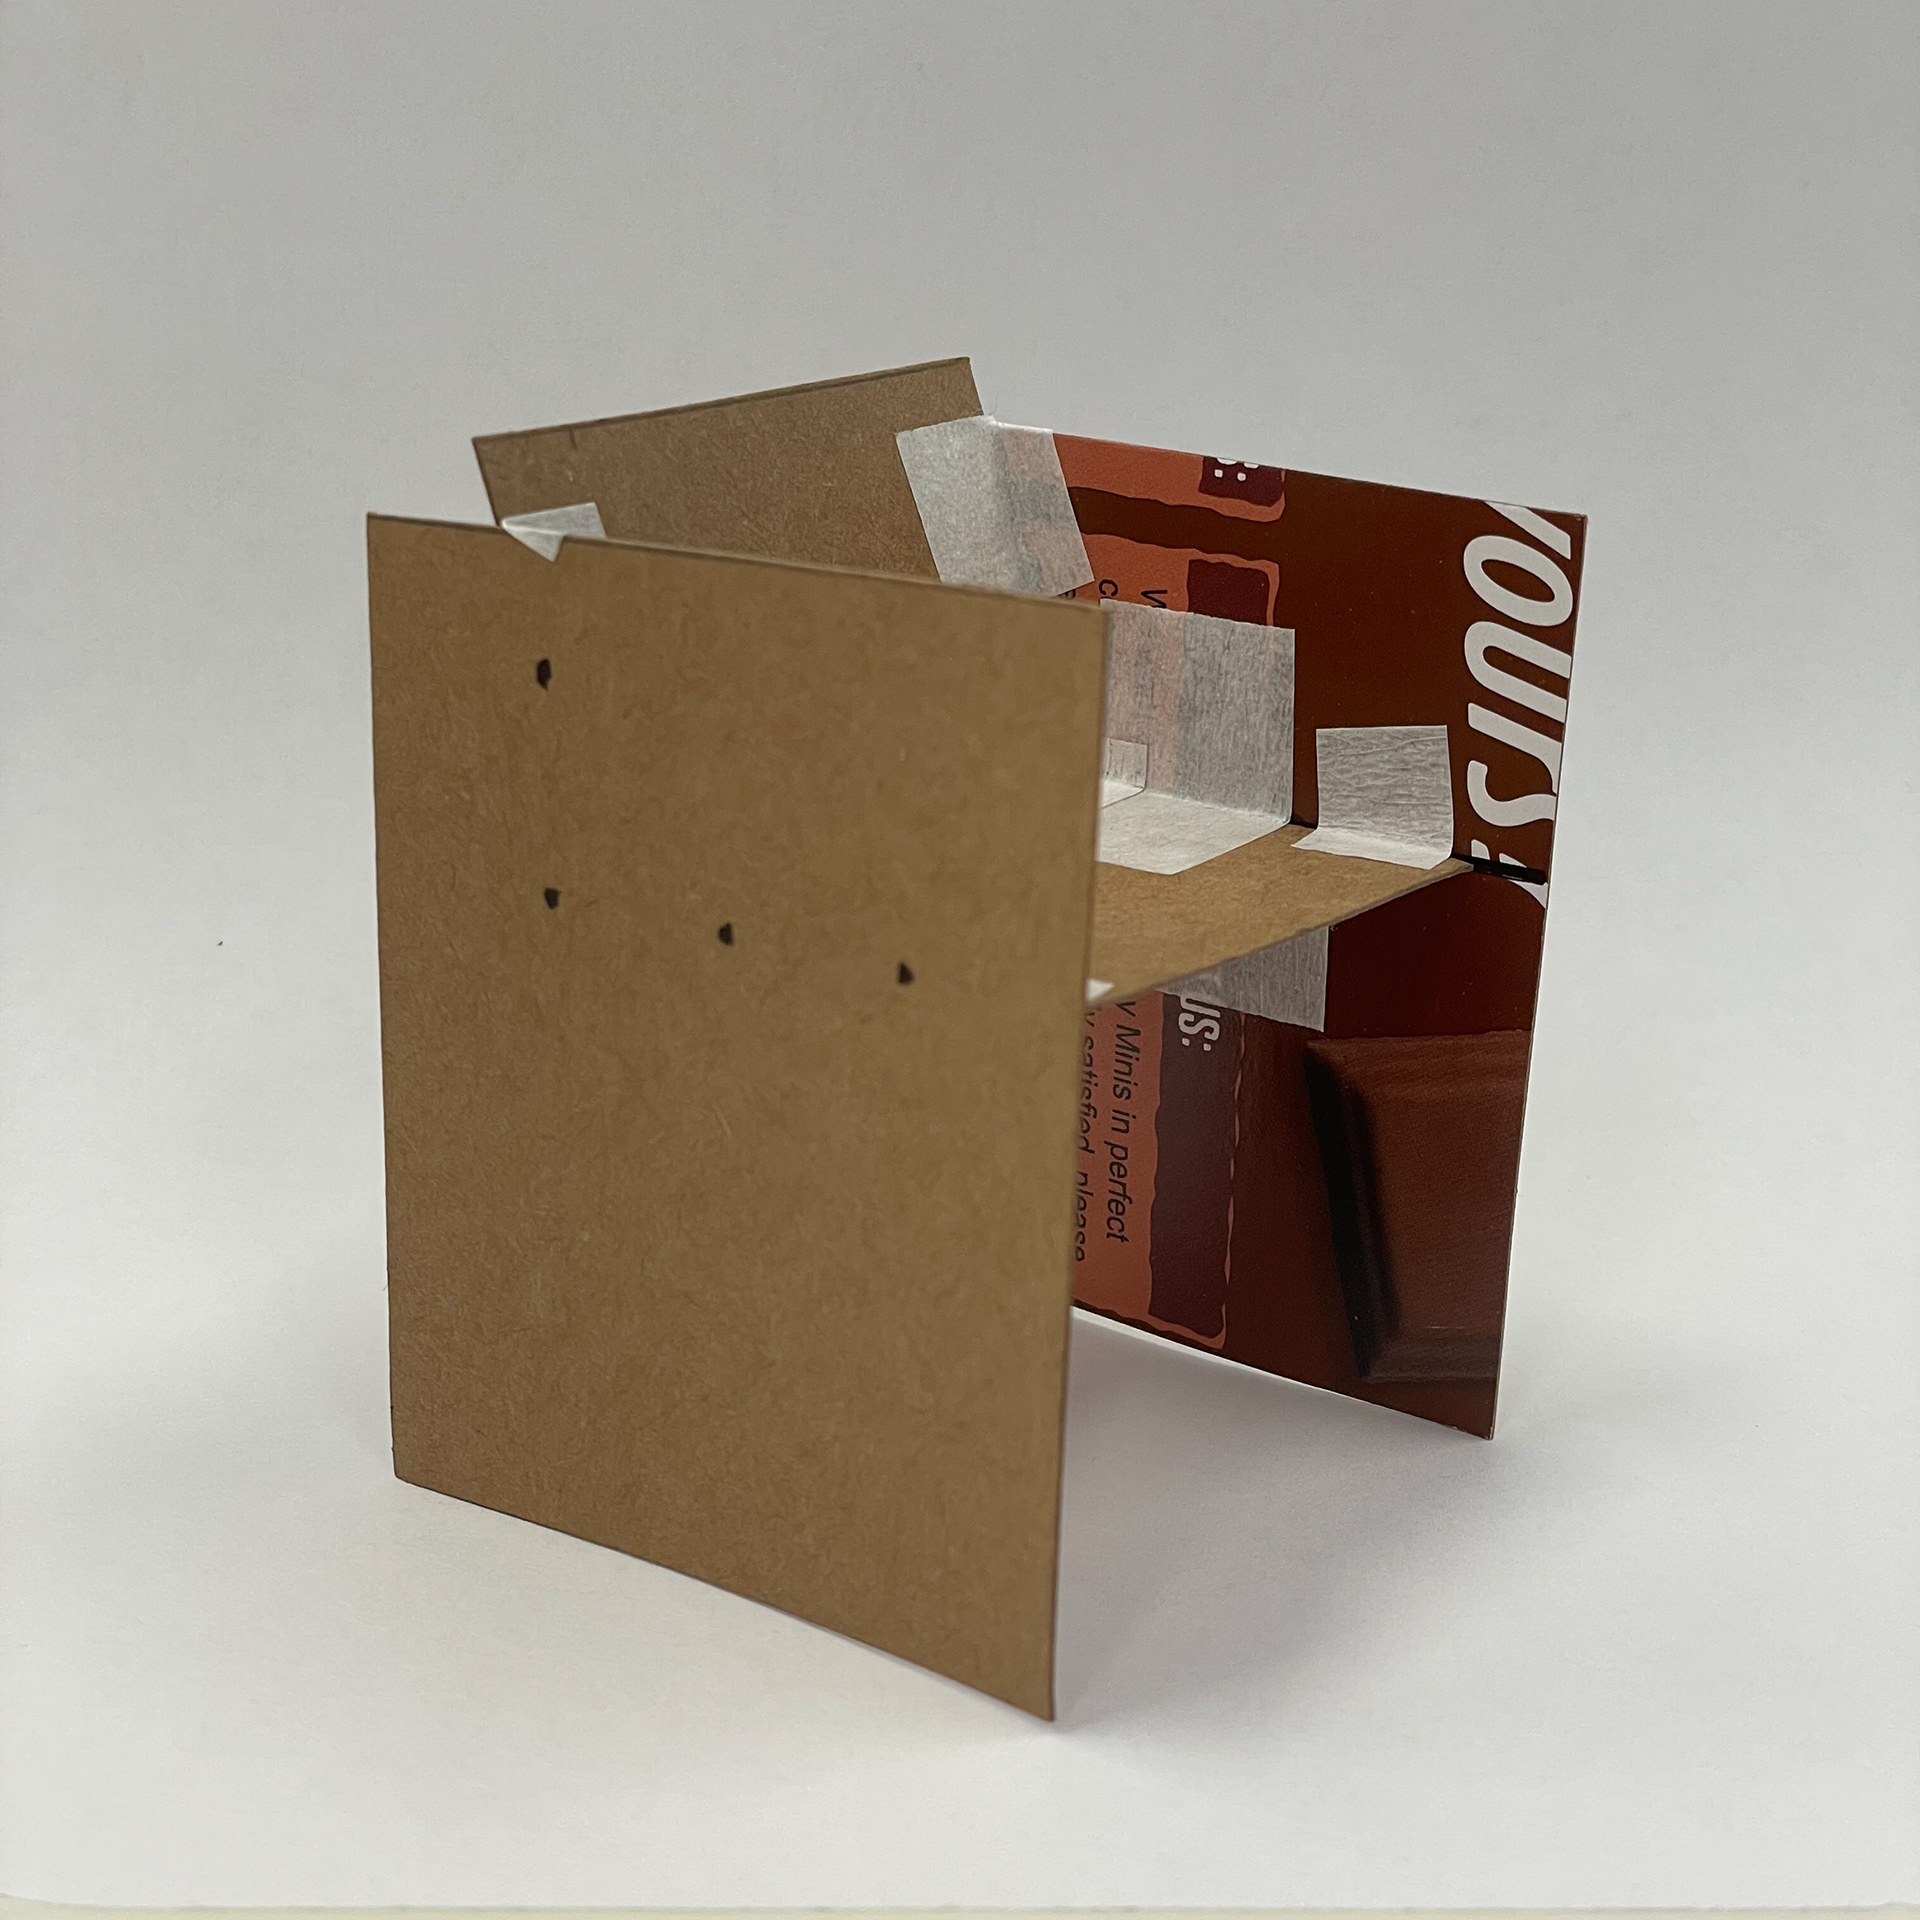
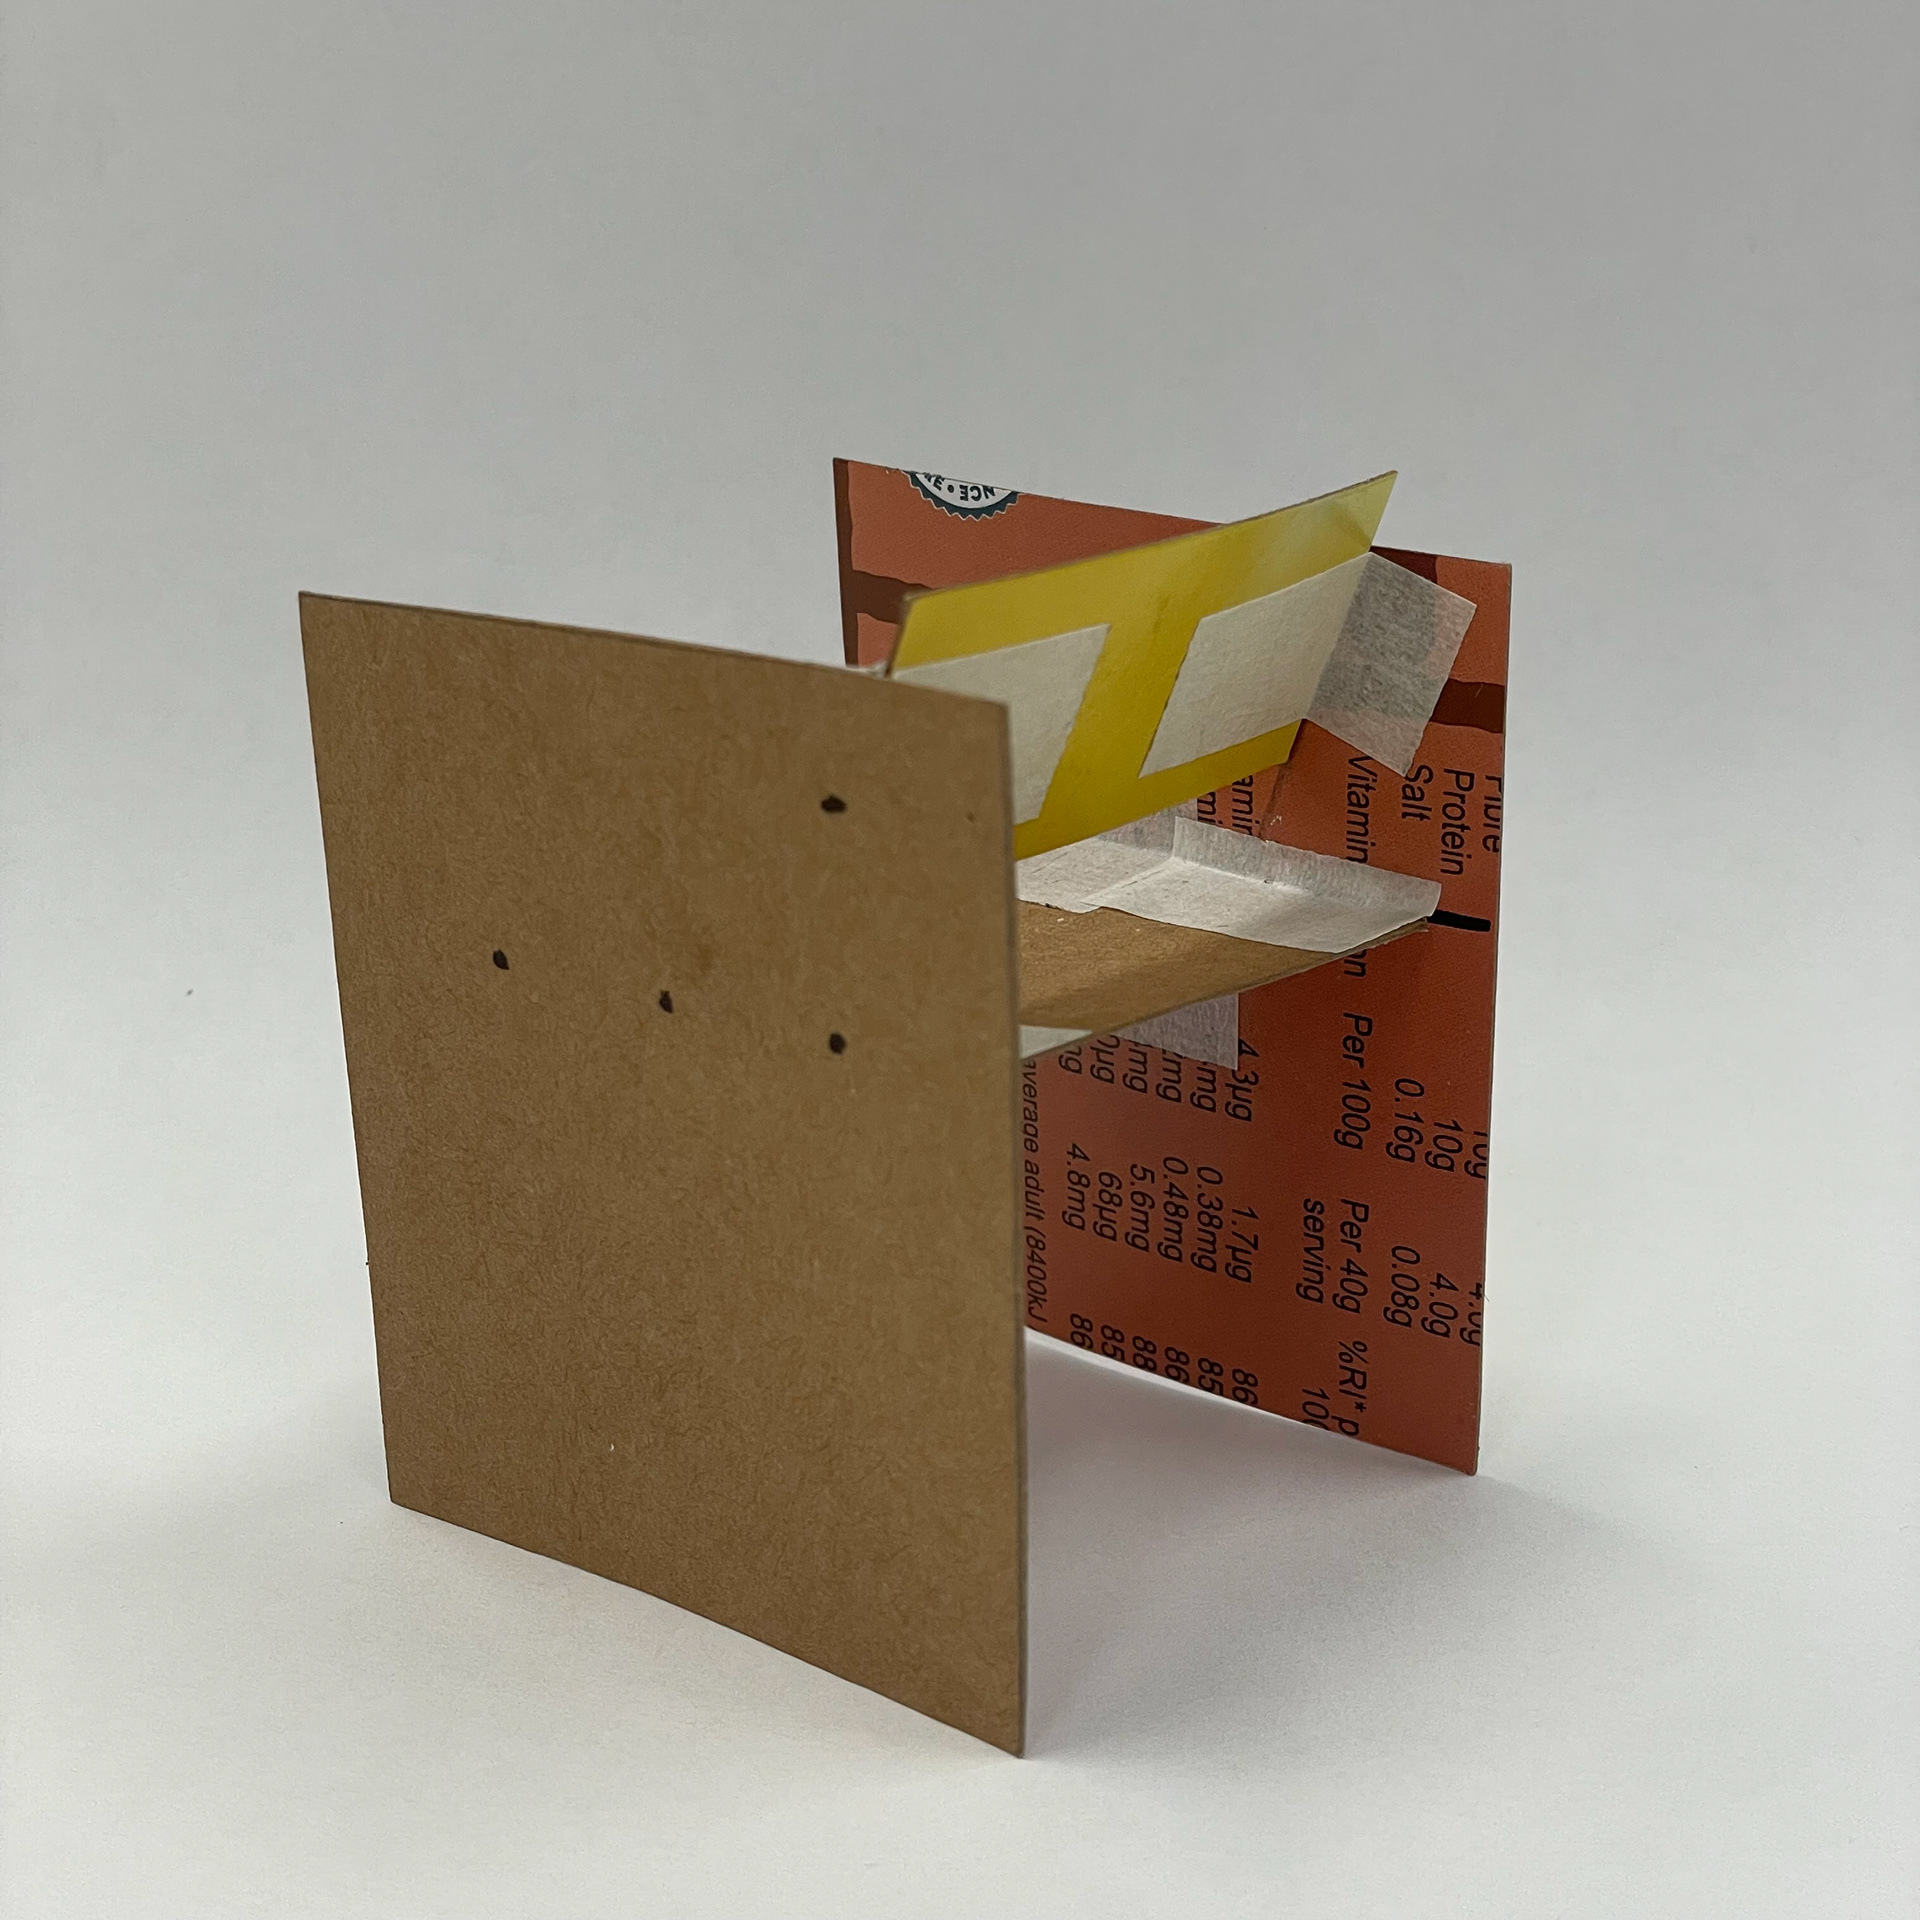
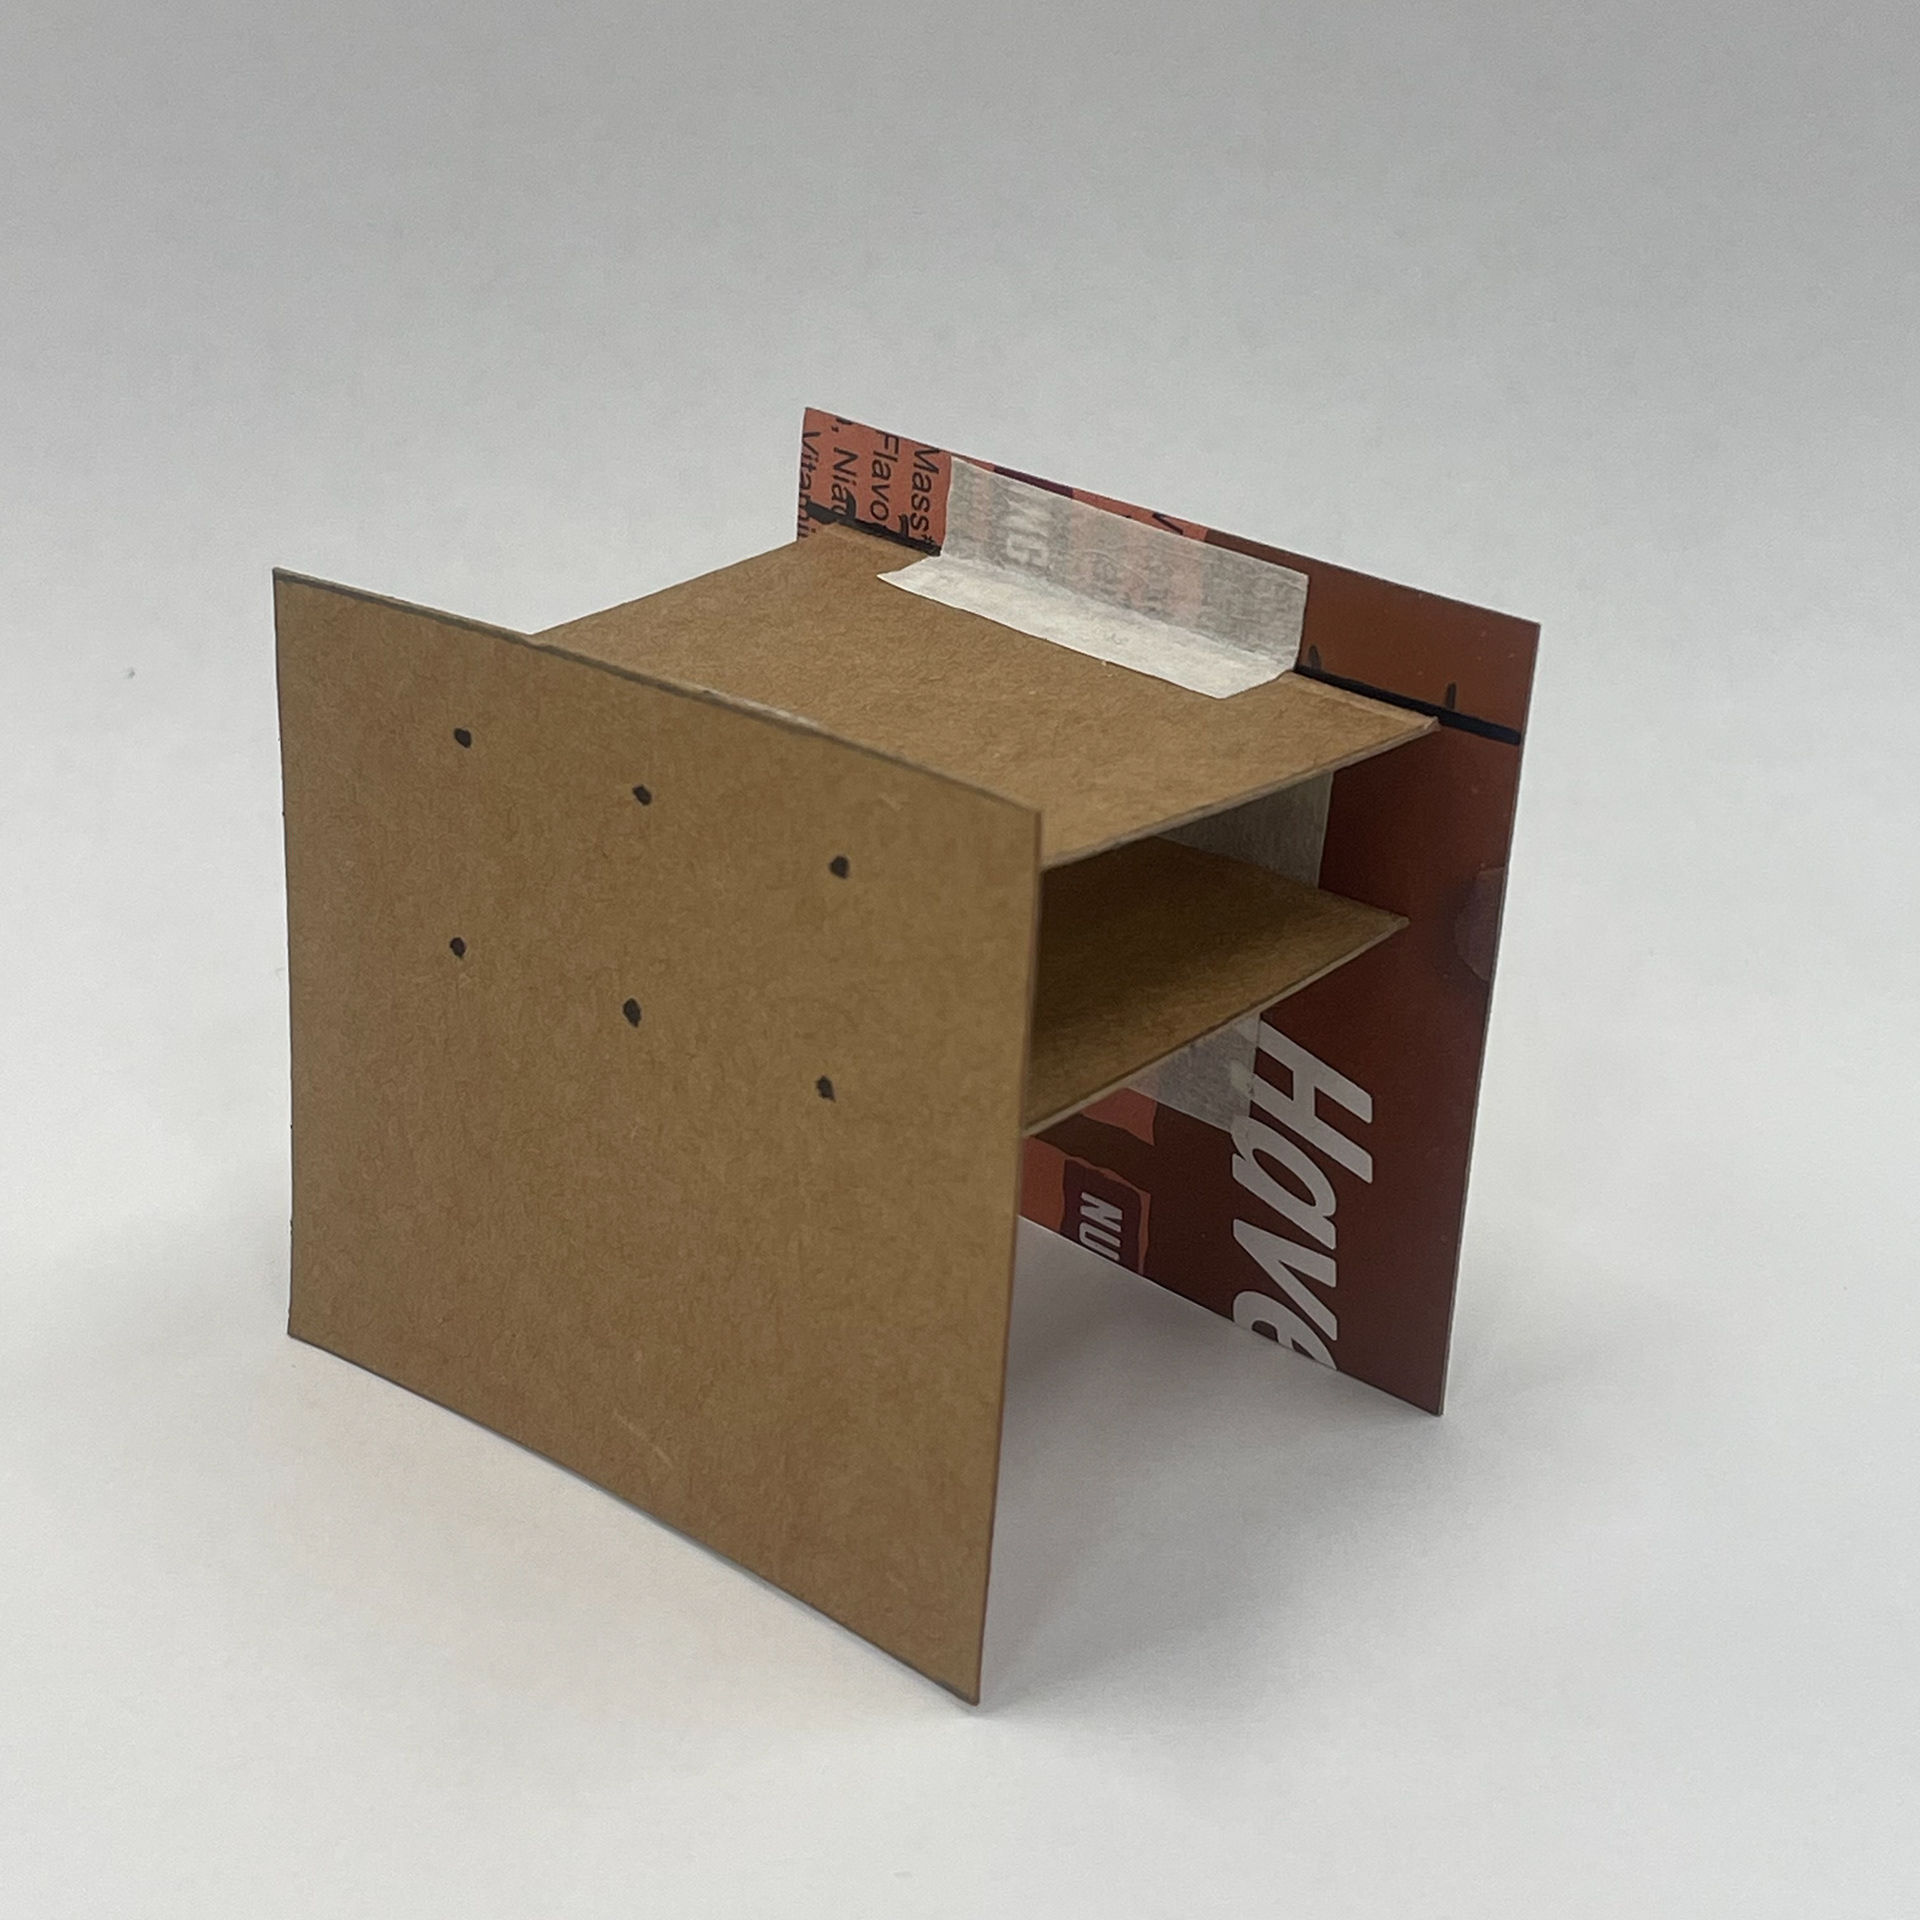
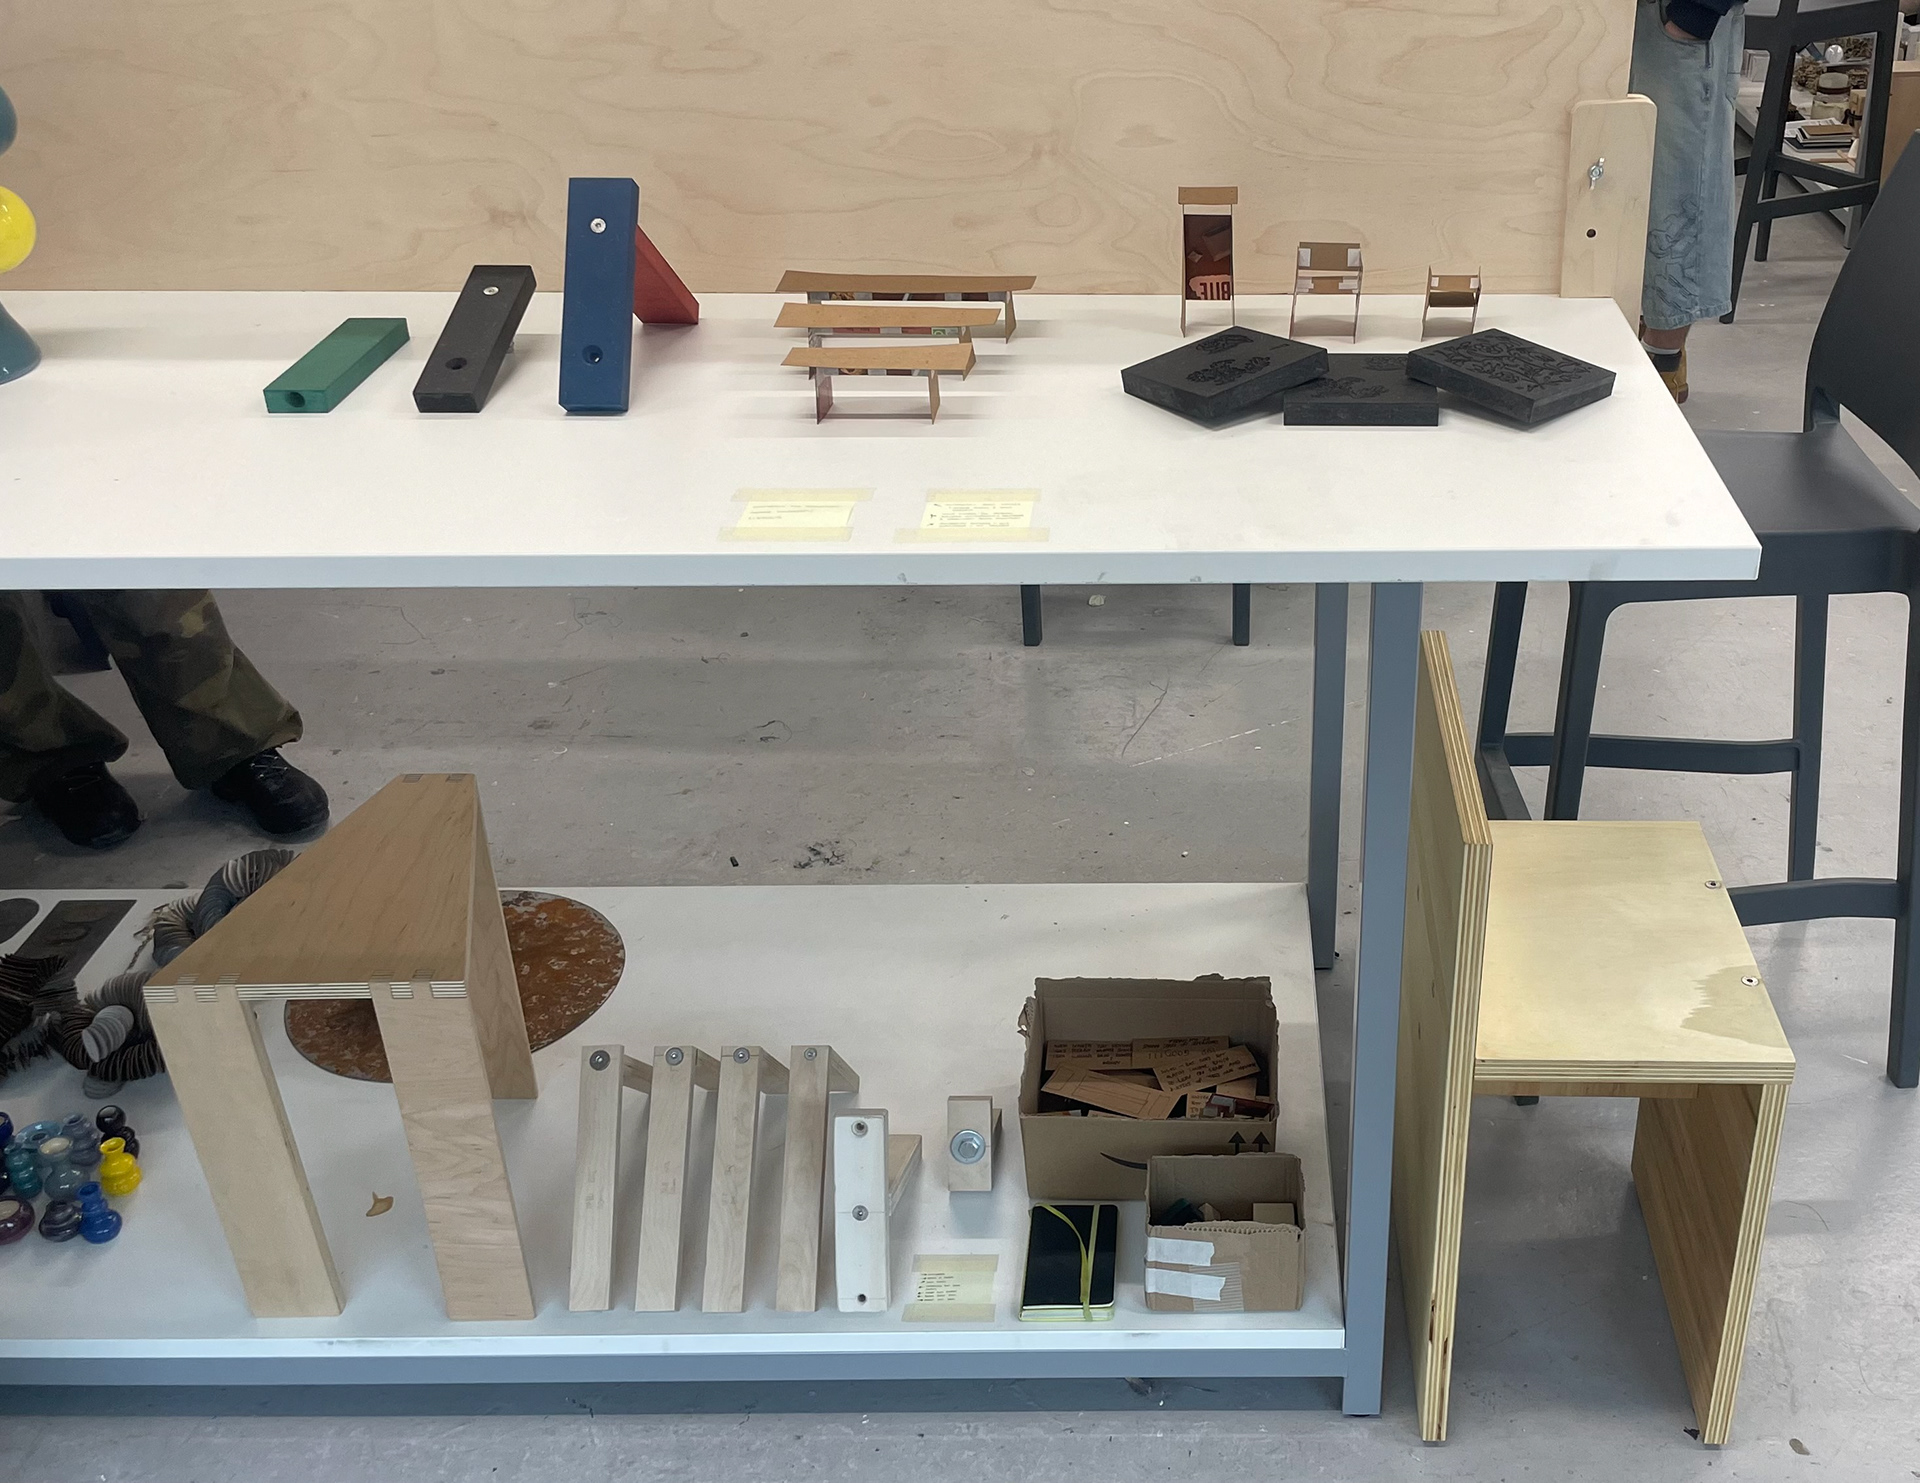
For the collection of furniture I've returned to a couple of my essential touchstones for designing. The first being the nomadic furniture book by James Hennessey, Victor Papanek, this offered some great measurements to use as guides similar to how I referenced existing benches for vertical gallery. I also wanted to reconnect with Donald Judd's furniture, I feel aesthetically they're special but there's nothing you'd consider unique about them in isolation, the consideration and weight each dimension holds has and as a big impact and is something I'd hope to achieve.
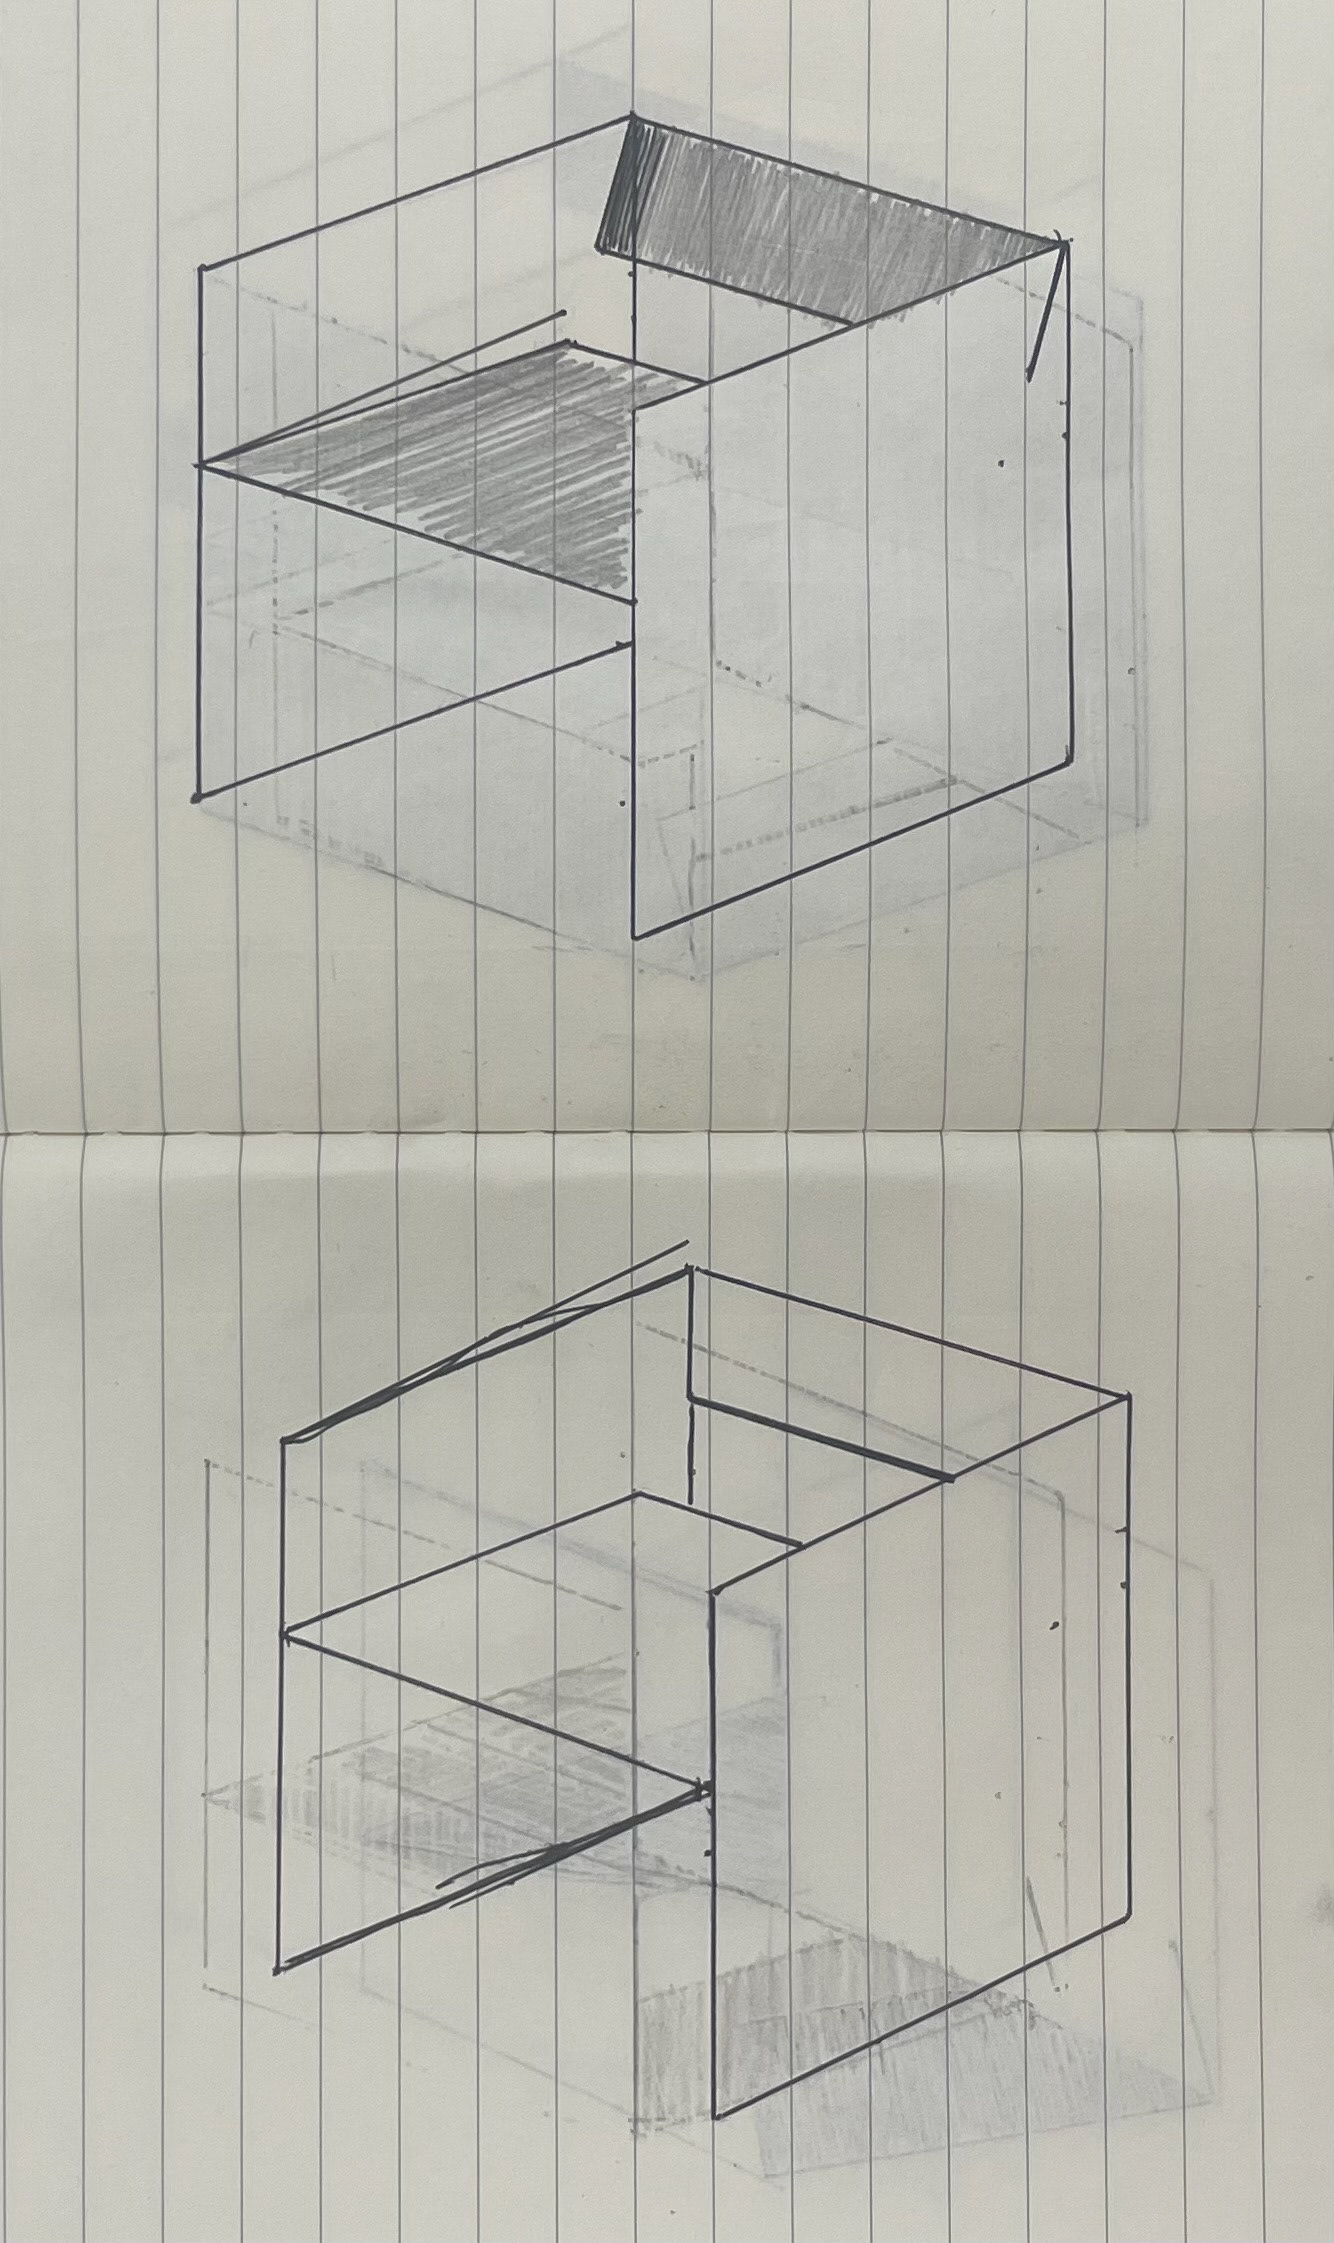
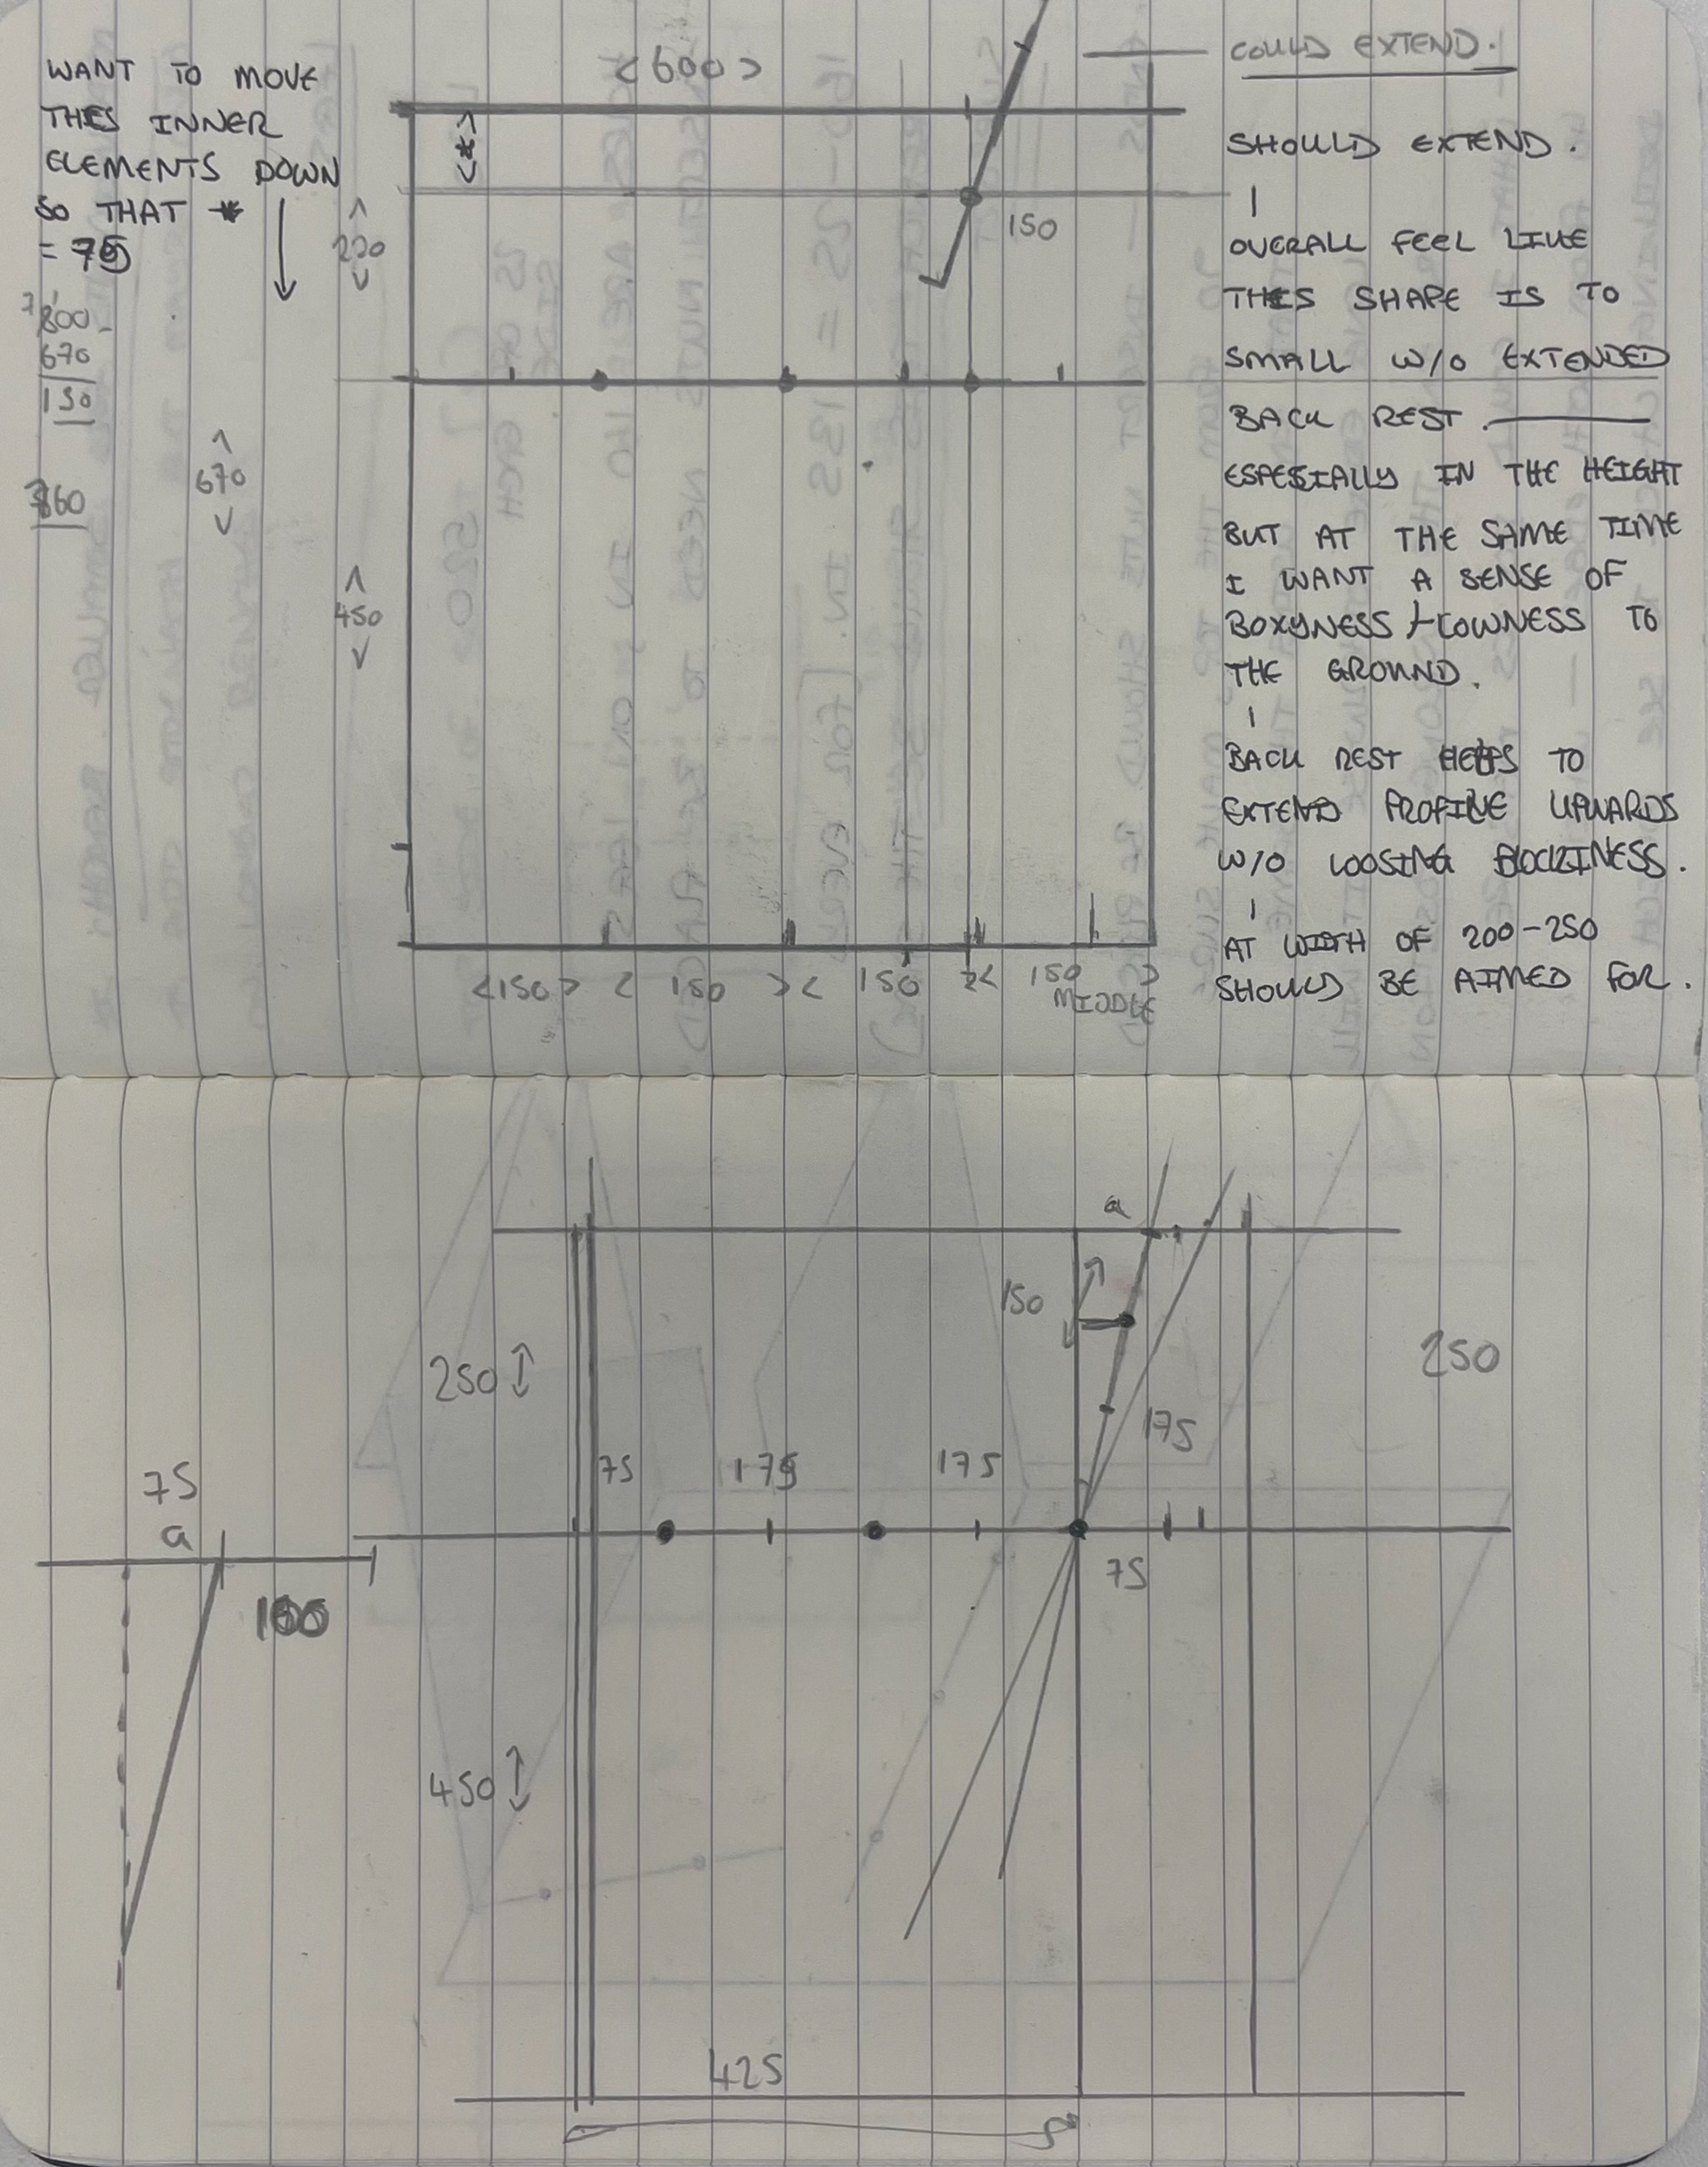
Above: Sketches of chair designs, note the possibility of a second panel under the seat for storage of a cushion or book.
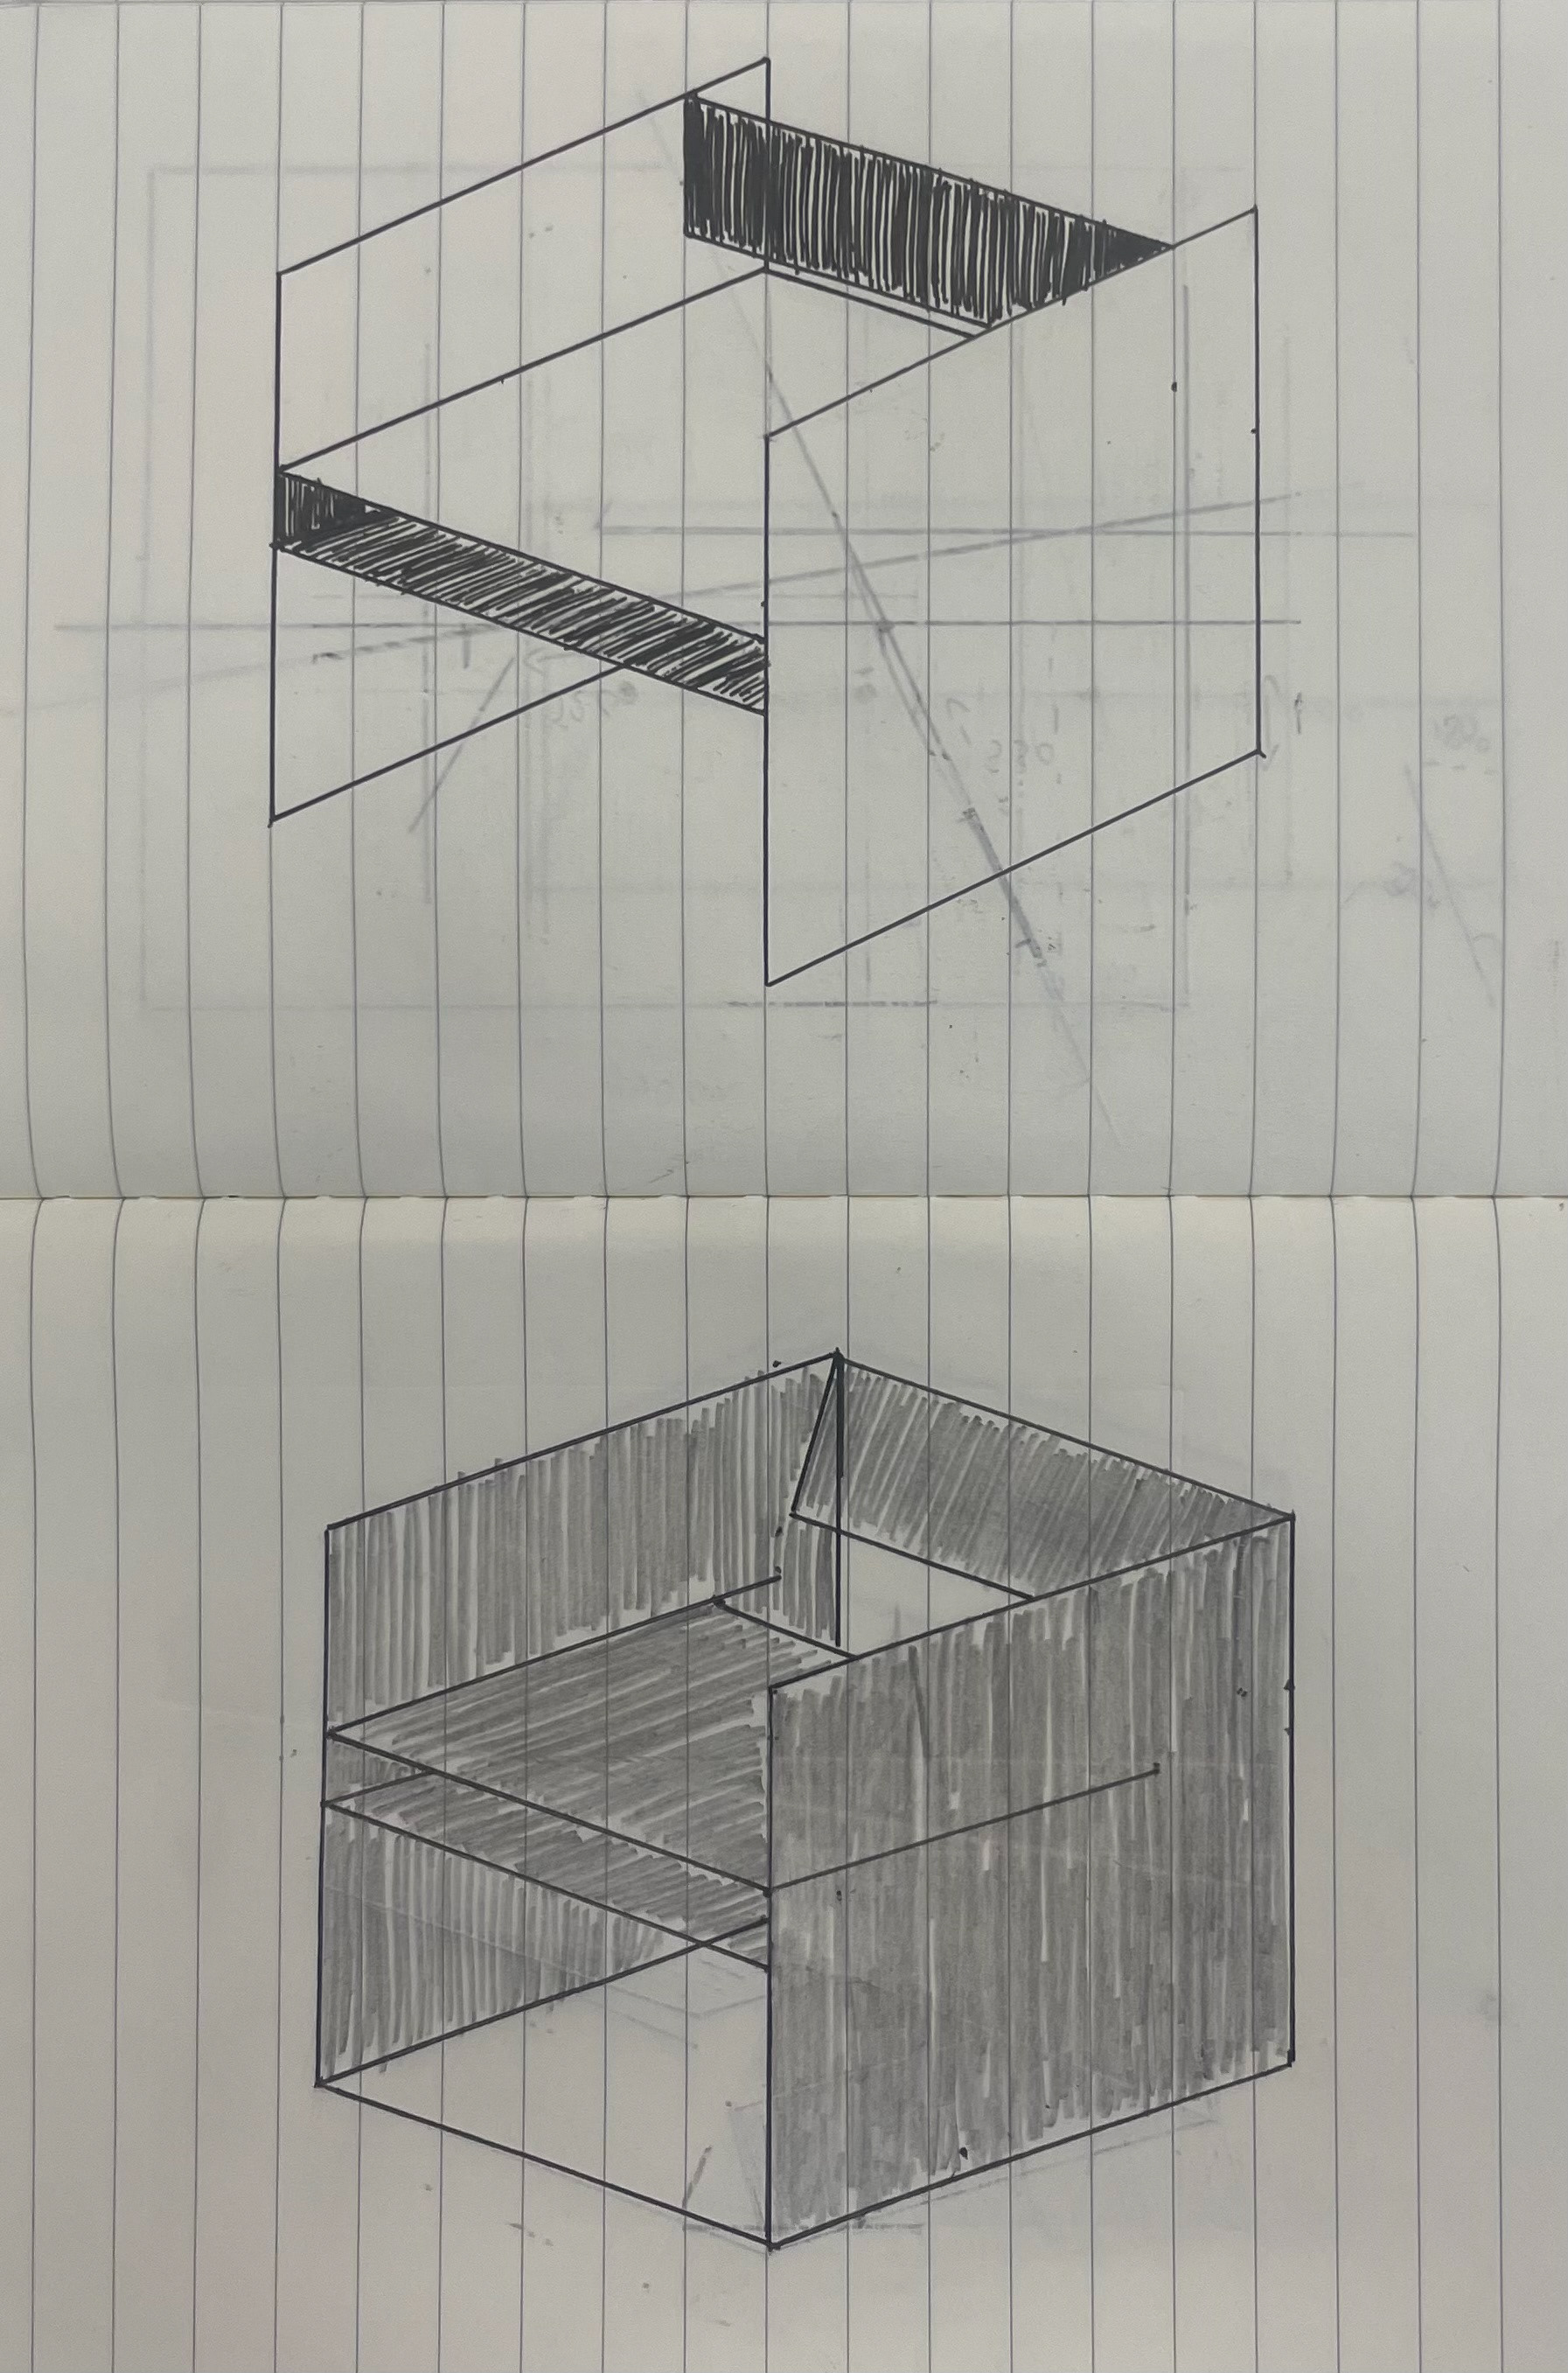
Below: Draft sketches for final pieces depending on modelling being successful.

Above: rejected designs based on the position of bolts, depth or width of seat
Below: designs for a chair and side table as well as a lectern. Note the side tables lower panel has been moved down to make the shelf area more accessible and has the advantage of, gaining aesthetic harmony so to speak as the bolts are equal distances aways.
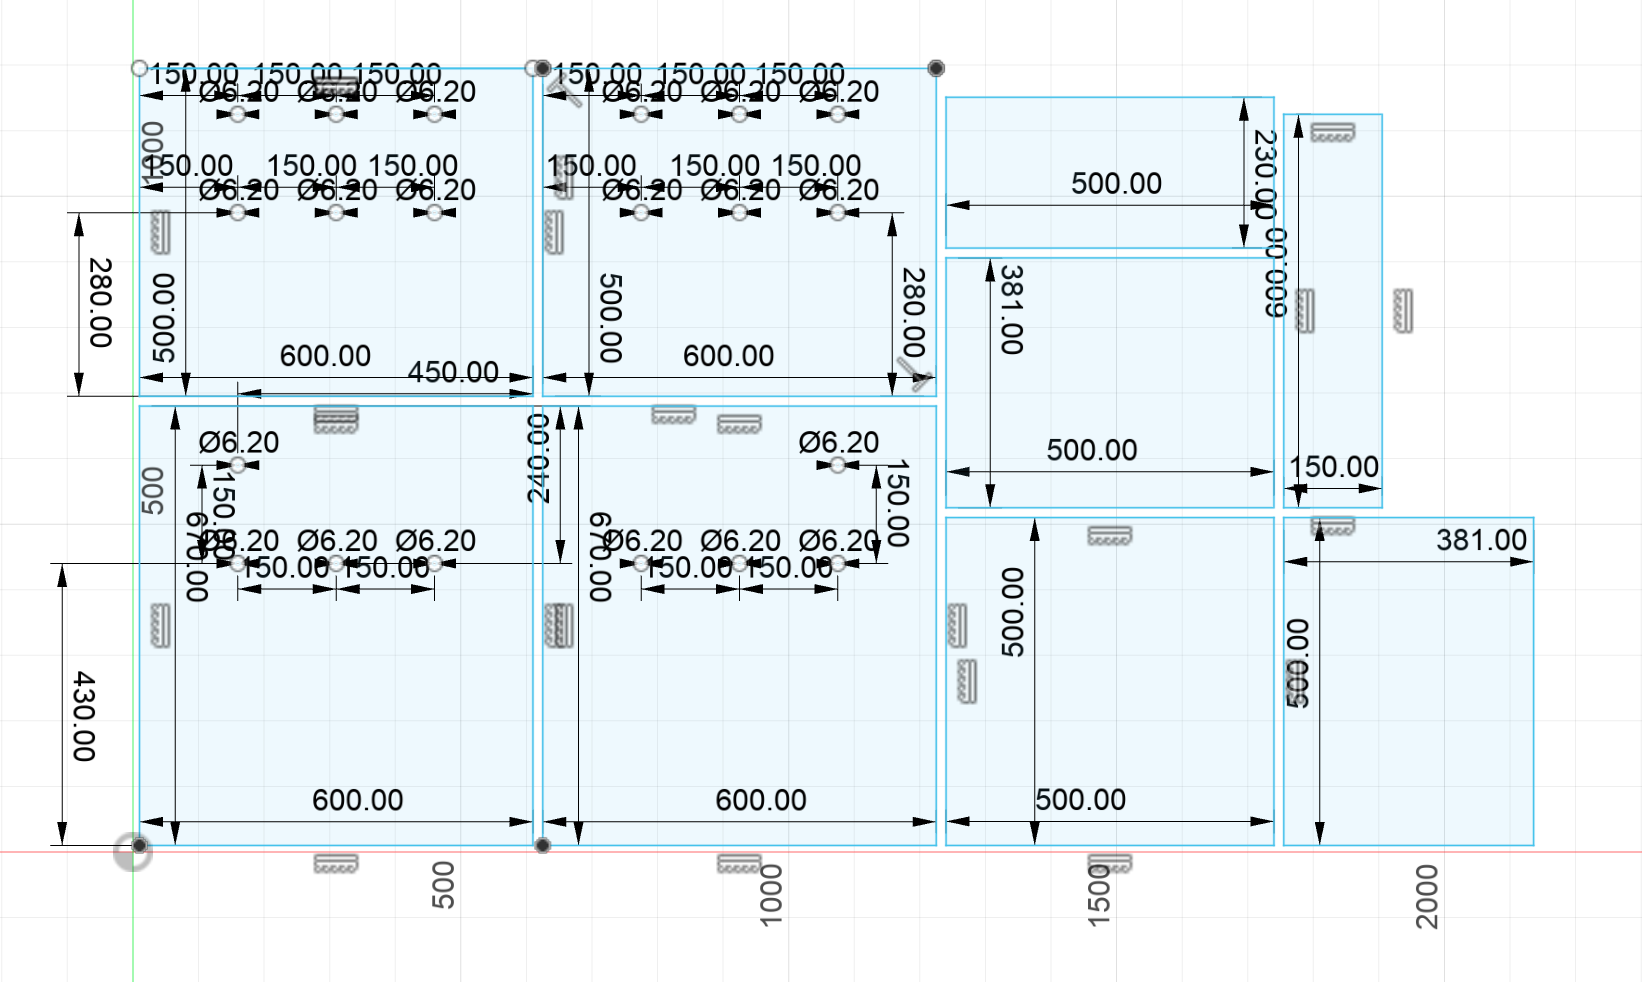
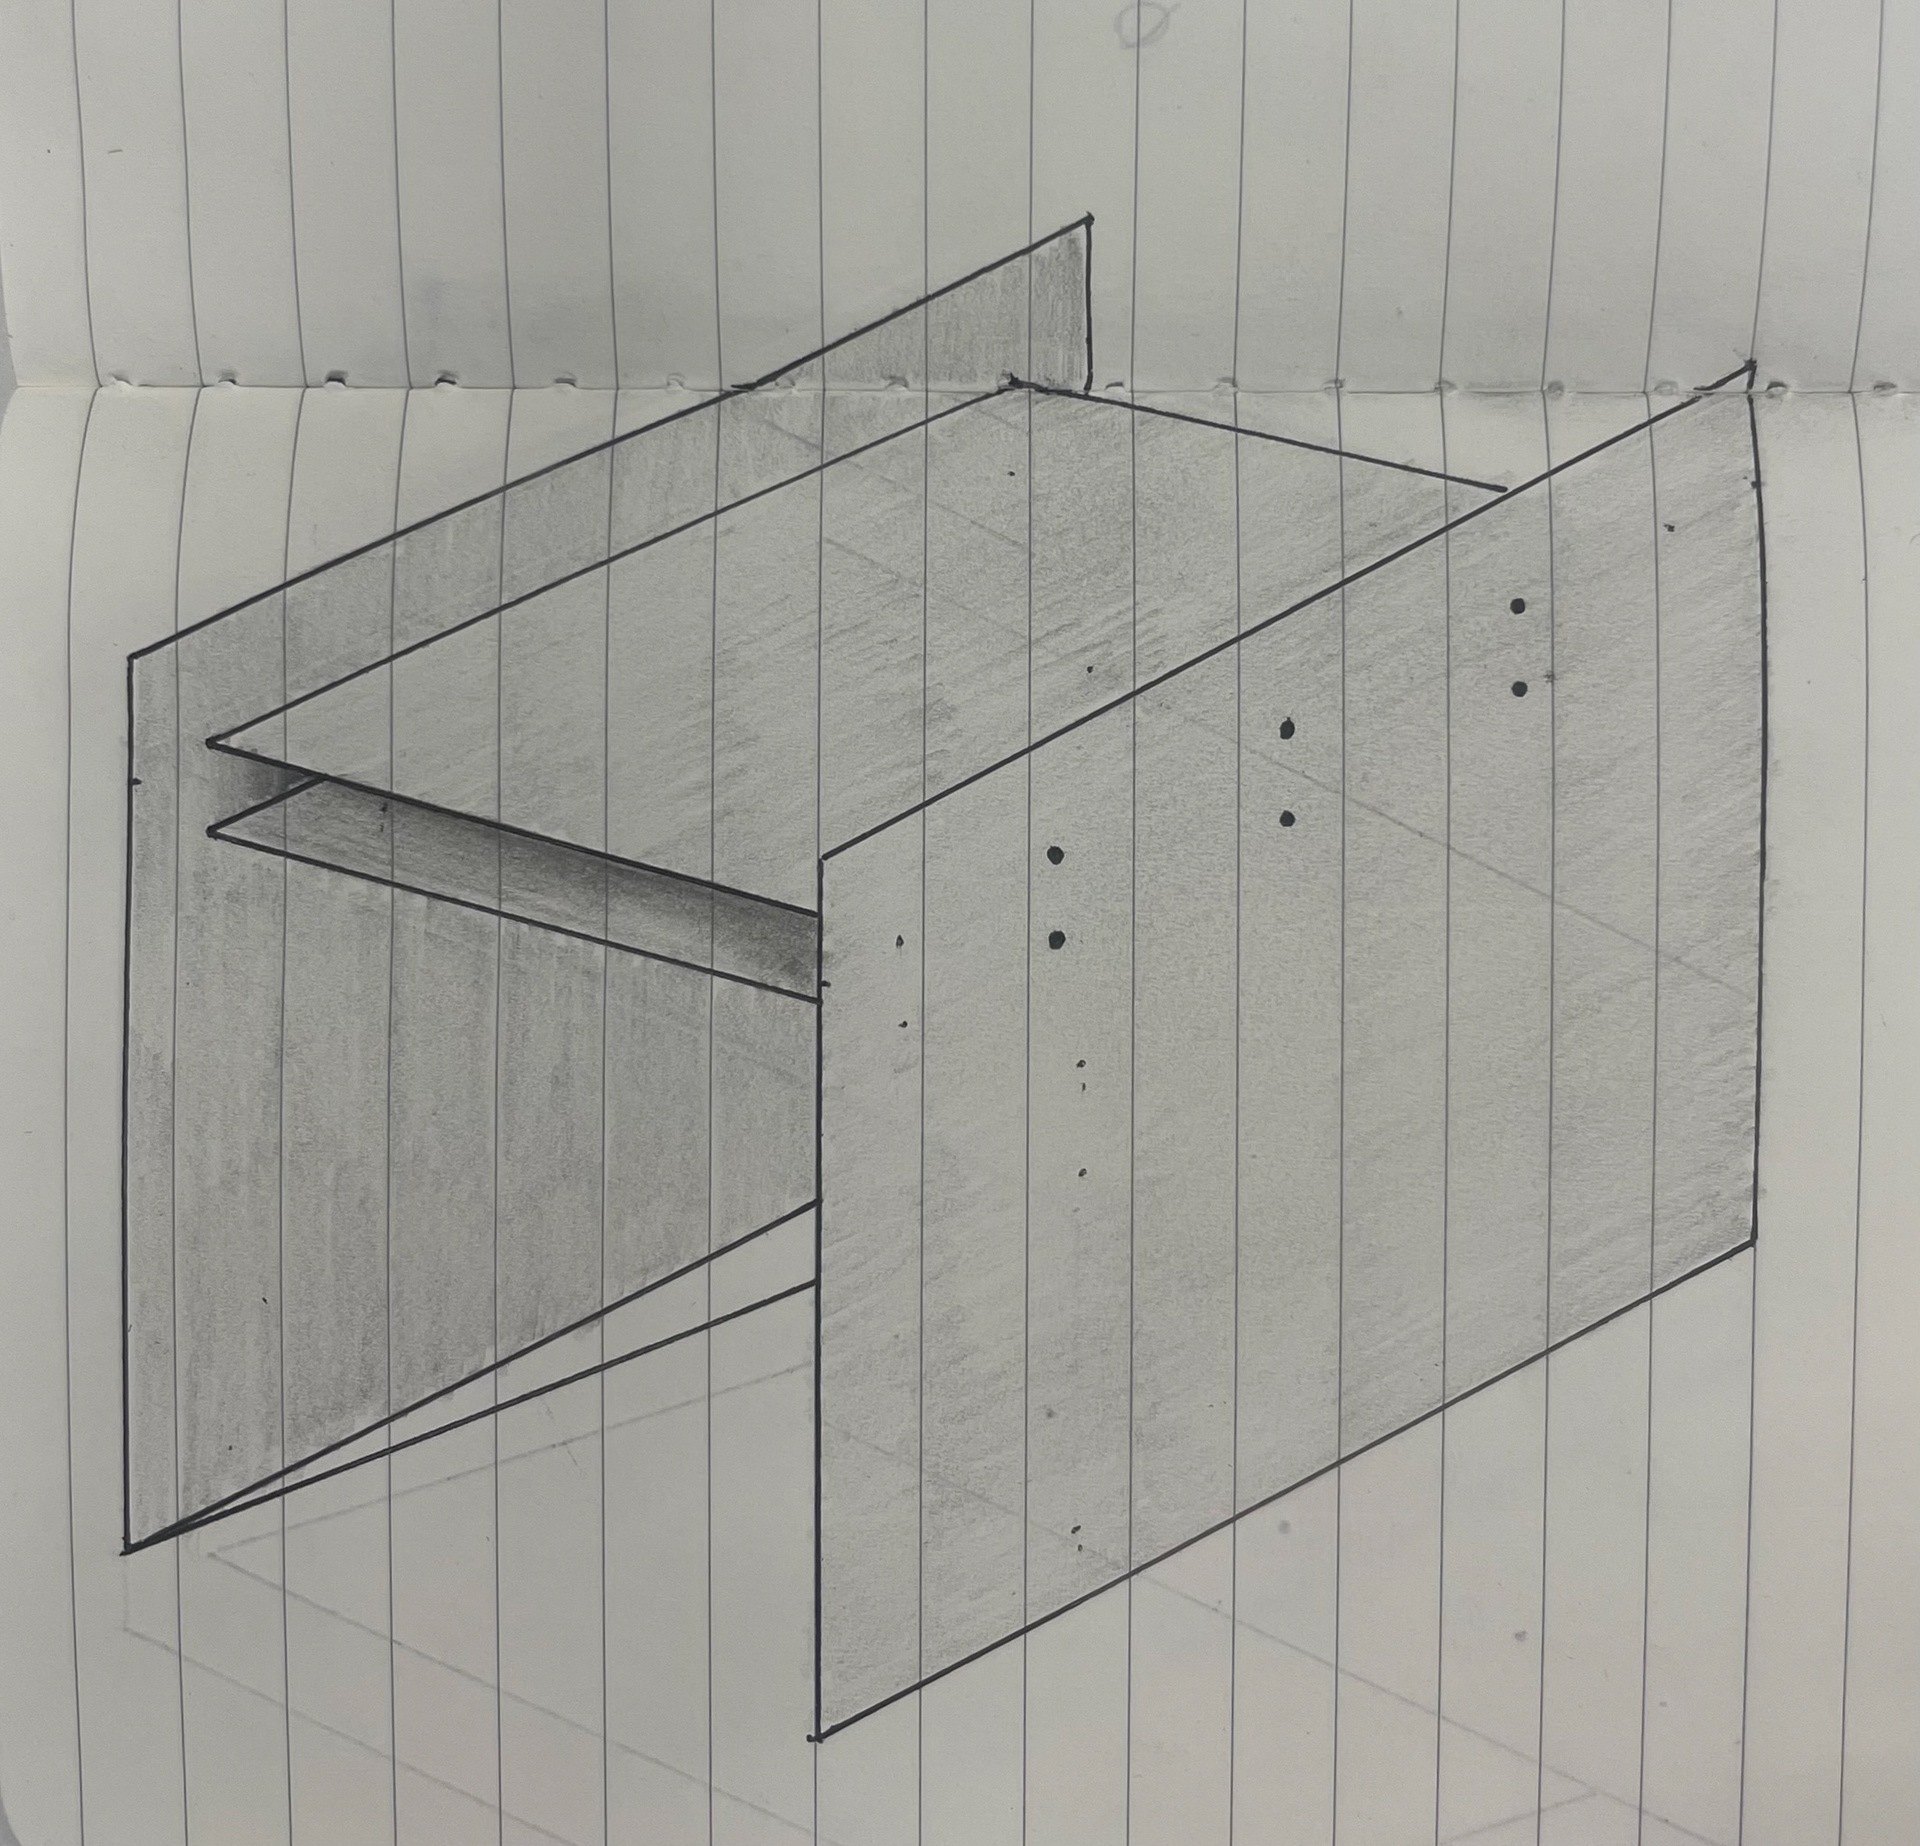
CAD model - engraving design - Working out a plan for manufacture
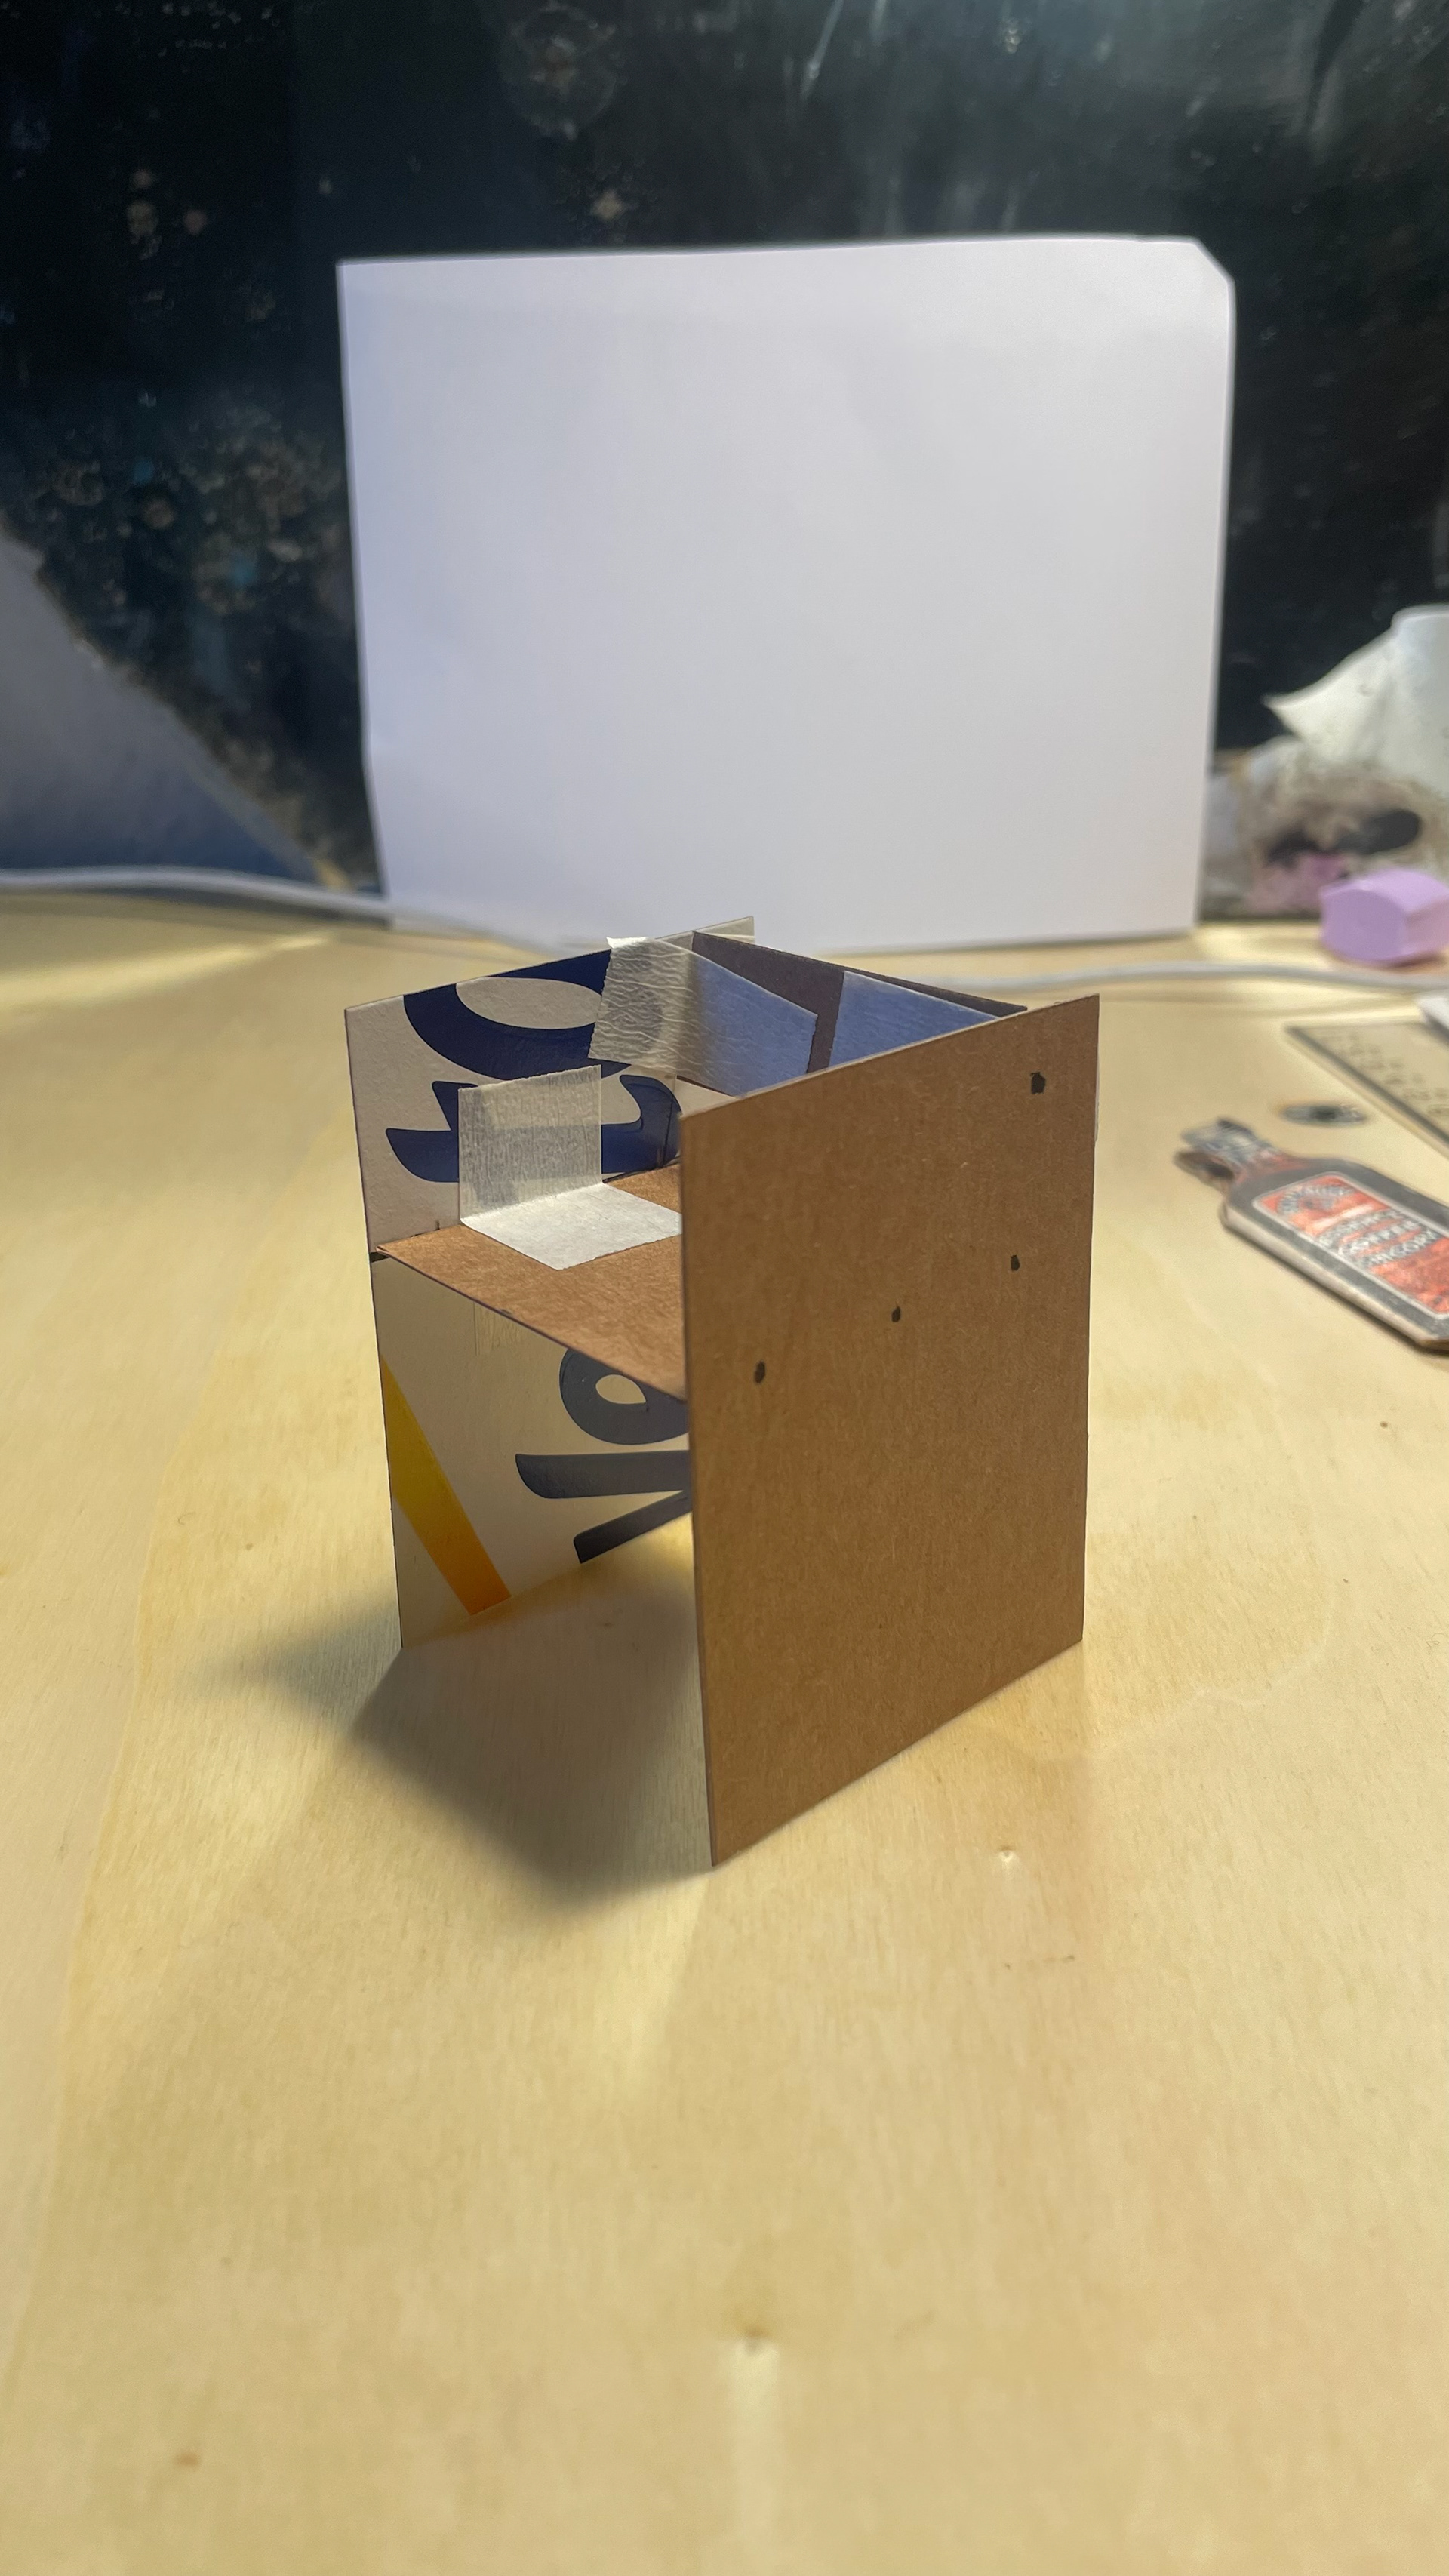
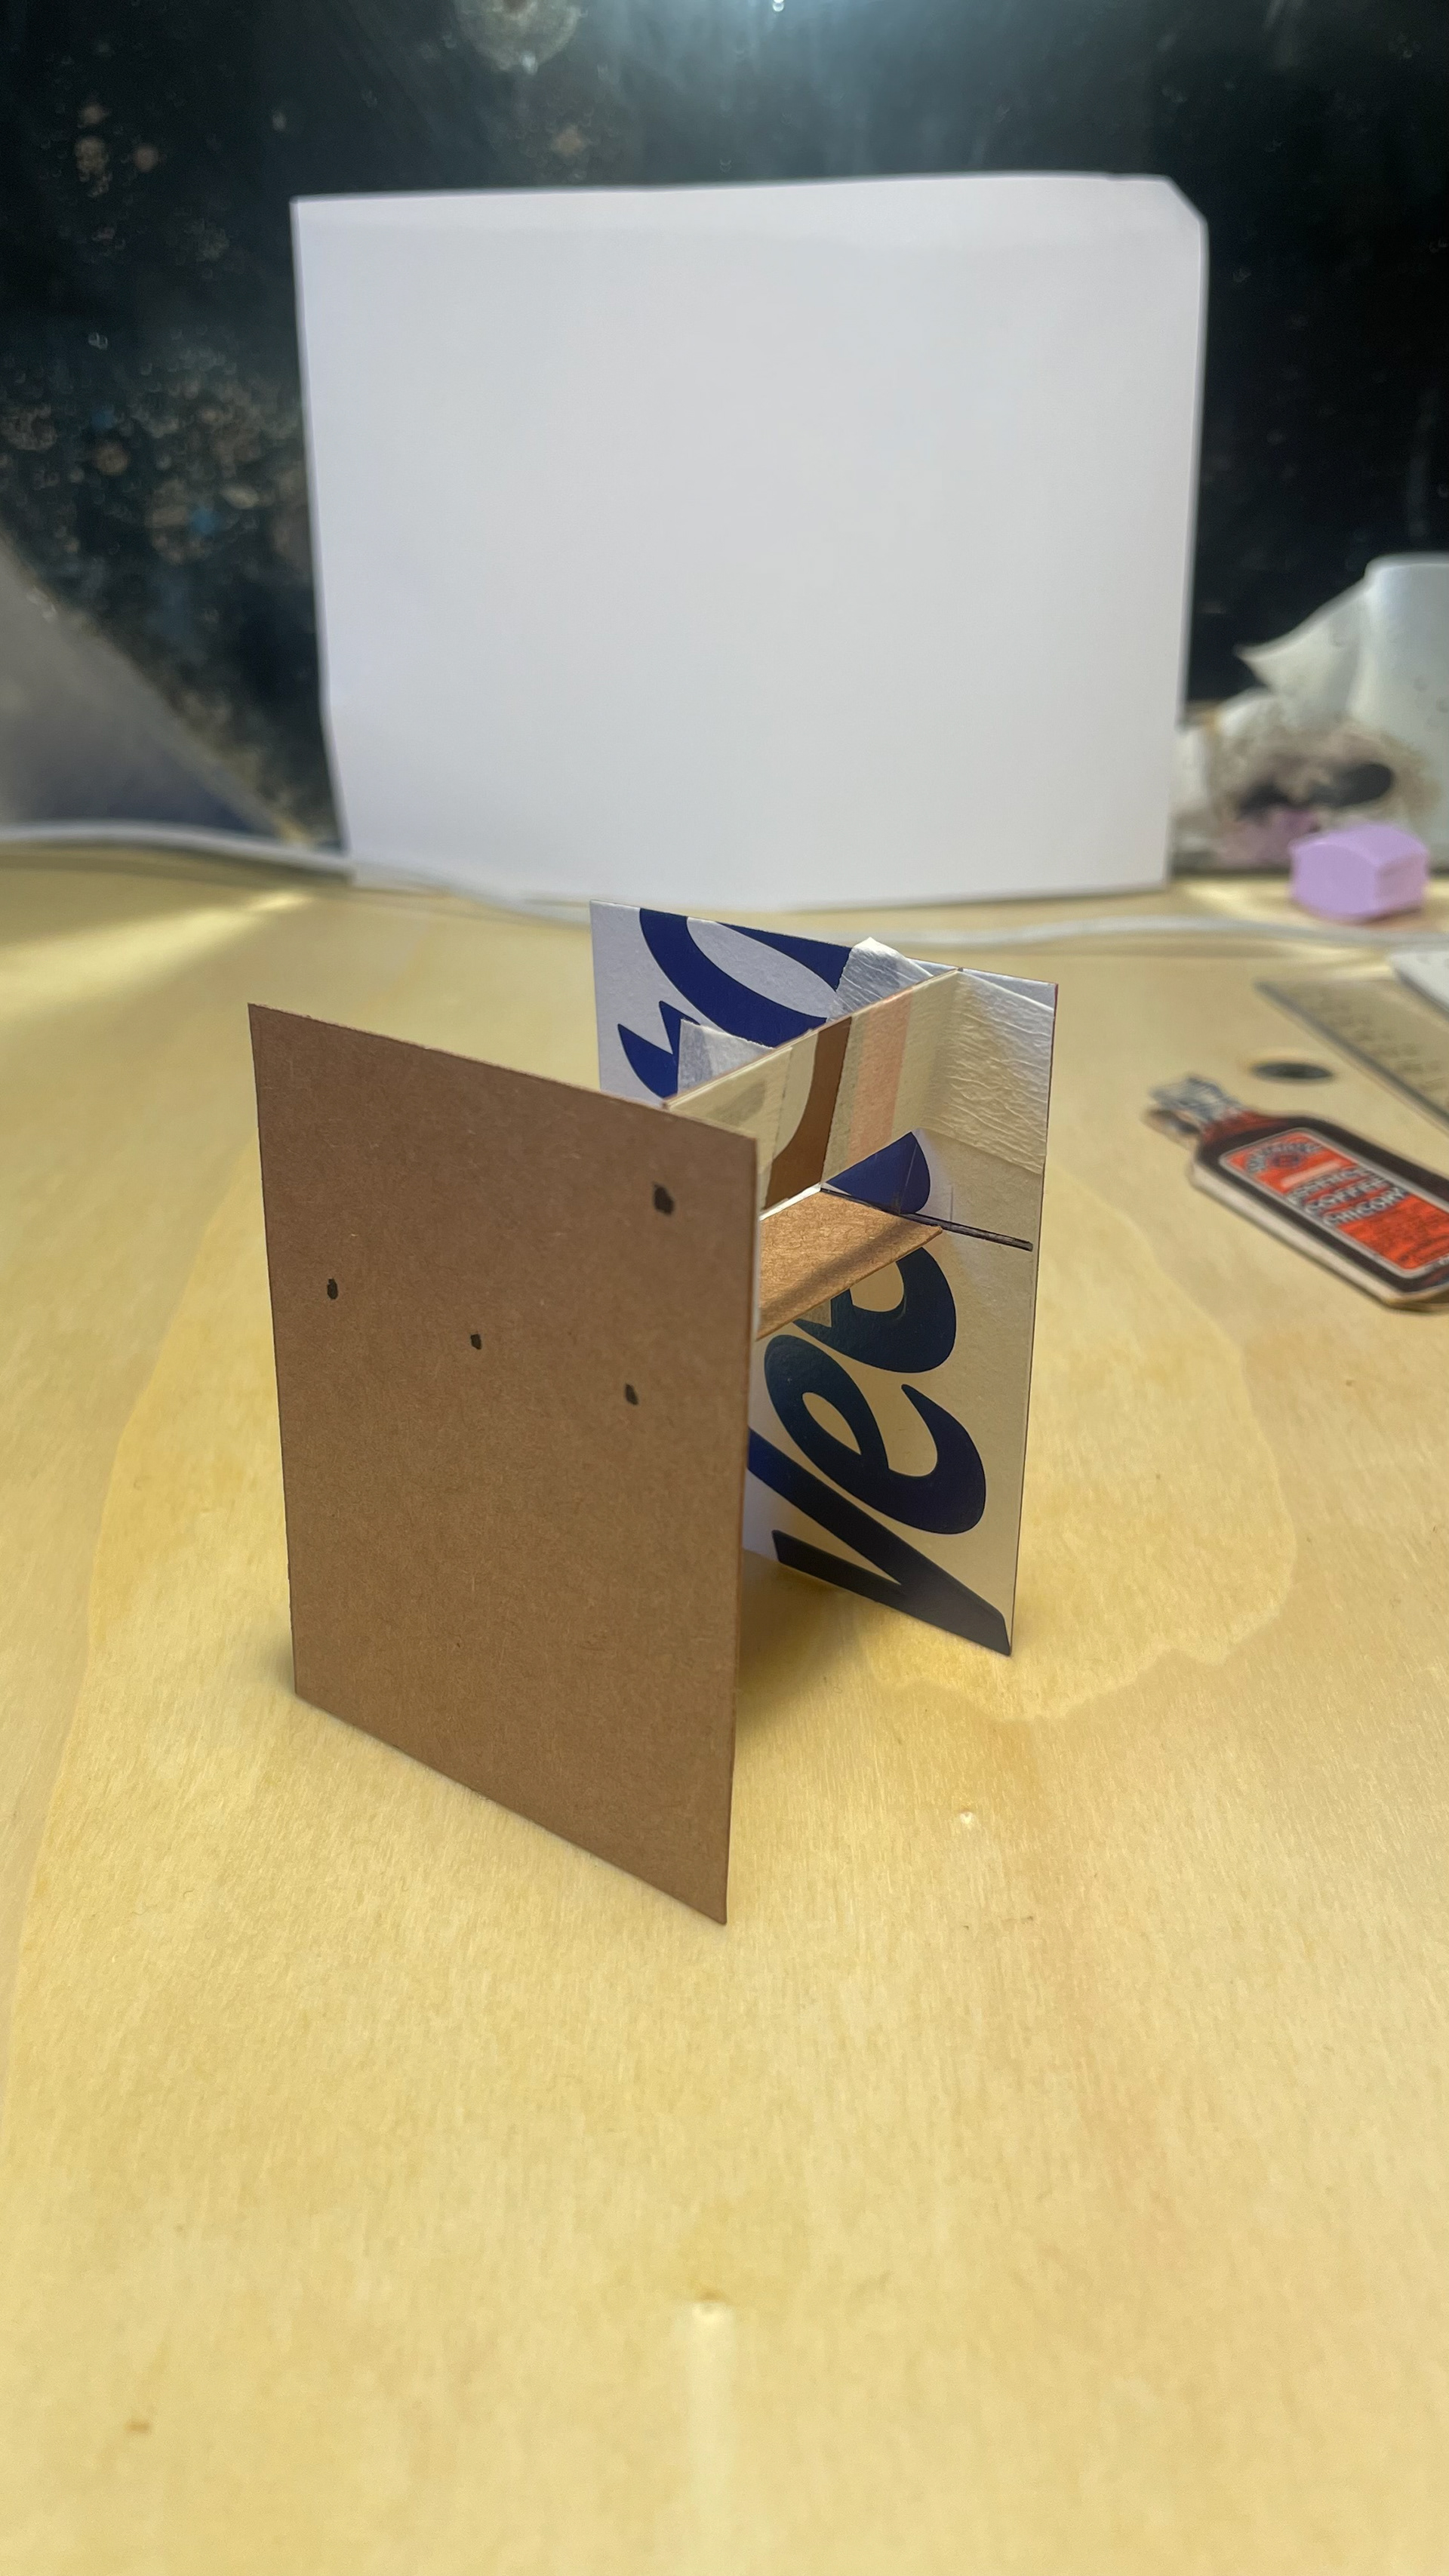
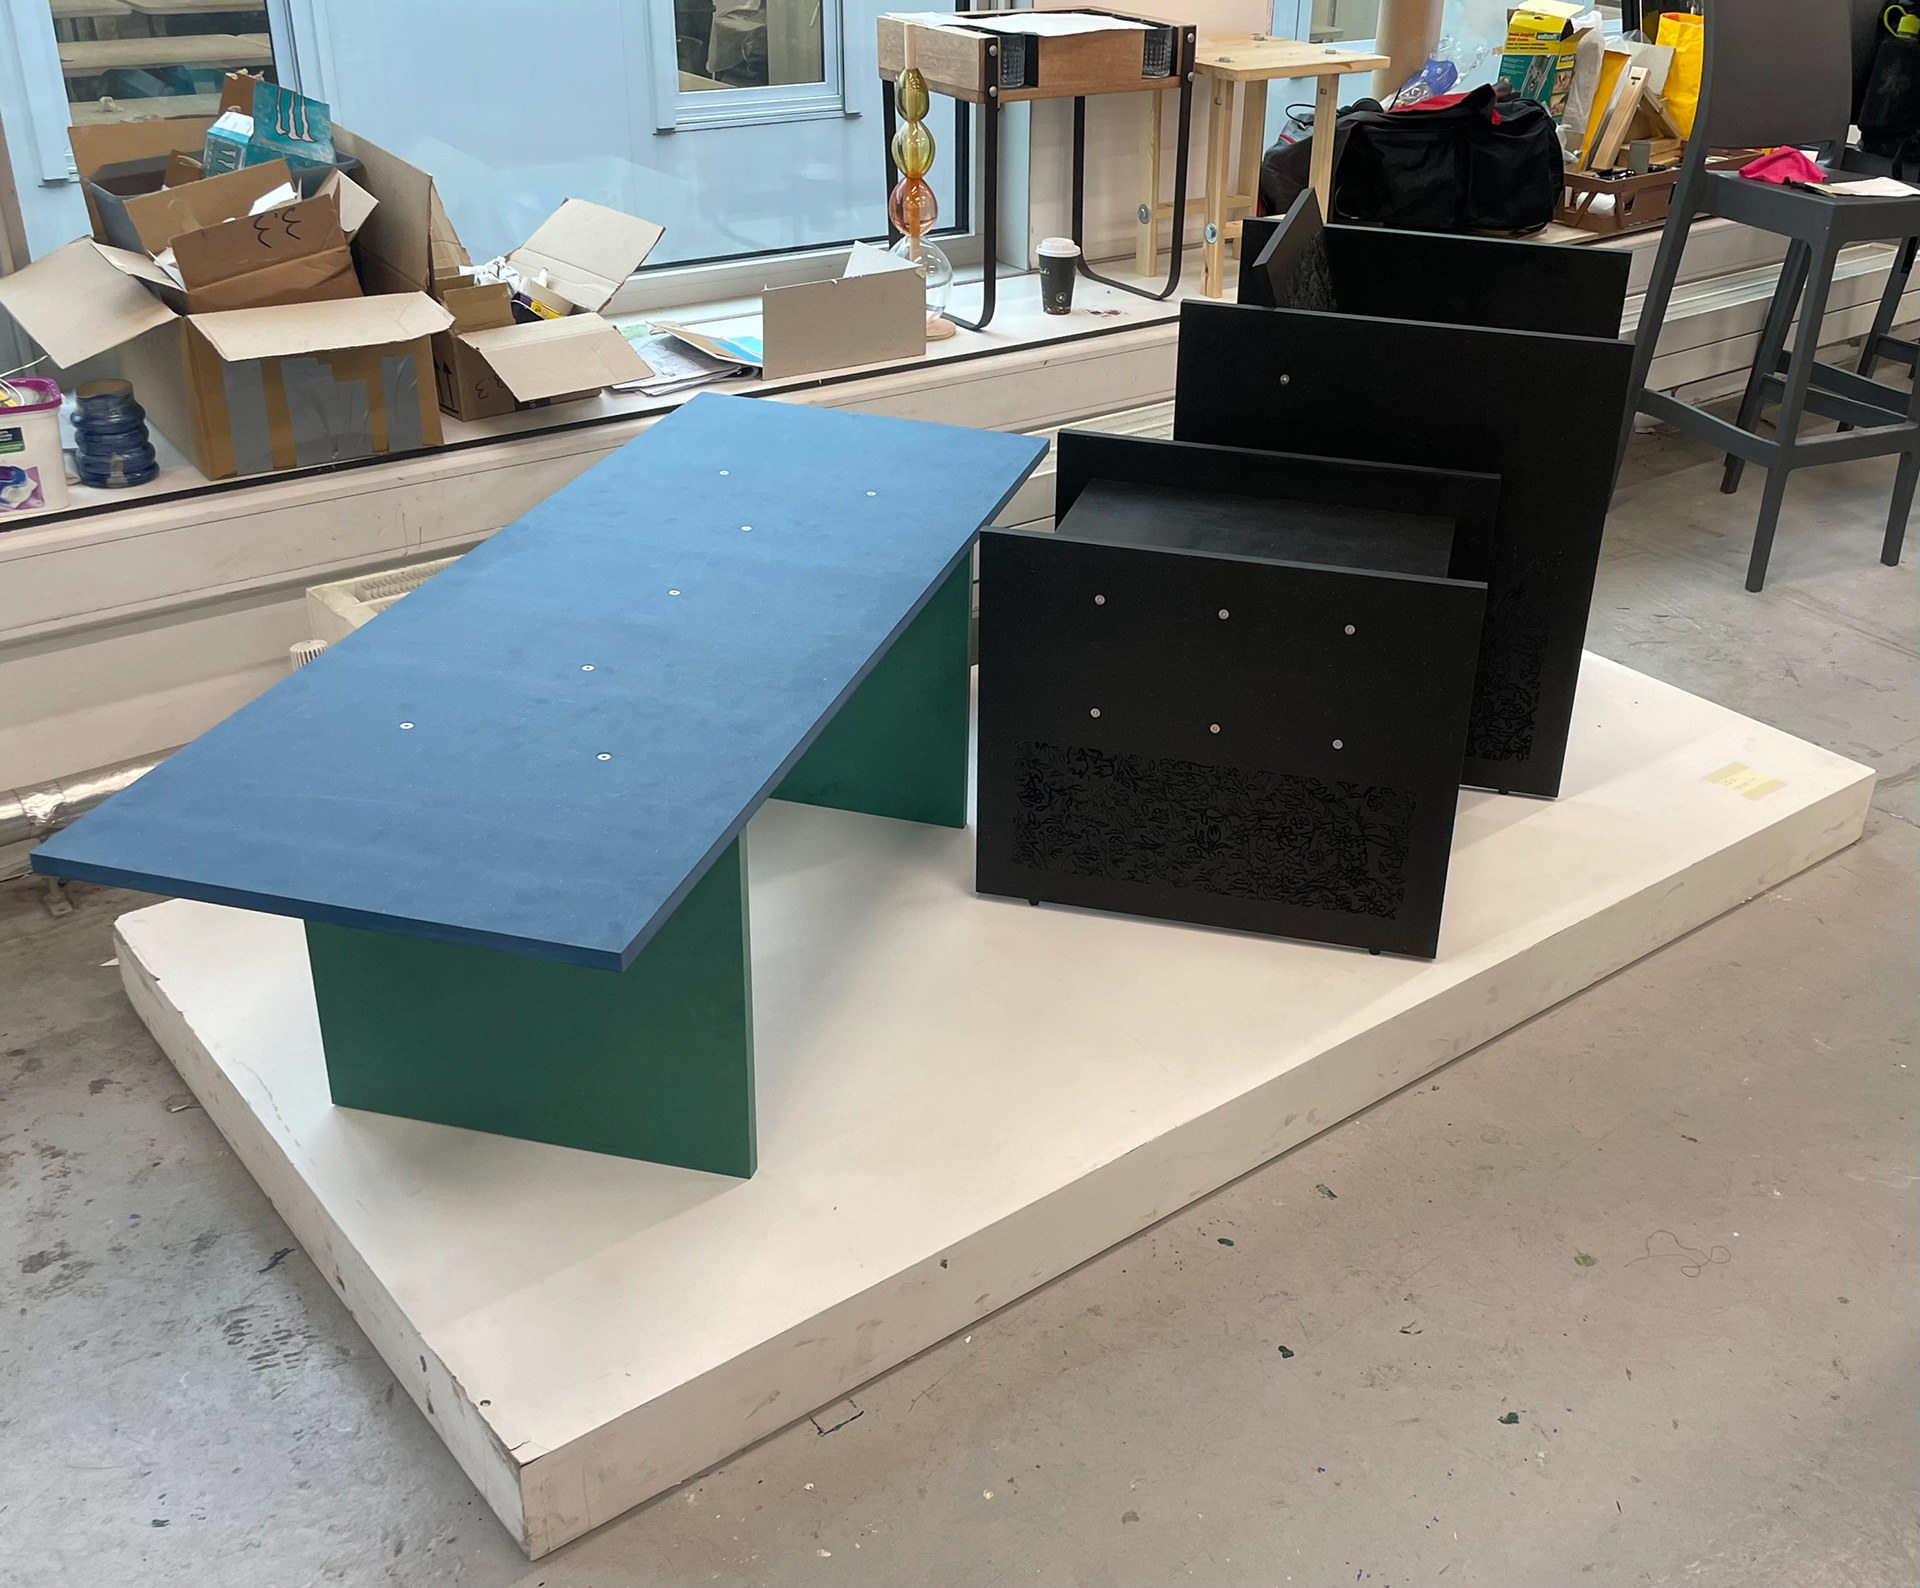
Above is the CAD model for the final pieces of furniture again I've tried to maximise the components being cut out of the board but it was more difficult that excepted due to the unavailability of the CNC machine in university. The solution to this problem in the CAD model was to not include the lectern design and instead opt for space to test and for spear panels to be made if needed.
The reason only one board was available is because I took the board over to M3 industries in Salford. This experience really tested my ability to organise and communicate efficiently with people outside of the university. Not only did I have to explain the work which was required, I also had to organise the moving of the board, these things probably wouldn't have been as easy had it not been for the lessons learnt early in the project with the Withington Baths Video I made. This time I organised to meet with a man with a van and the day ran as smoothy as possible. I even got offered a job, but I'm not sure how relevant to this project that is or serious the offer was.
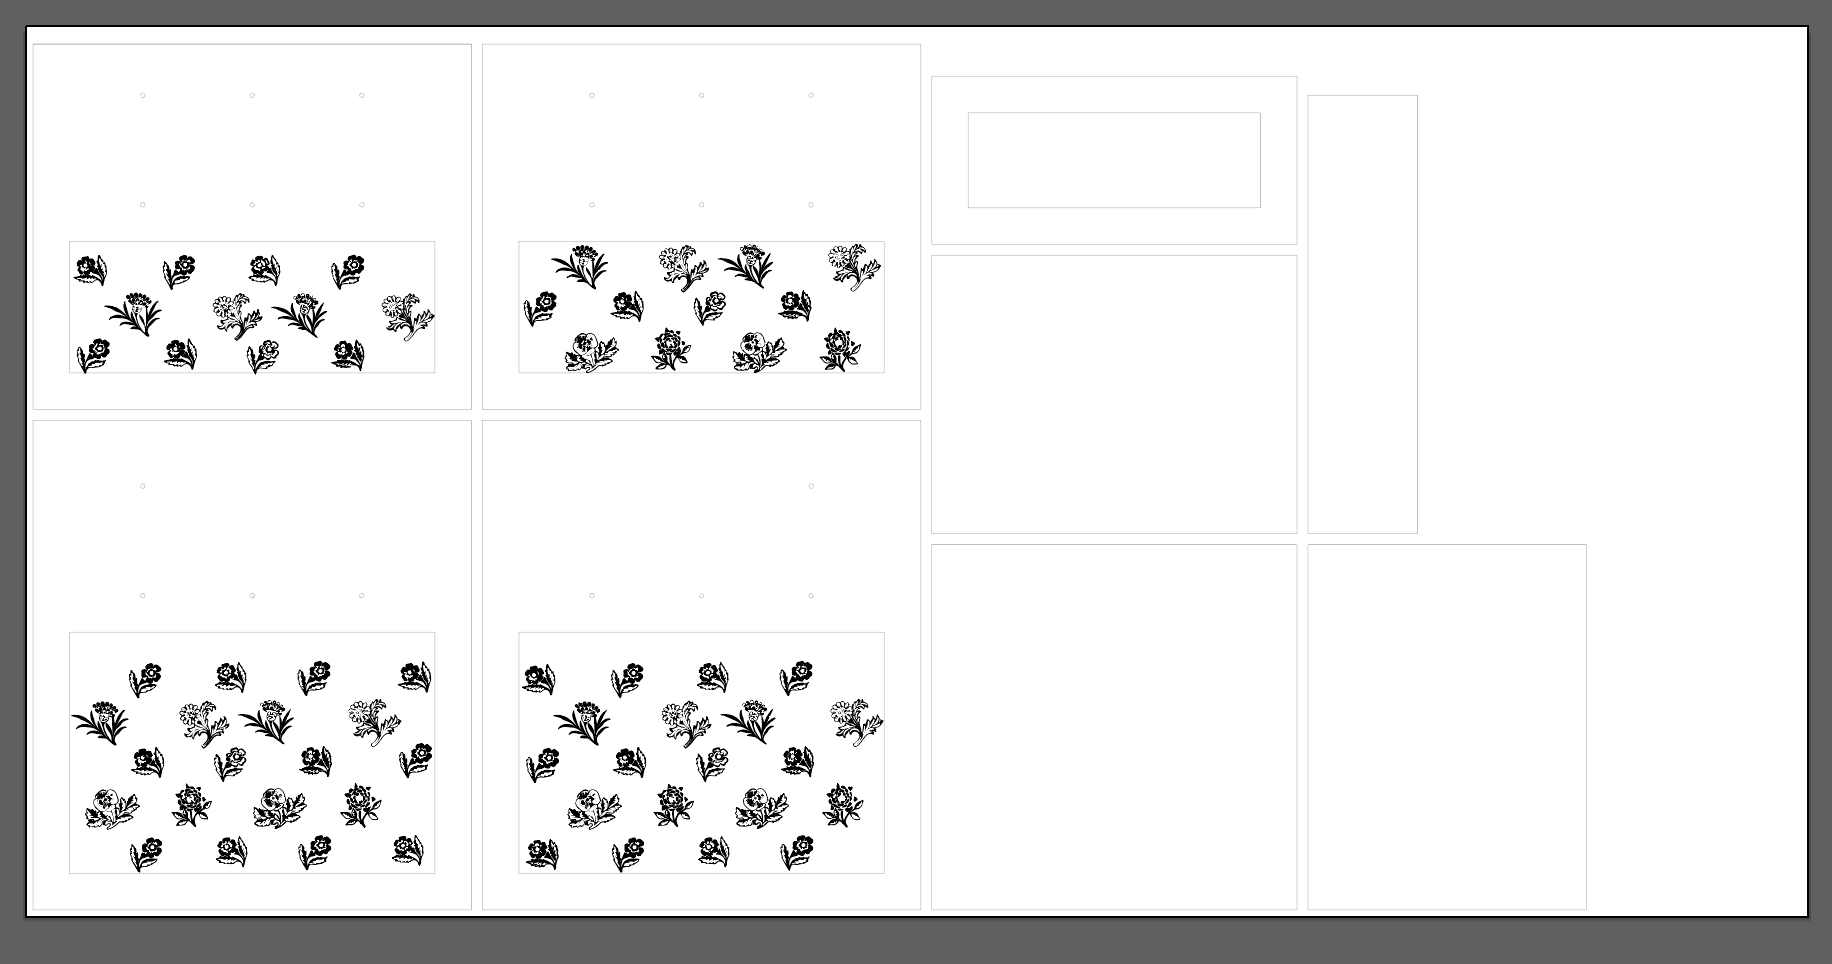
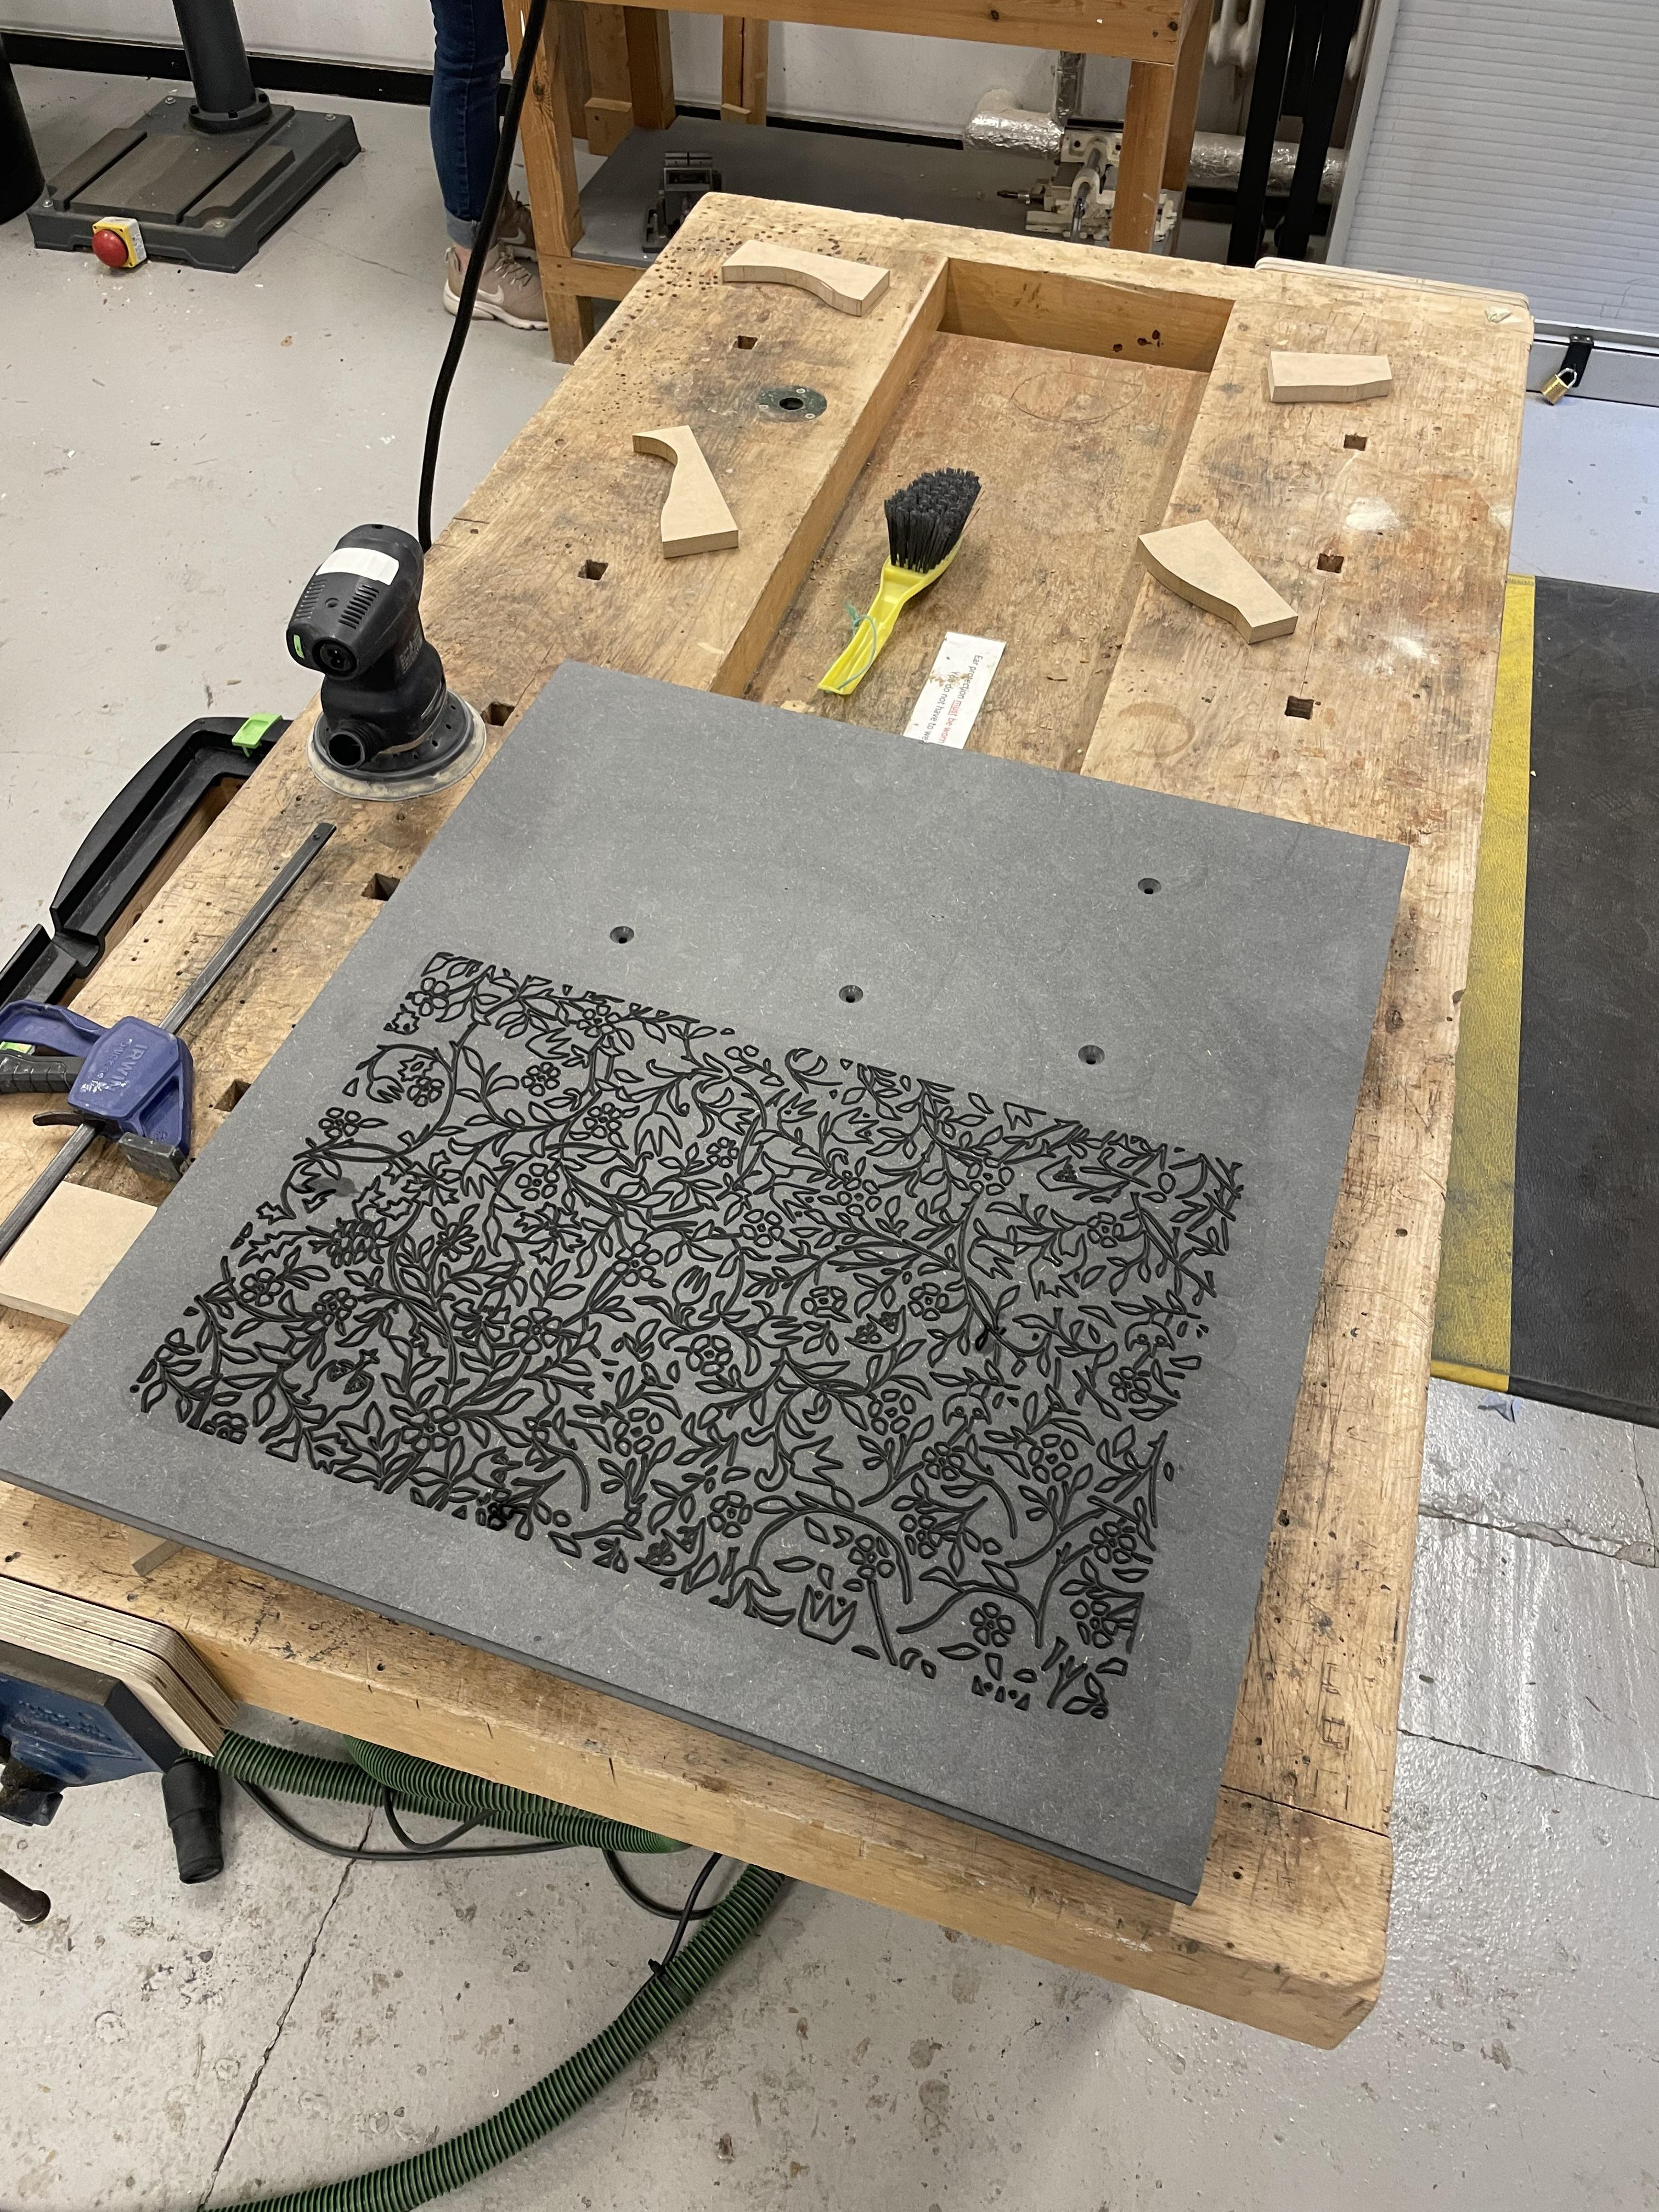
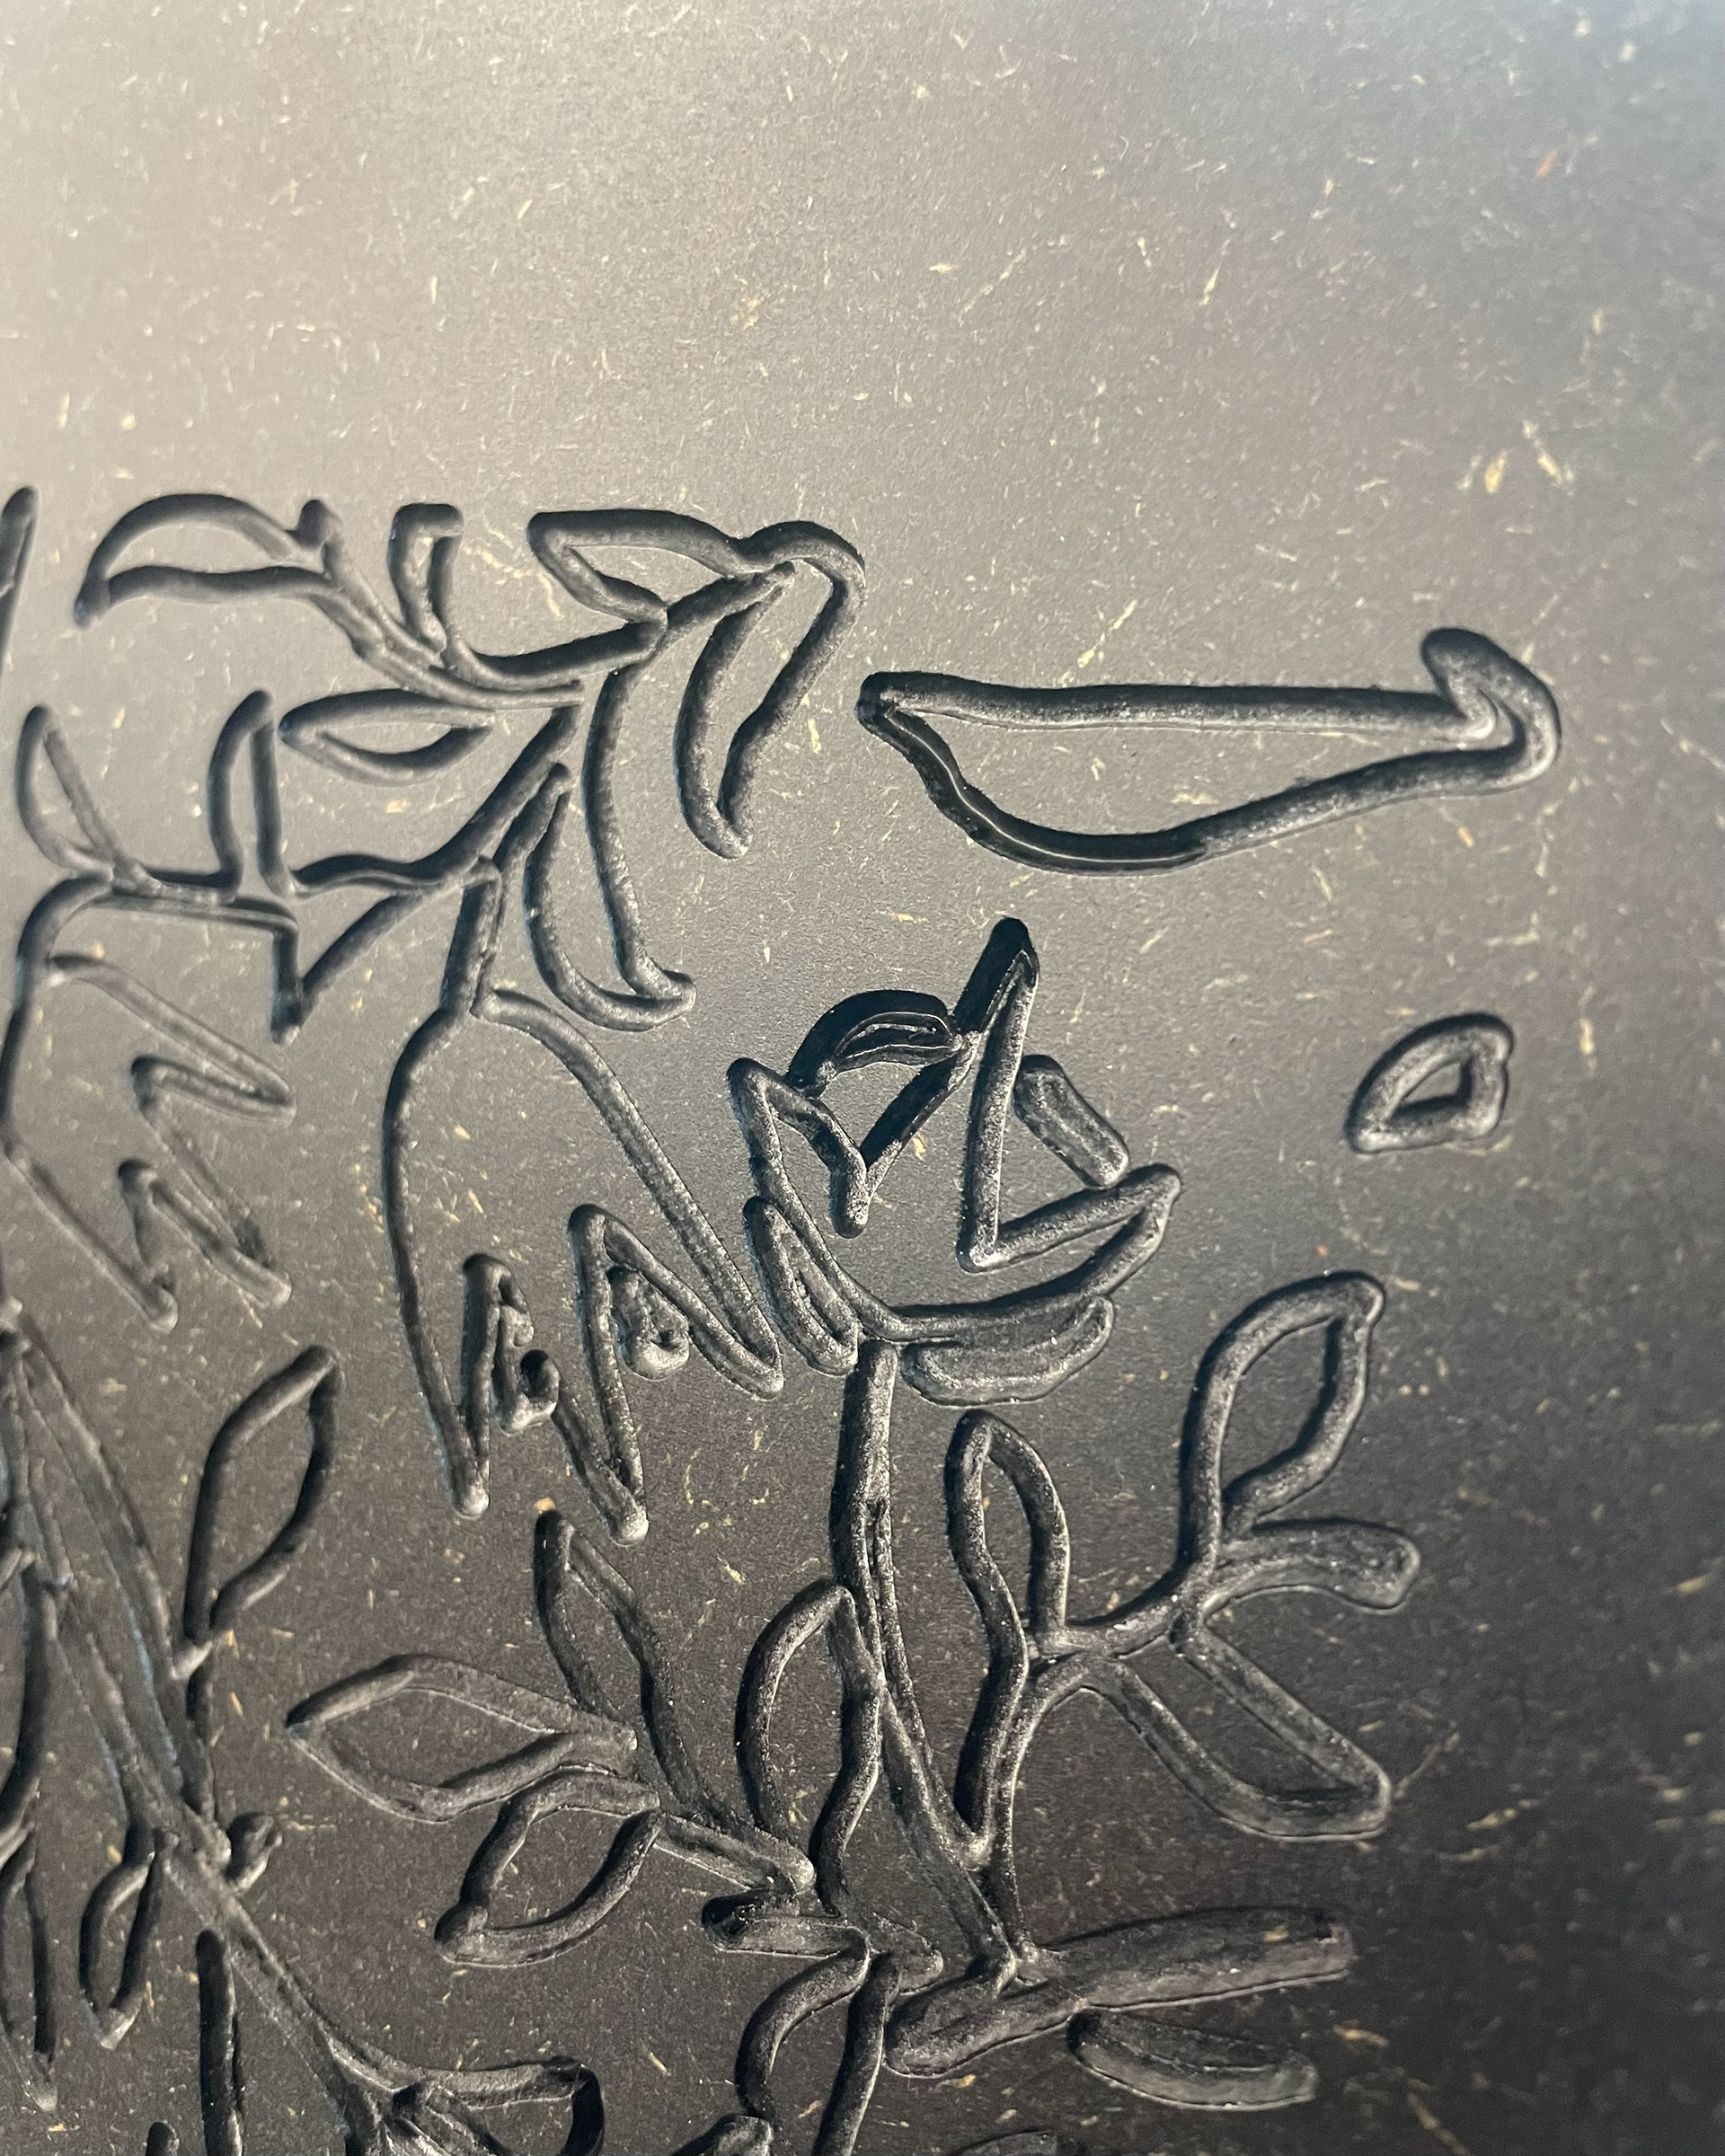
Below is the work I've done to the William Morris designs in order for them to be engraved into the furniture as decorative panels. The alterations in terms of simplification of colour is probably the most drastic change to the designs but I also hope that the depth of the CNC tool path will emphasis the work William Morris put on this aspect of design. I had been torn on what design to choose but the detail in a more dense pattern is so closely linked to how people recognise this period of art I wouldn't want to take away from that. For that reason my preferred designs are the two directly below, but I had held a safer design in reserve in case the test hadn't come out as hoped.
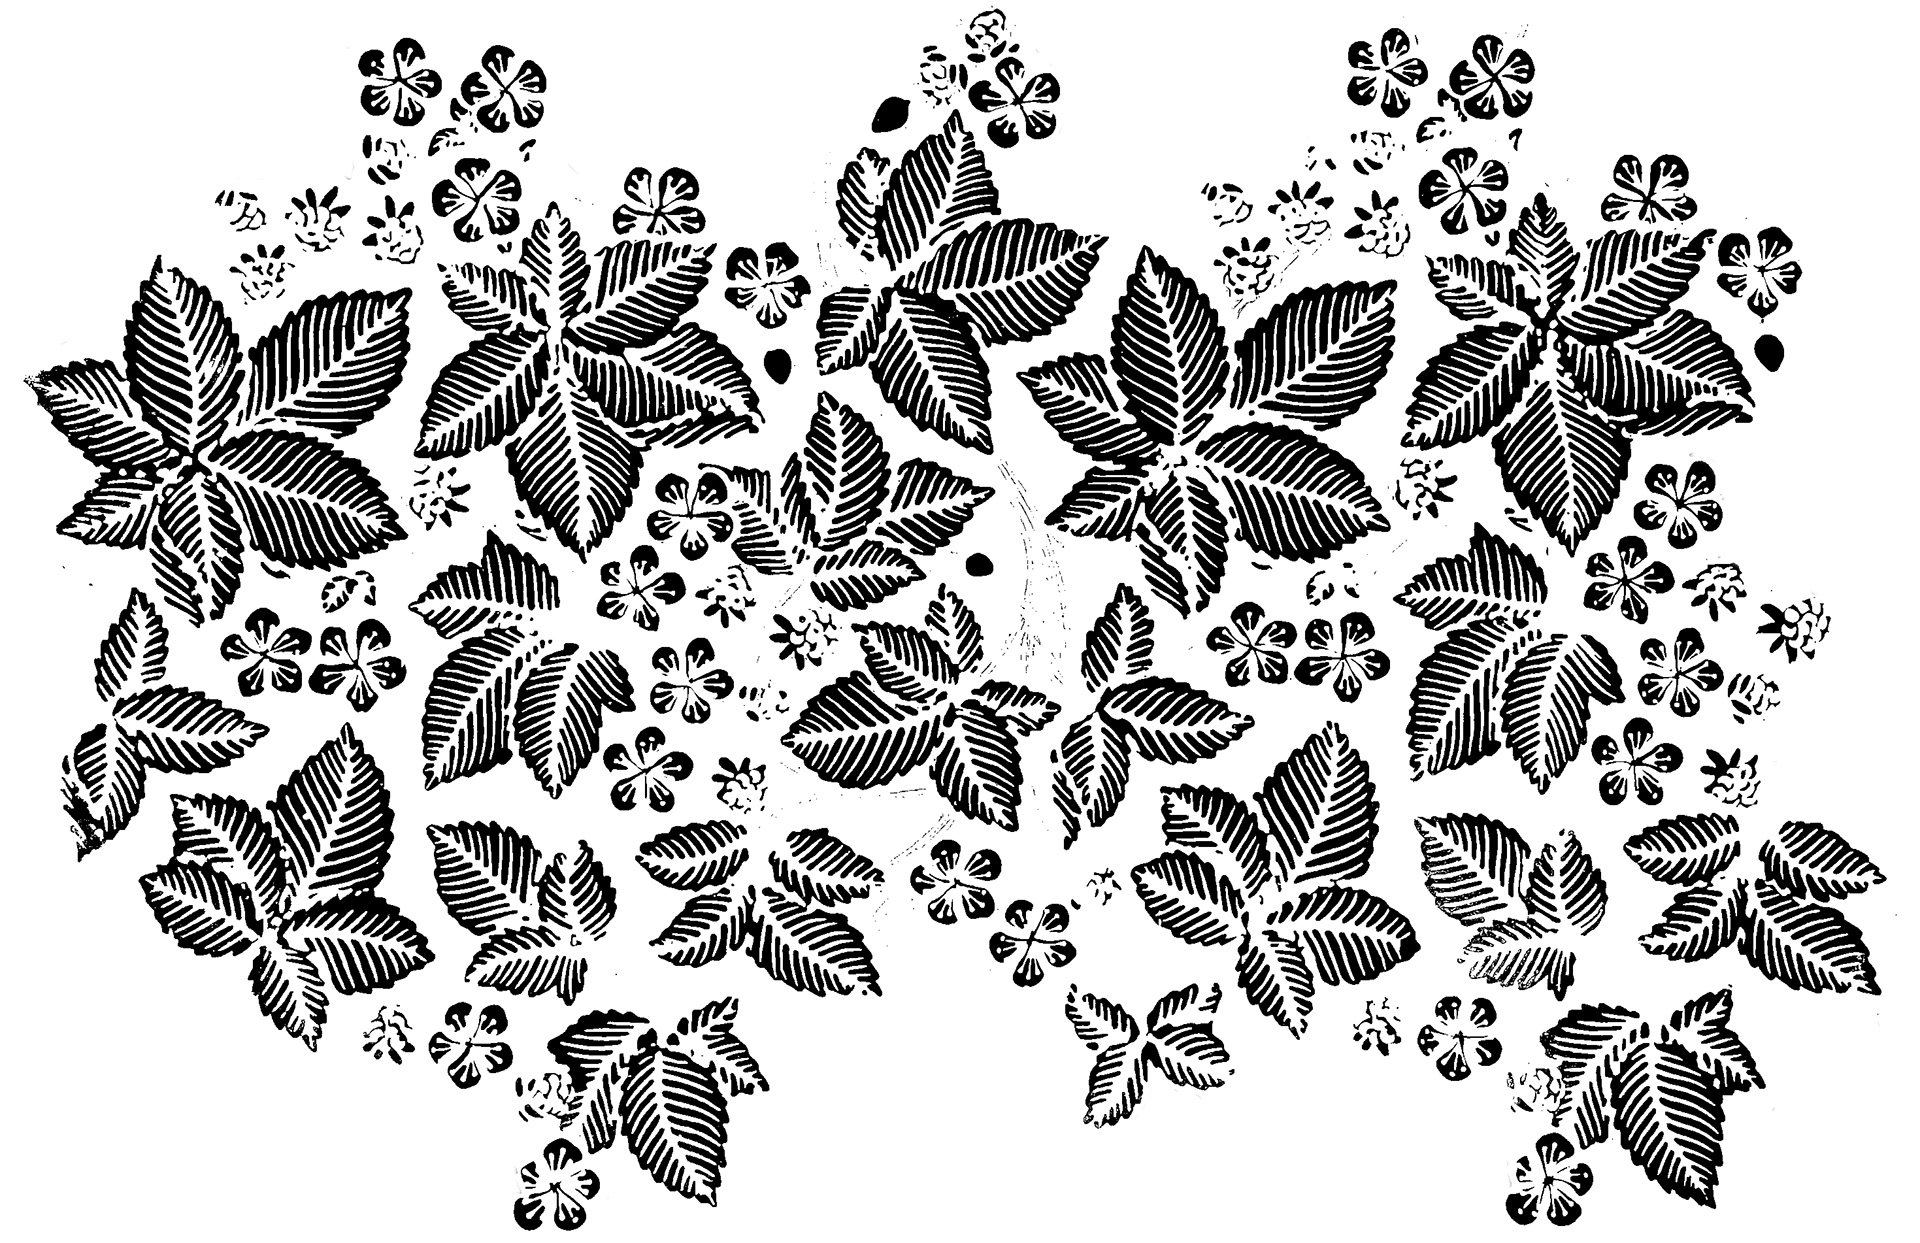
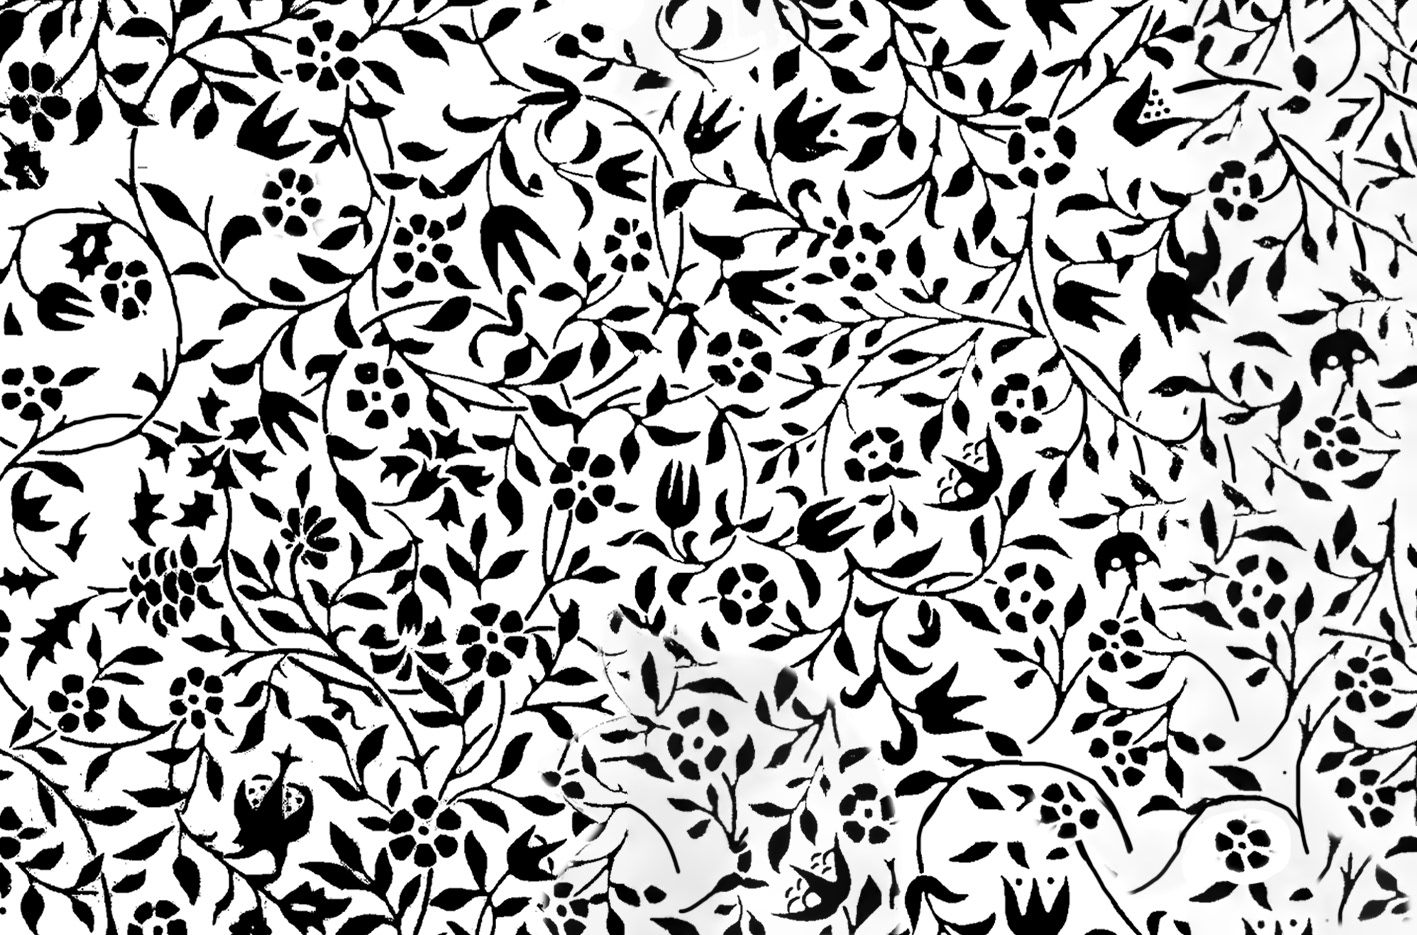
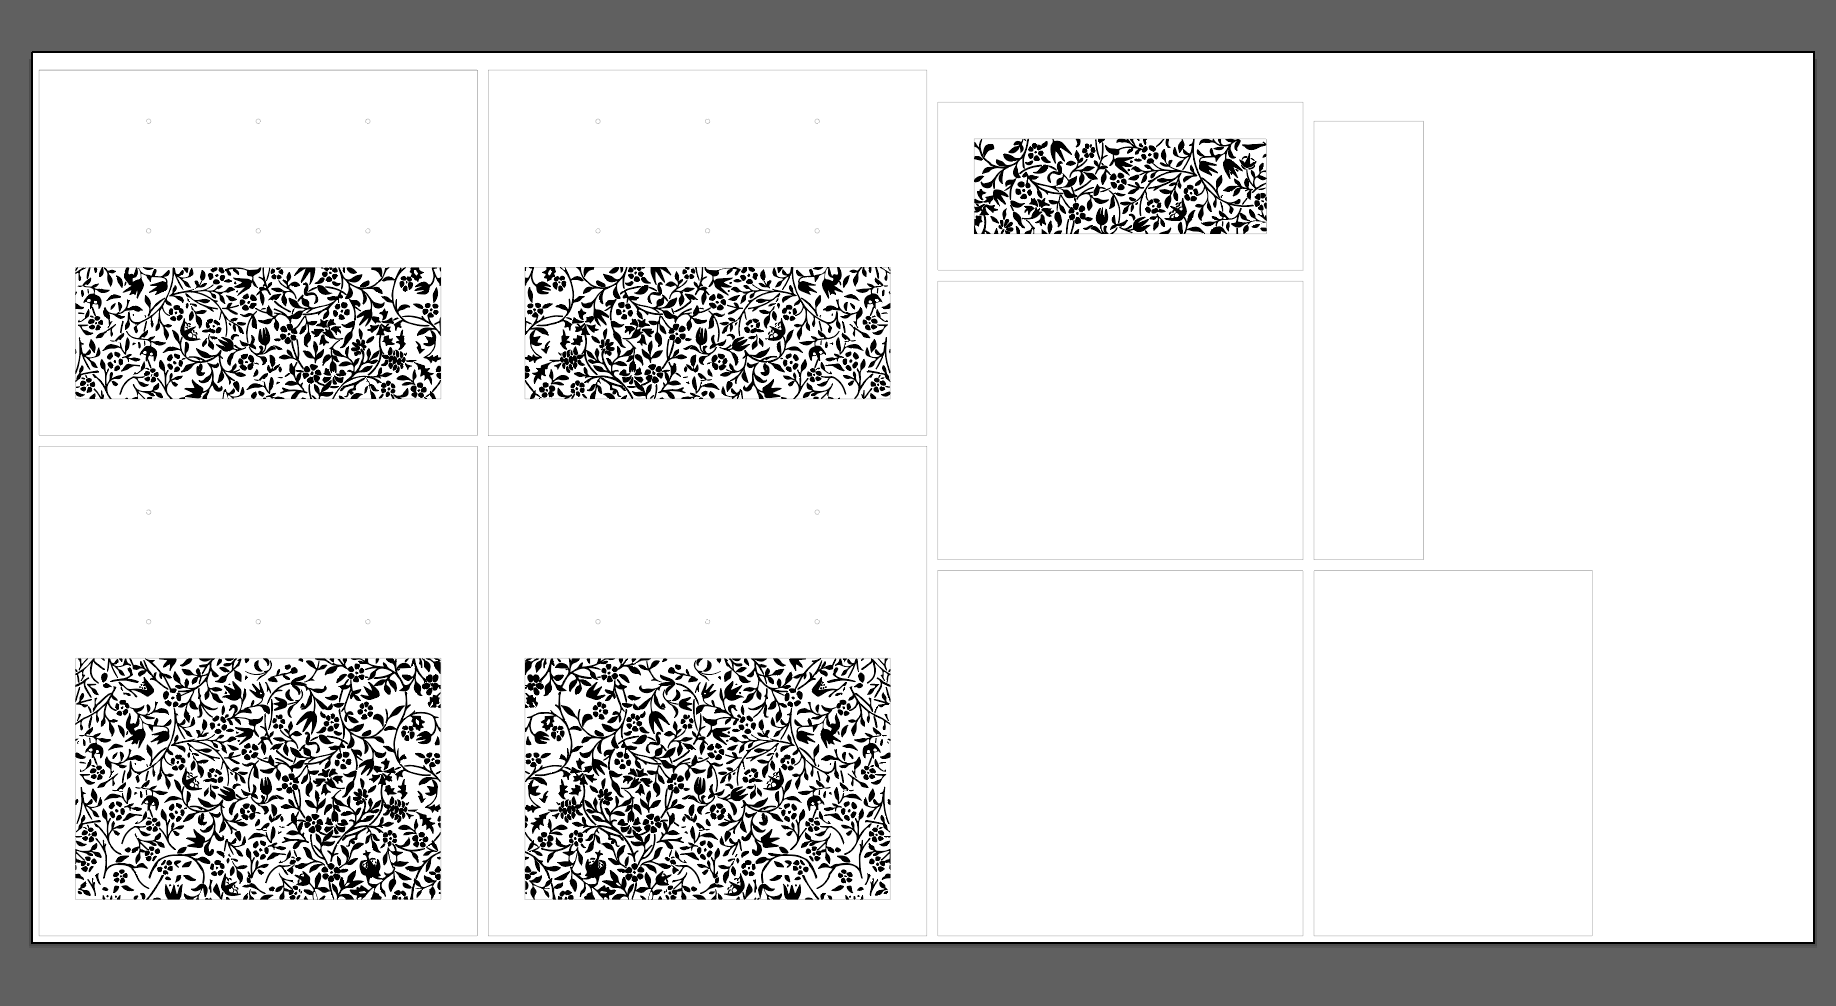
Above: preferred panel design Below: back-up panel design

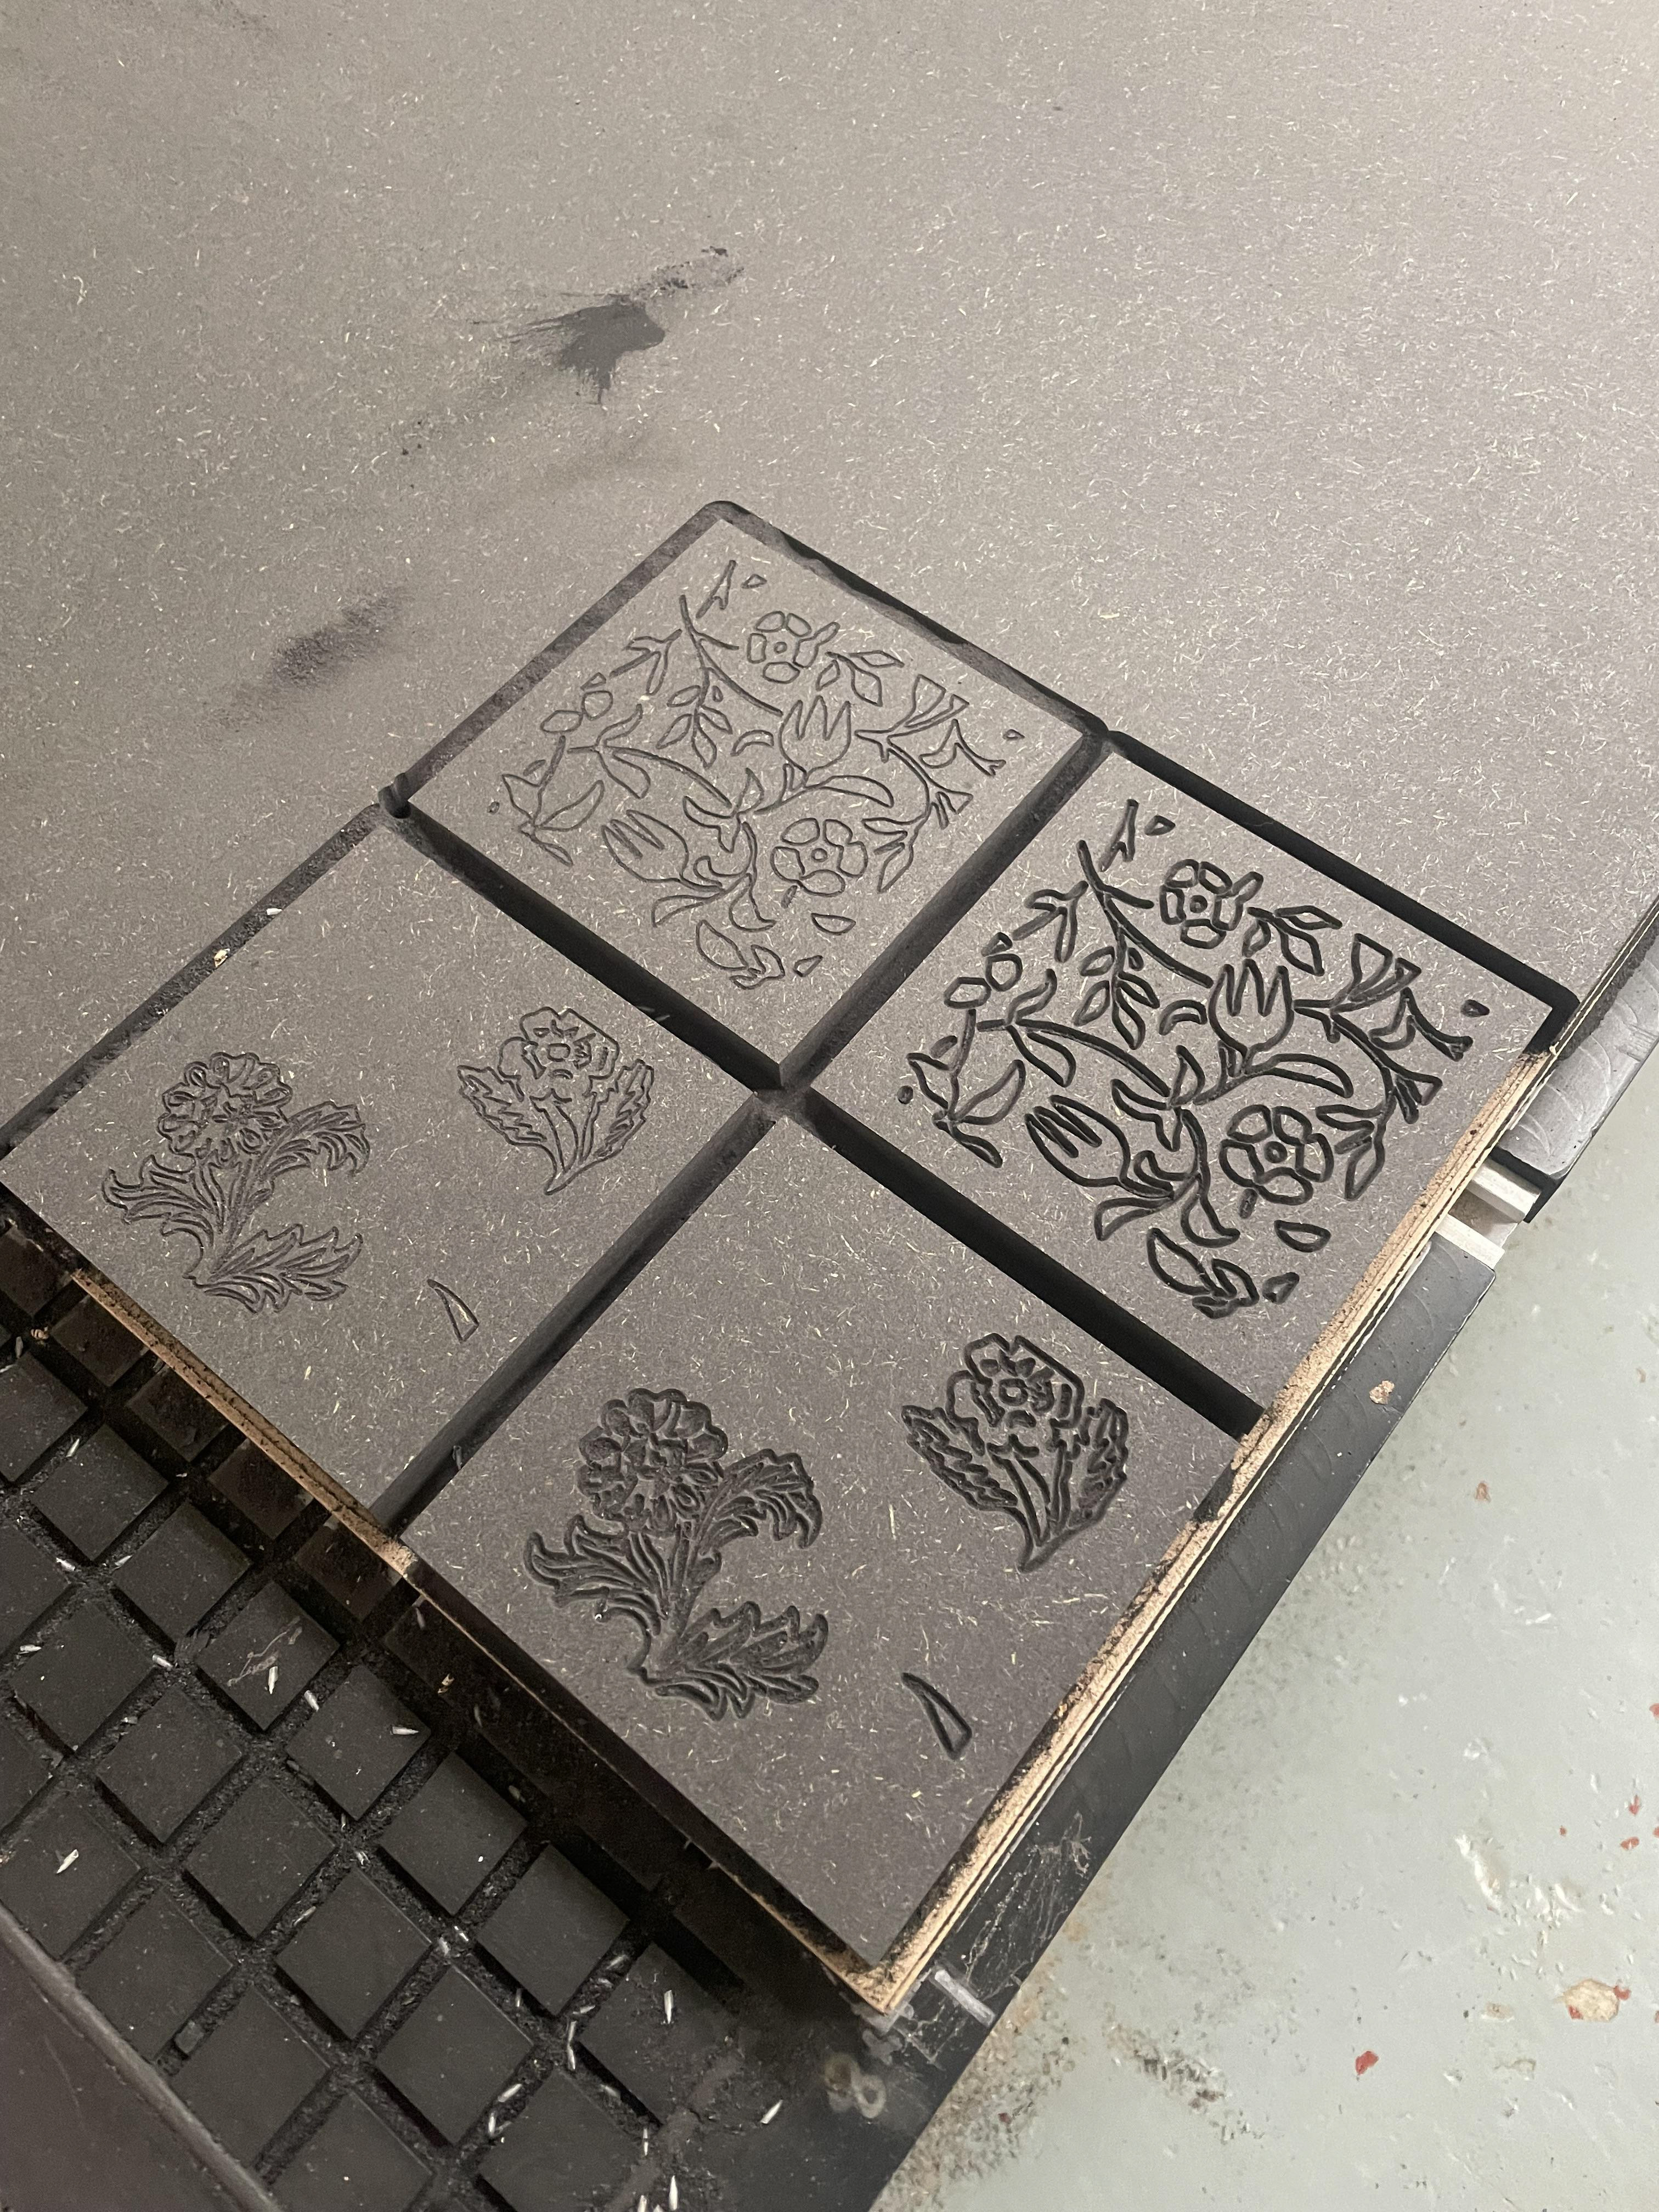
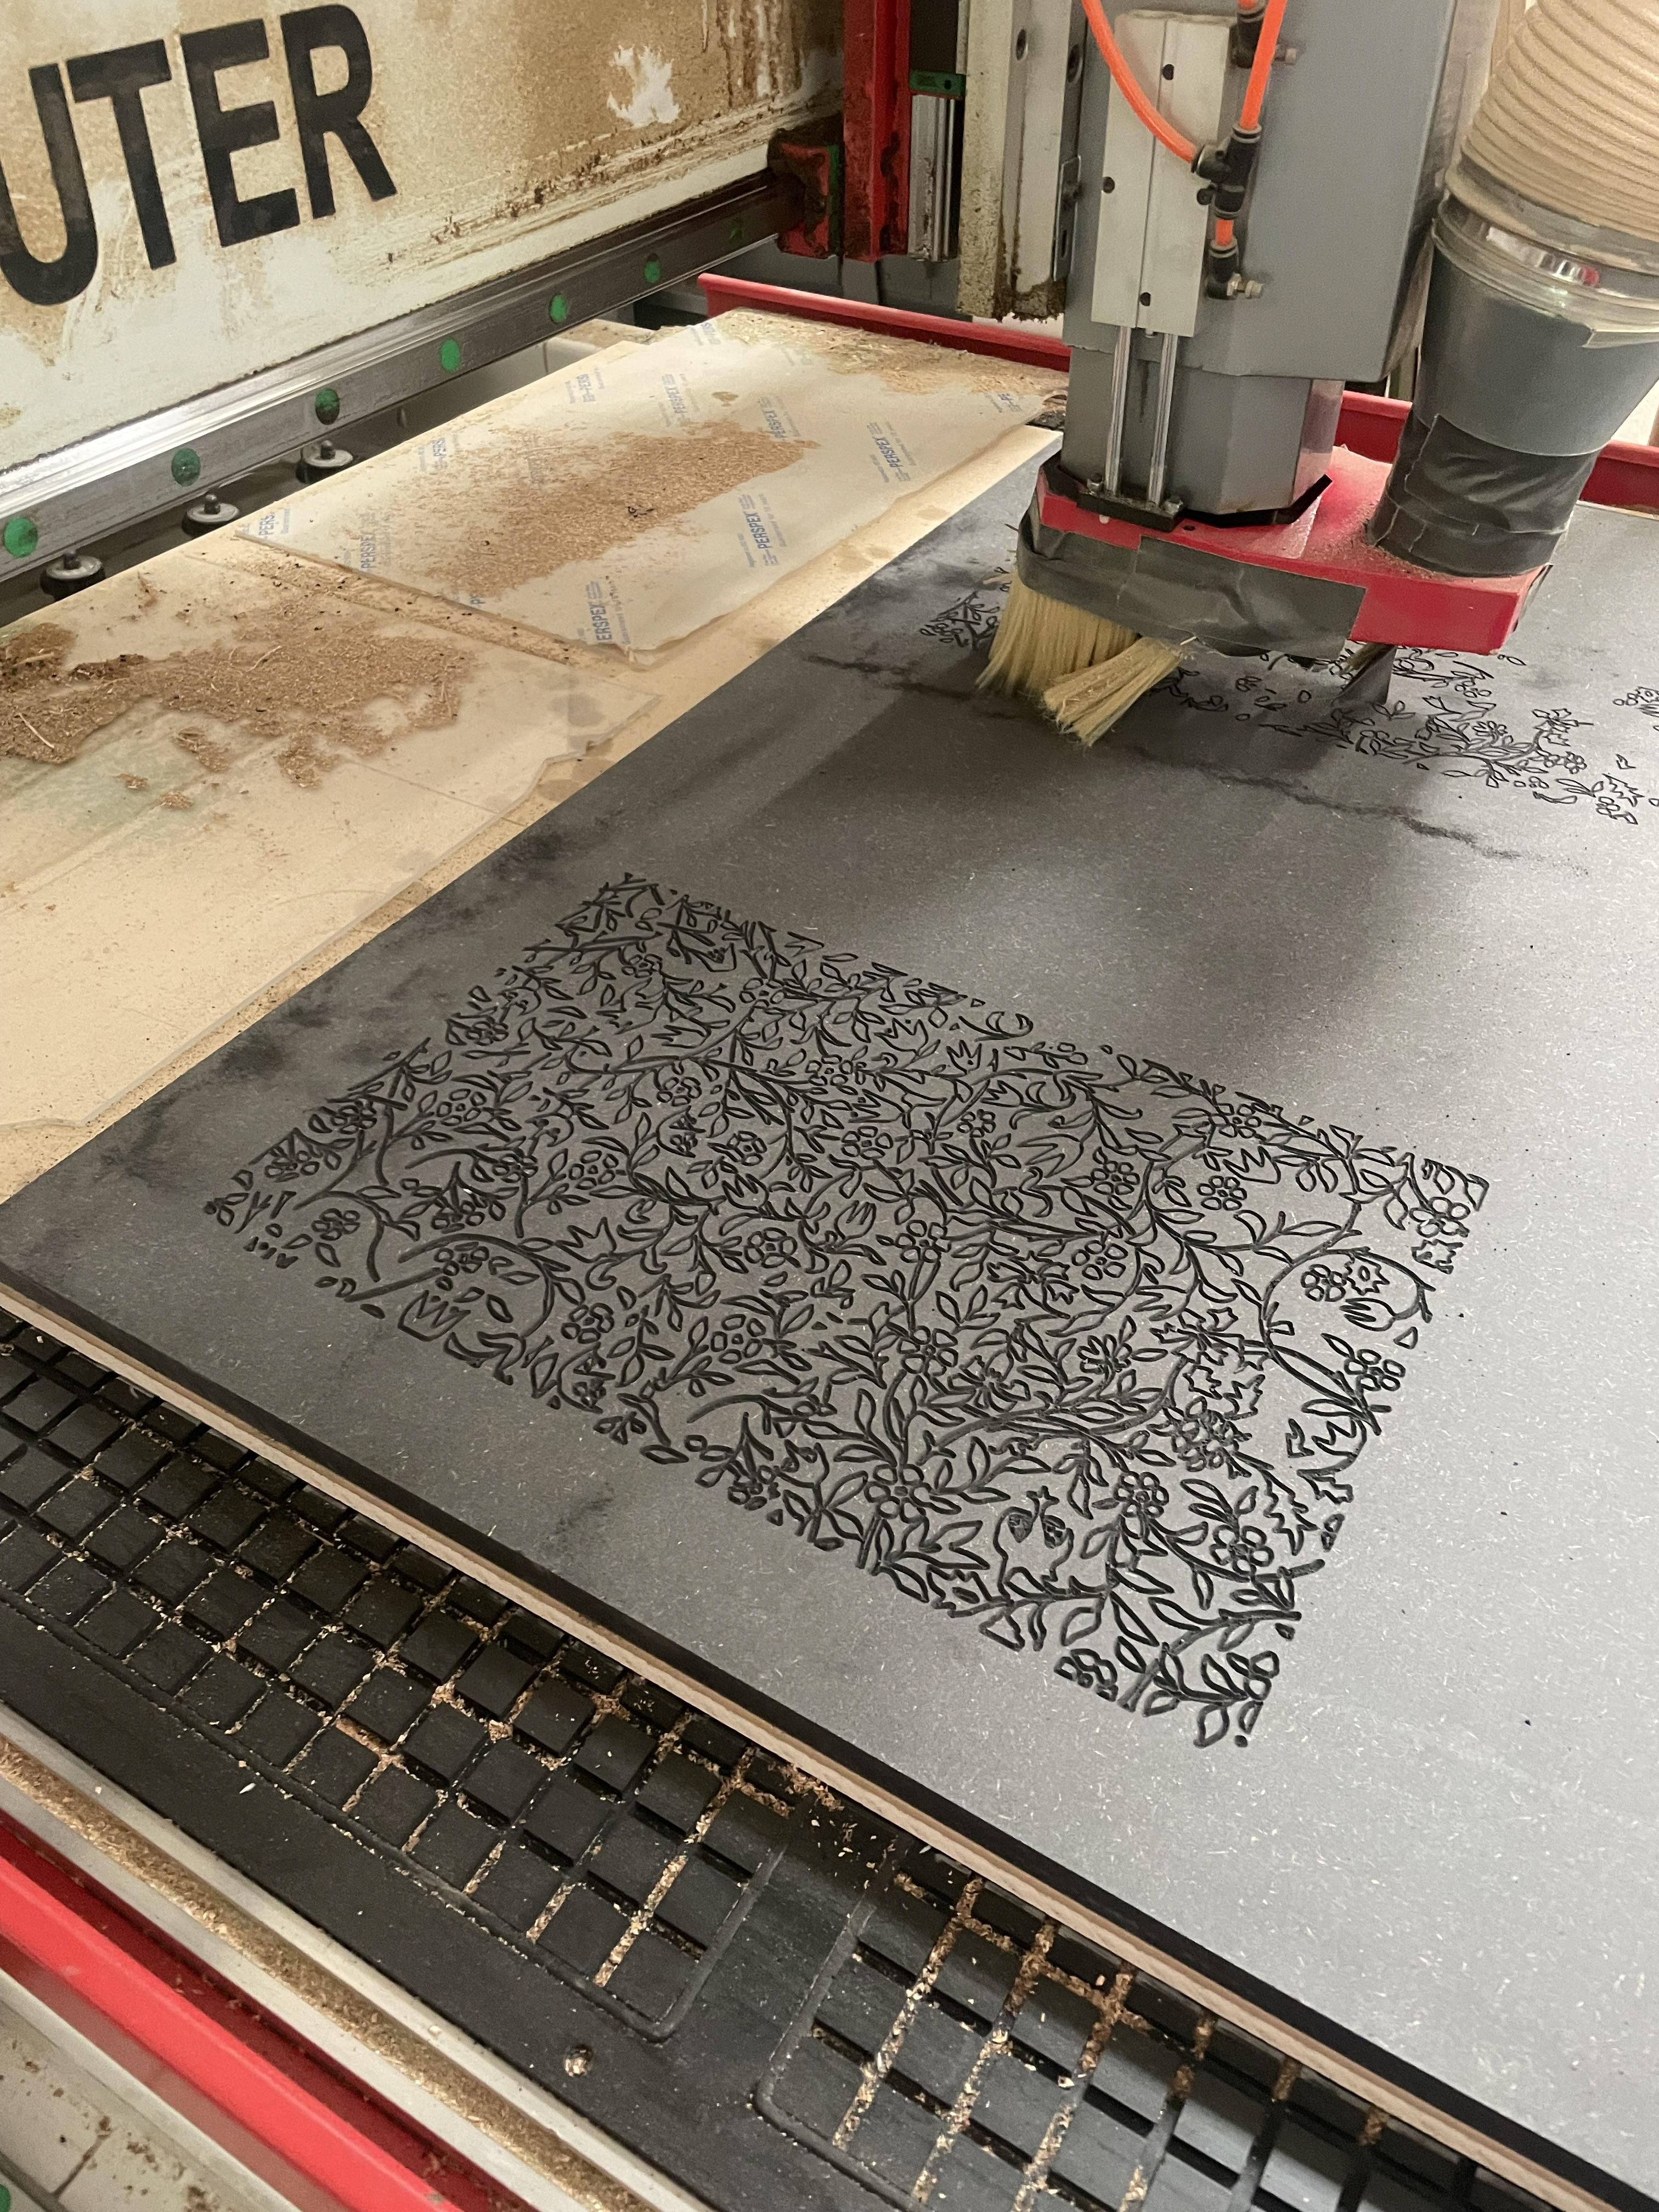
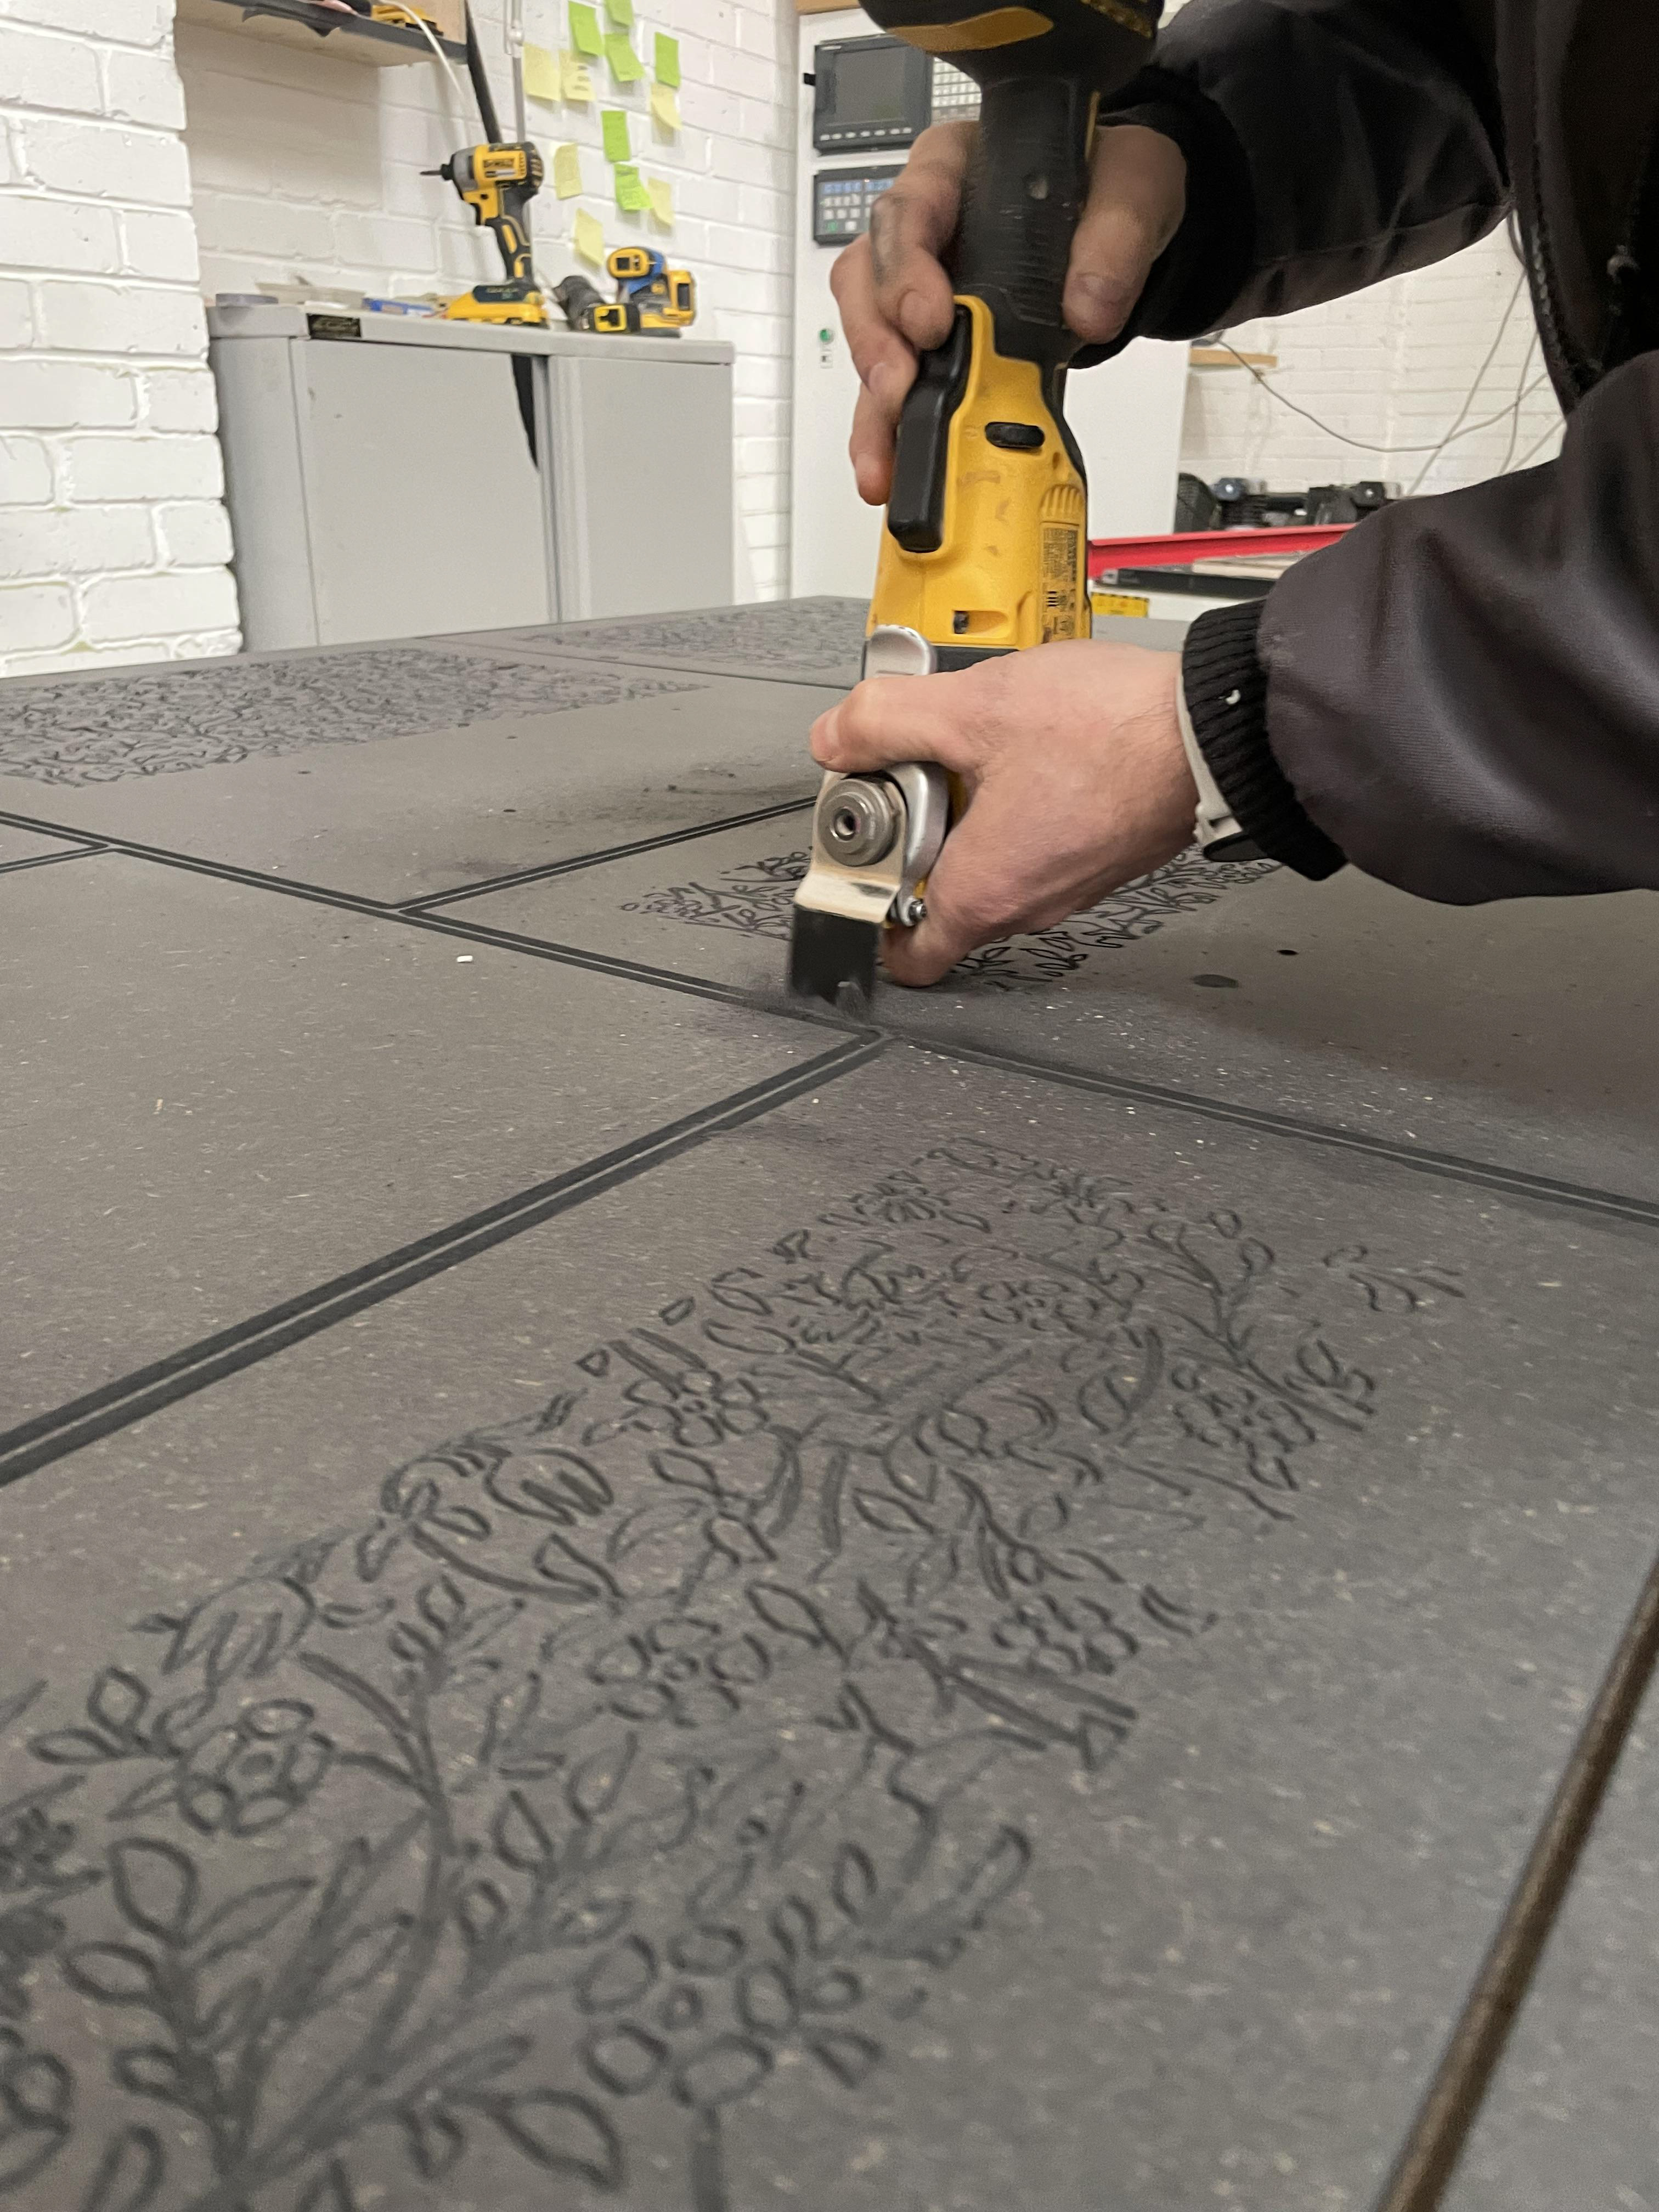
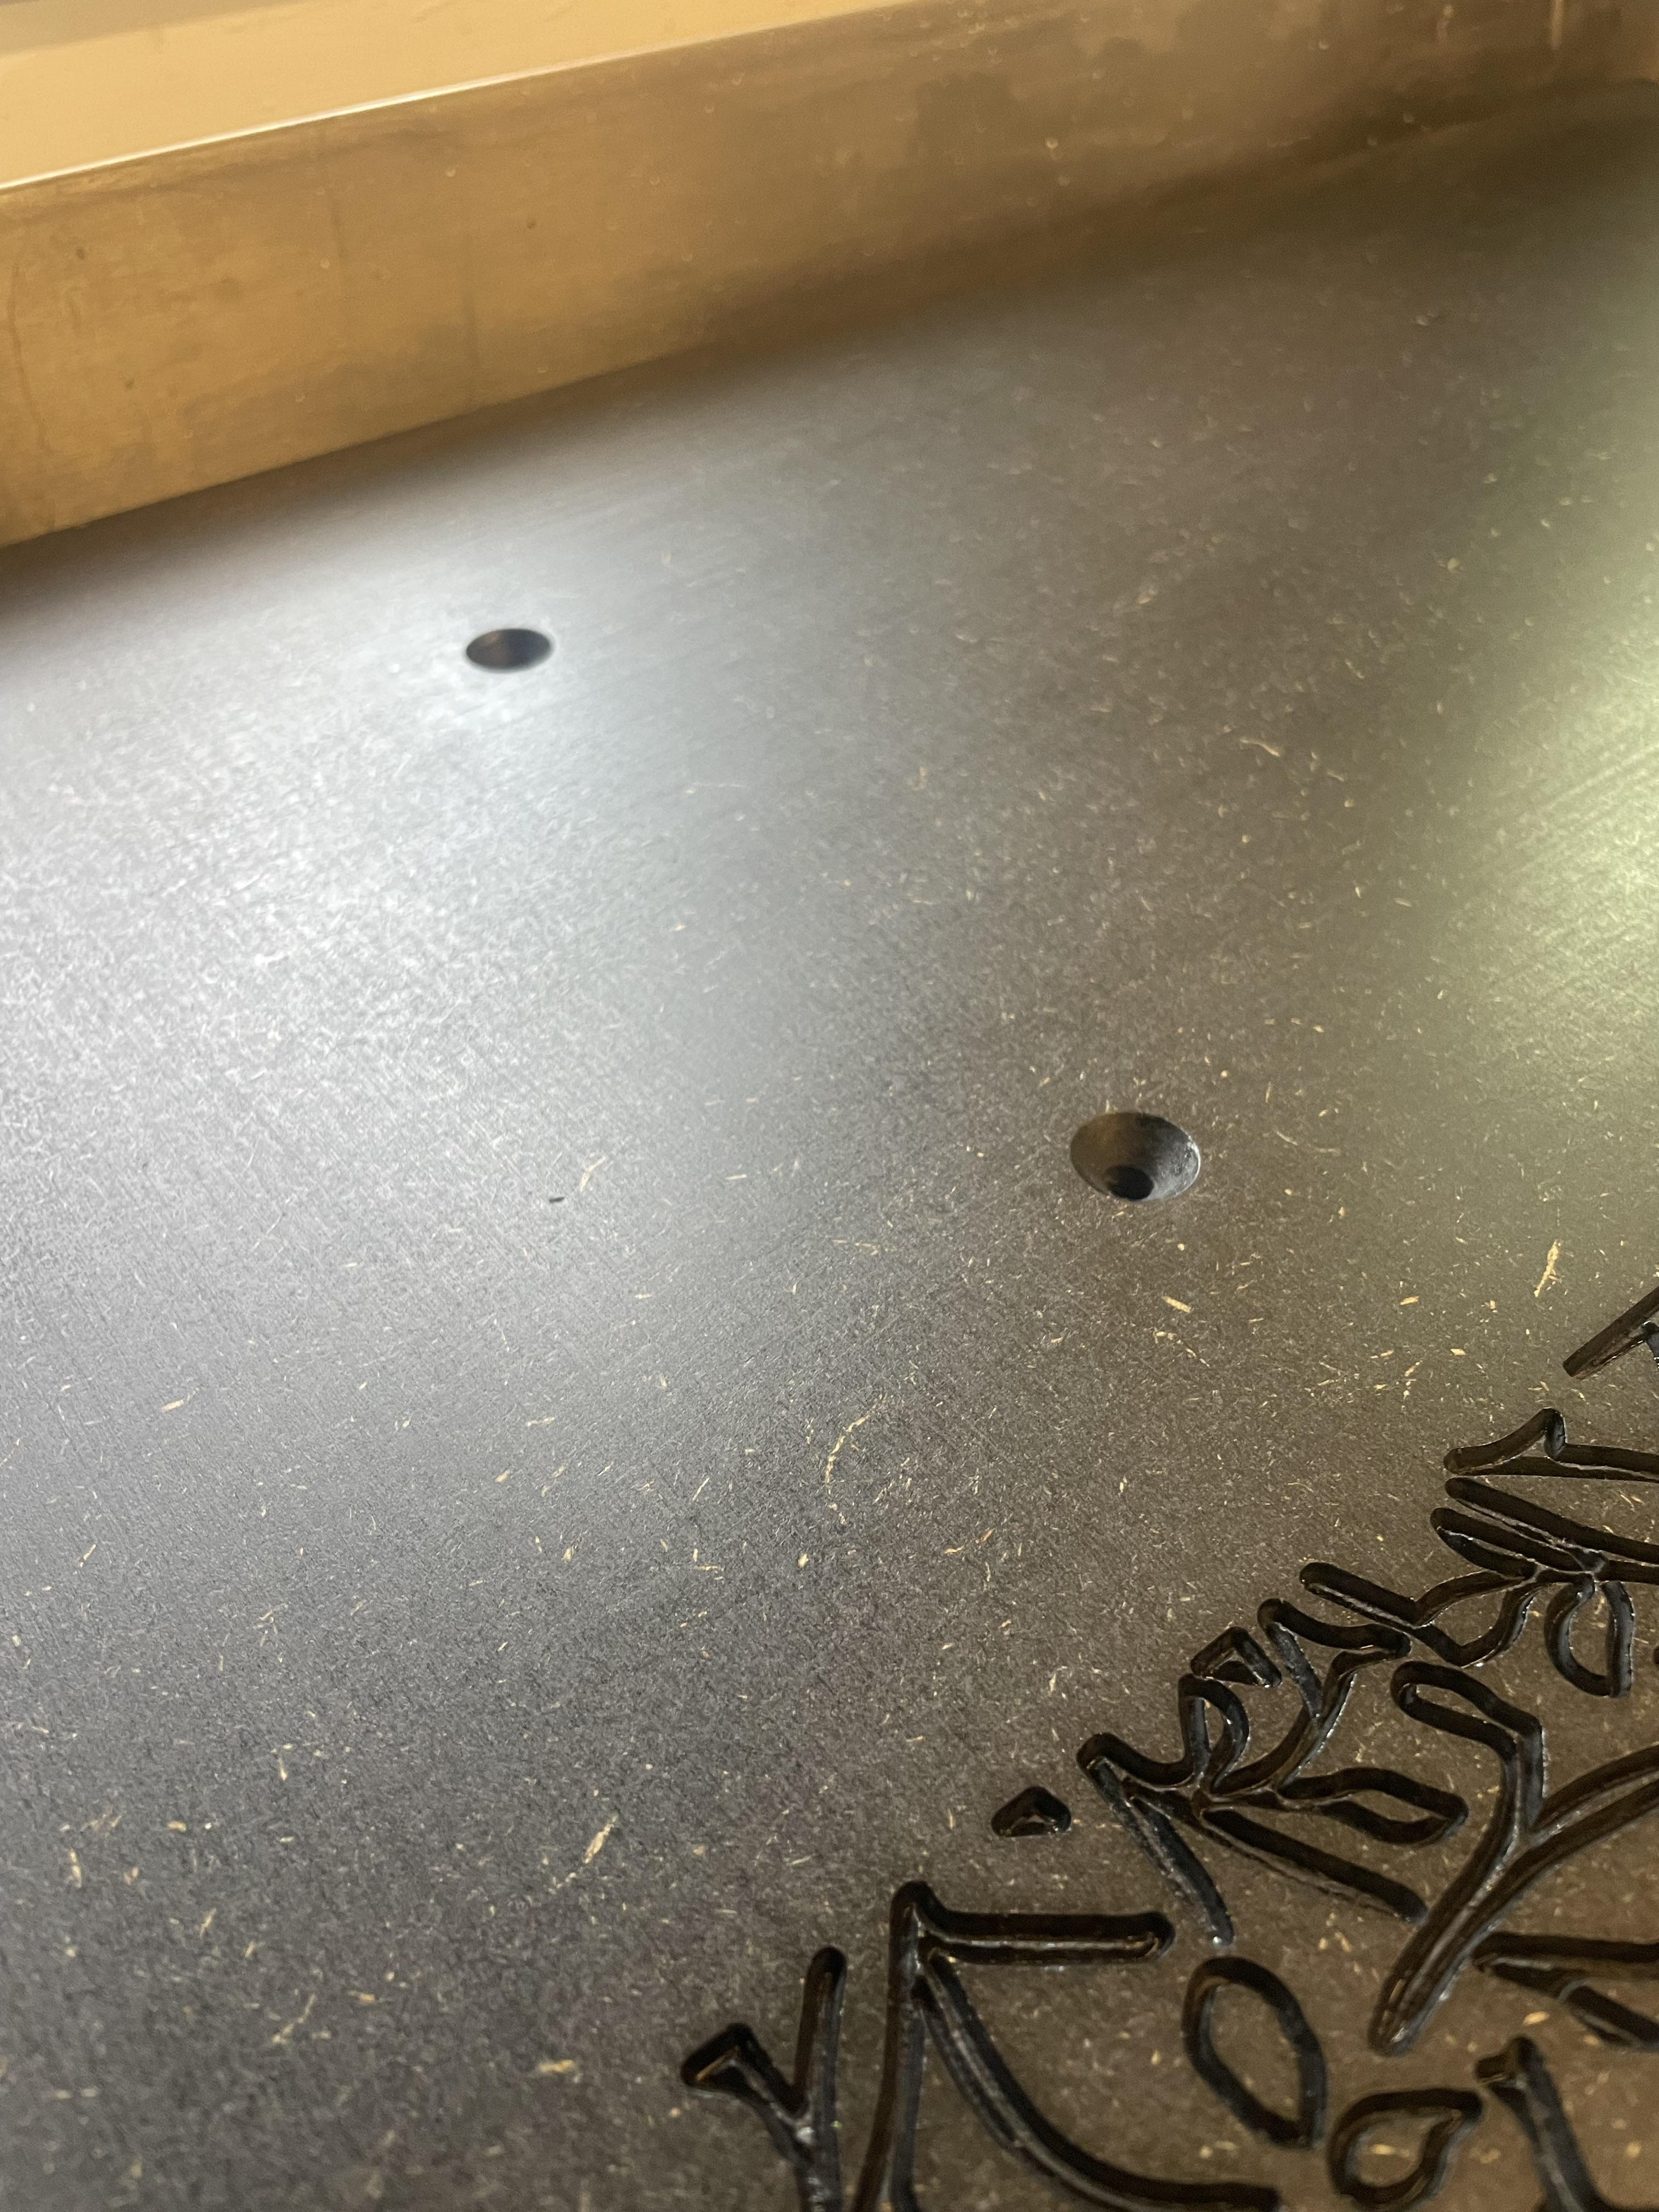
Above: CNC in use and test panels are two different test depth [1mm & 2mm] - I ended up choosing 1.6mm after some deliberation. This depth gave the shadows from the 2mm but without the breaking of narrow sharp corners of the design.
Below: CNC cut in progress and support removal.
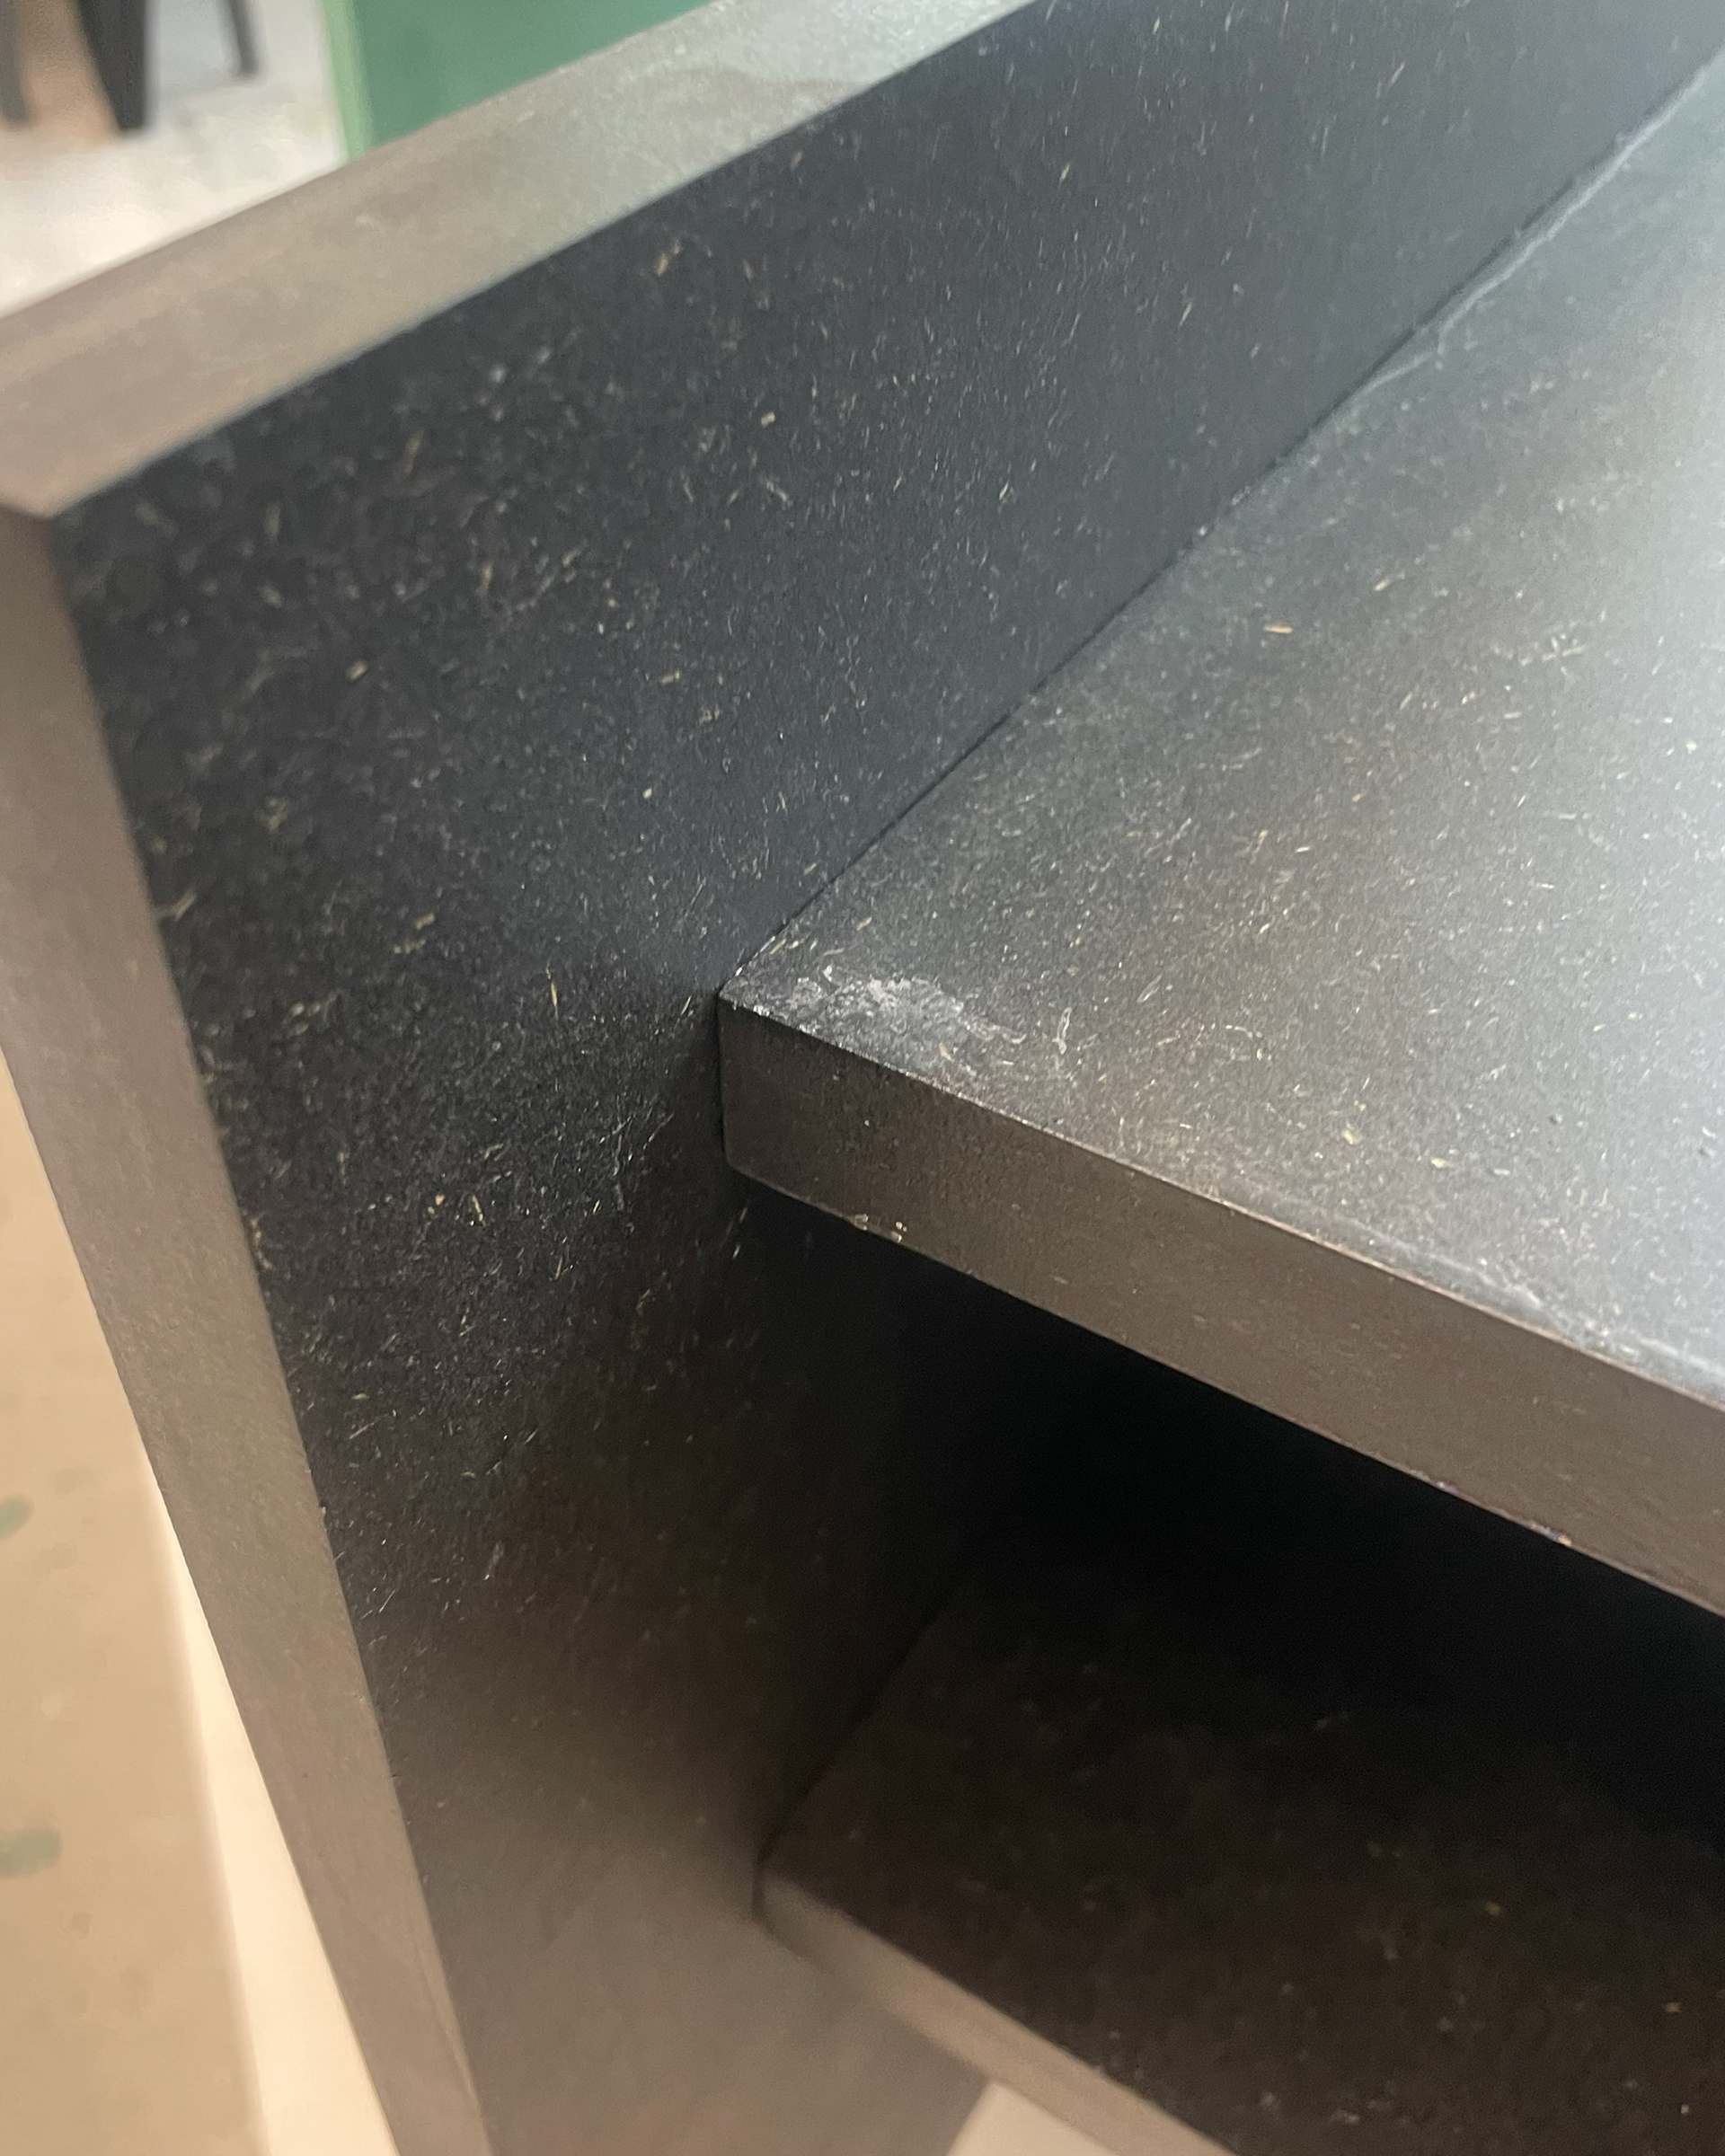
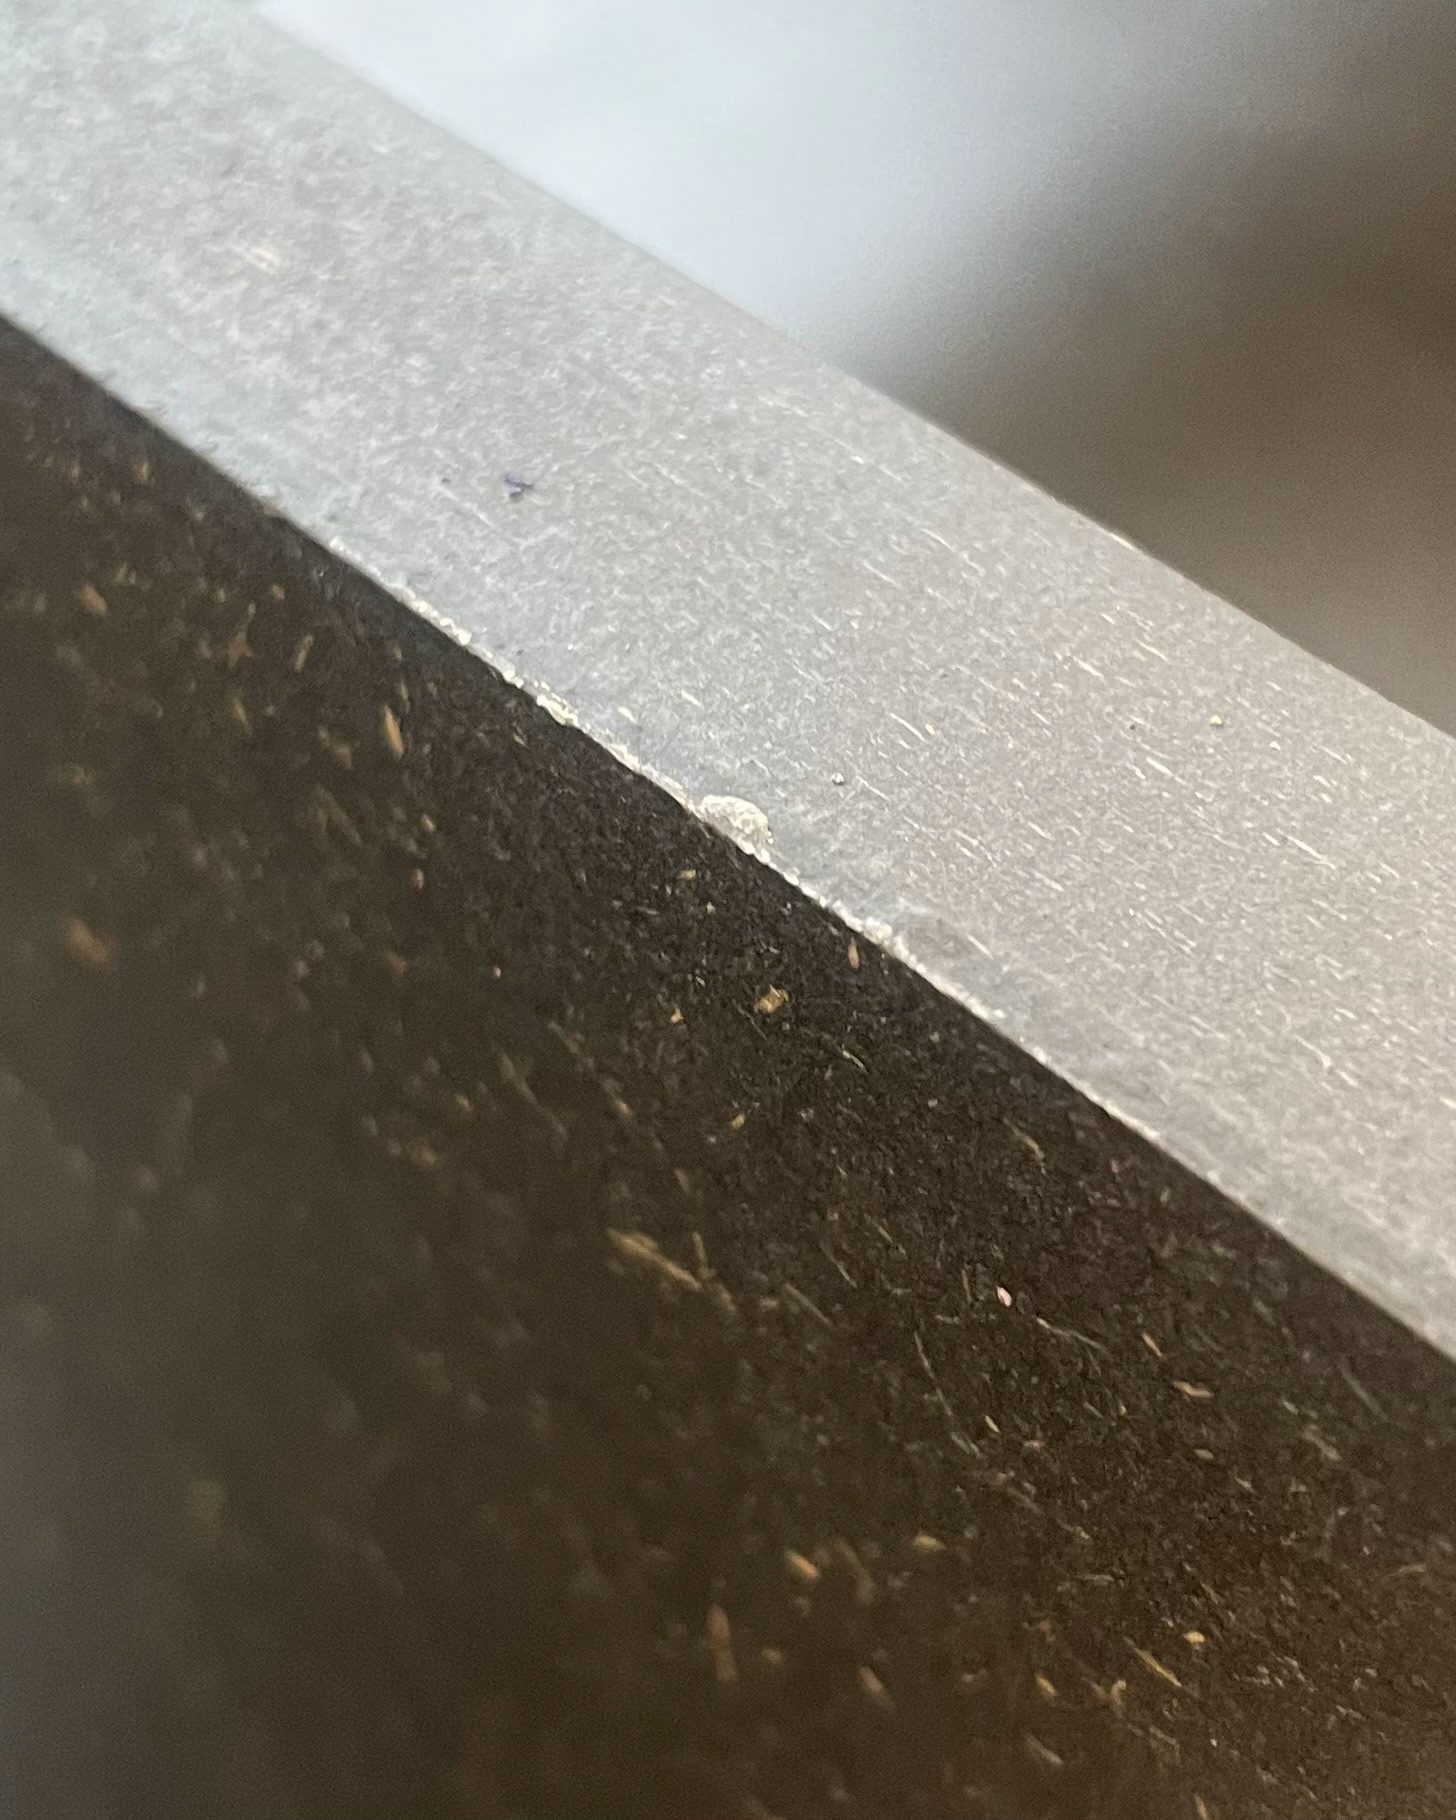
Left: Sanding process which had been tested previously. Side had to be hand sanded from 80 - 120 - 240. Then all sides and faces were hit with a 400 grit using a orbital sander. I could have gone up to 800 but I decided to add an additional layer of osmo oli as this would save time sanding but also increase the overall quality of finish.
Below: First coat of OSMO oil which I incorrectly applied with a brush leaving streaks in the finish. This increased finishing time and stress levels greatly. The subsequent layers where applied with foam rollers leaving significantly less surface imperfection.
Note on finishing
Finishing including the sanding of pieces is one of the areas I'm most weak in and requires a lot more improvement in the short and long term to archive a professional level of work. Most notably patience and correct application of finishes has to be followed for the remaining pieces to be completed [VG benches].
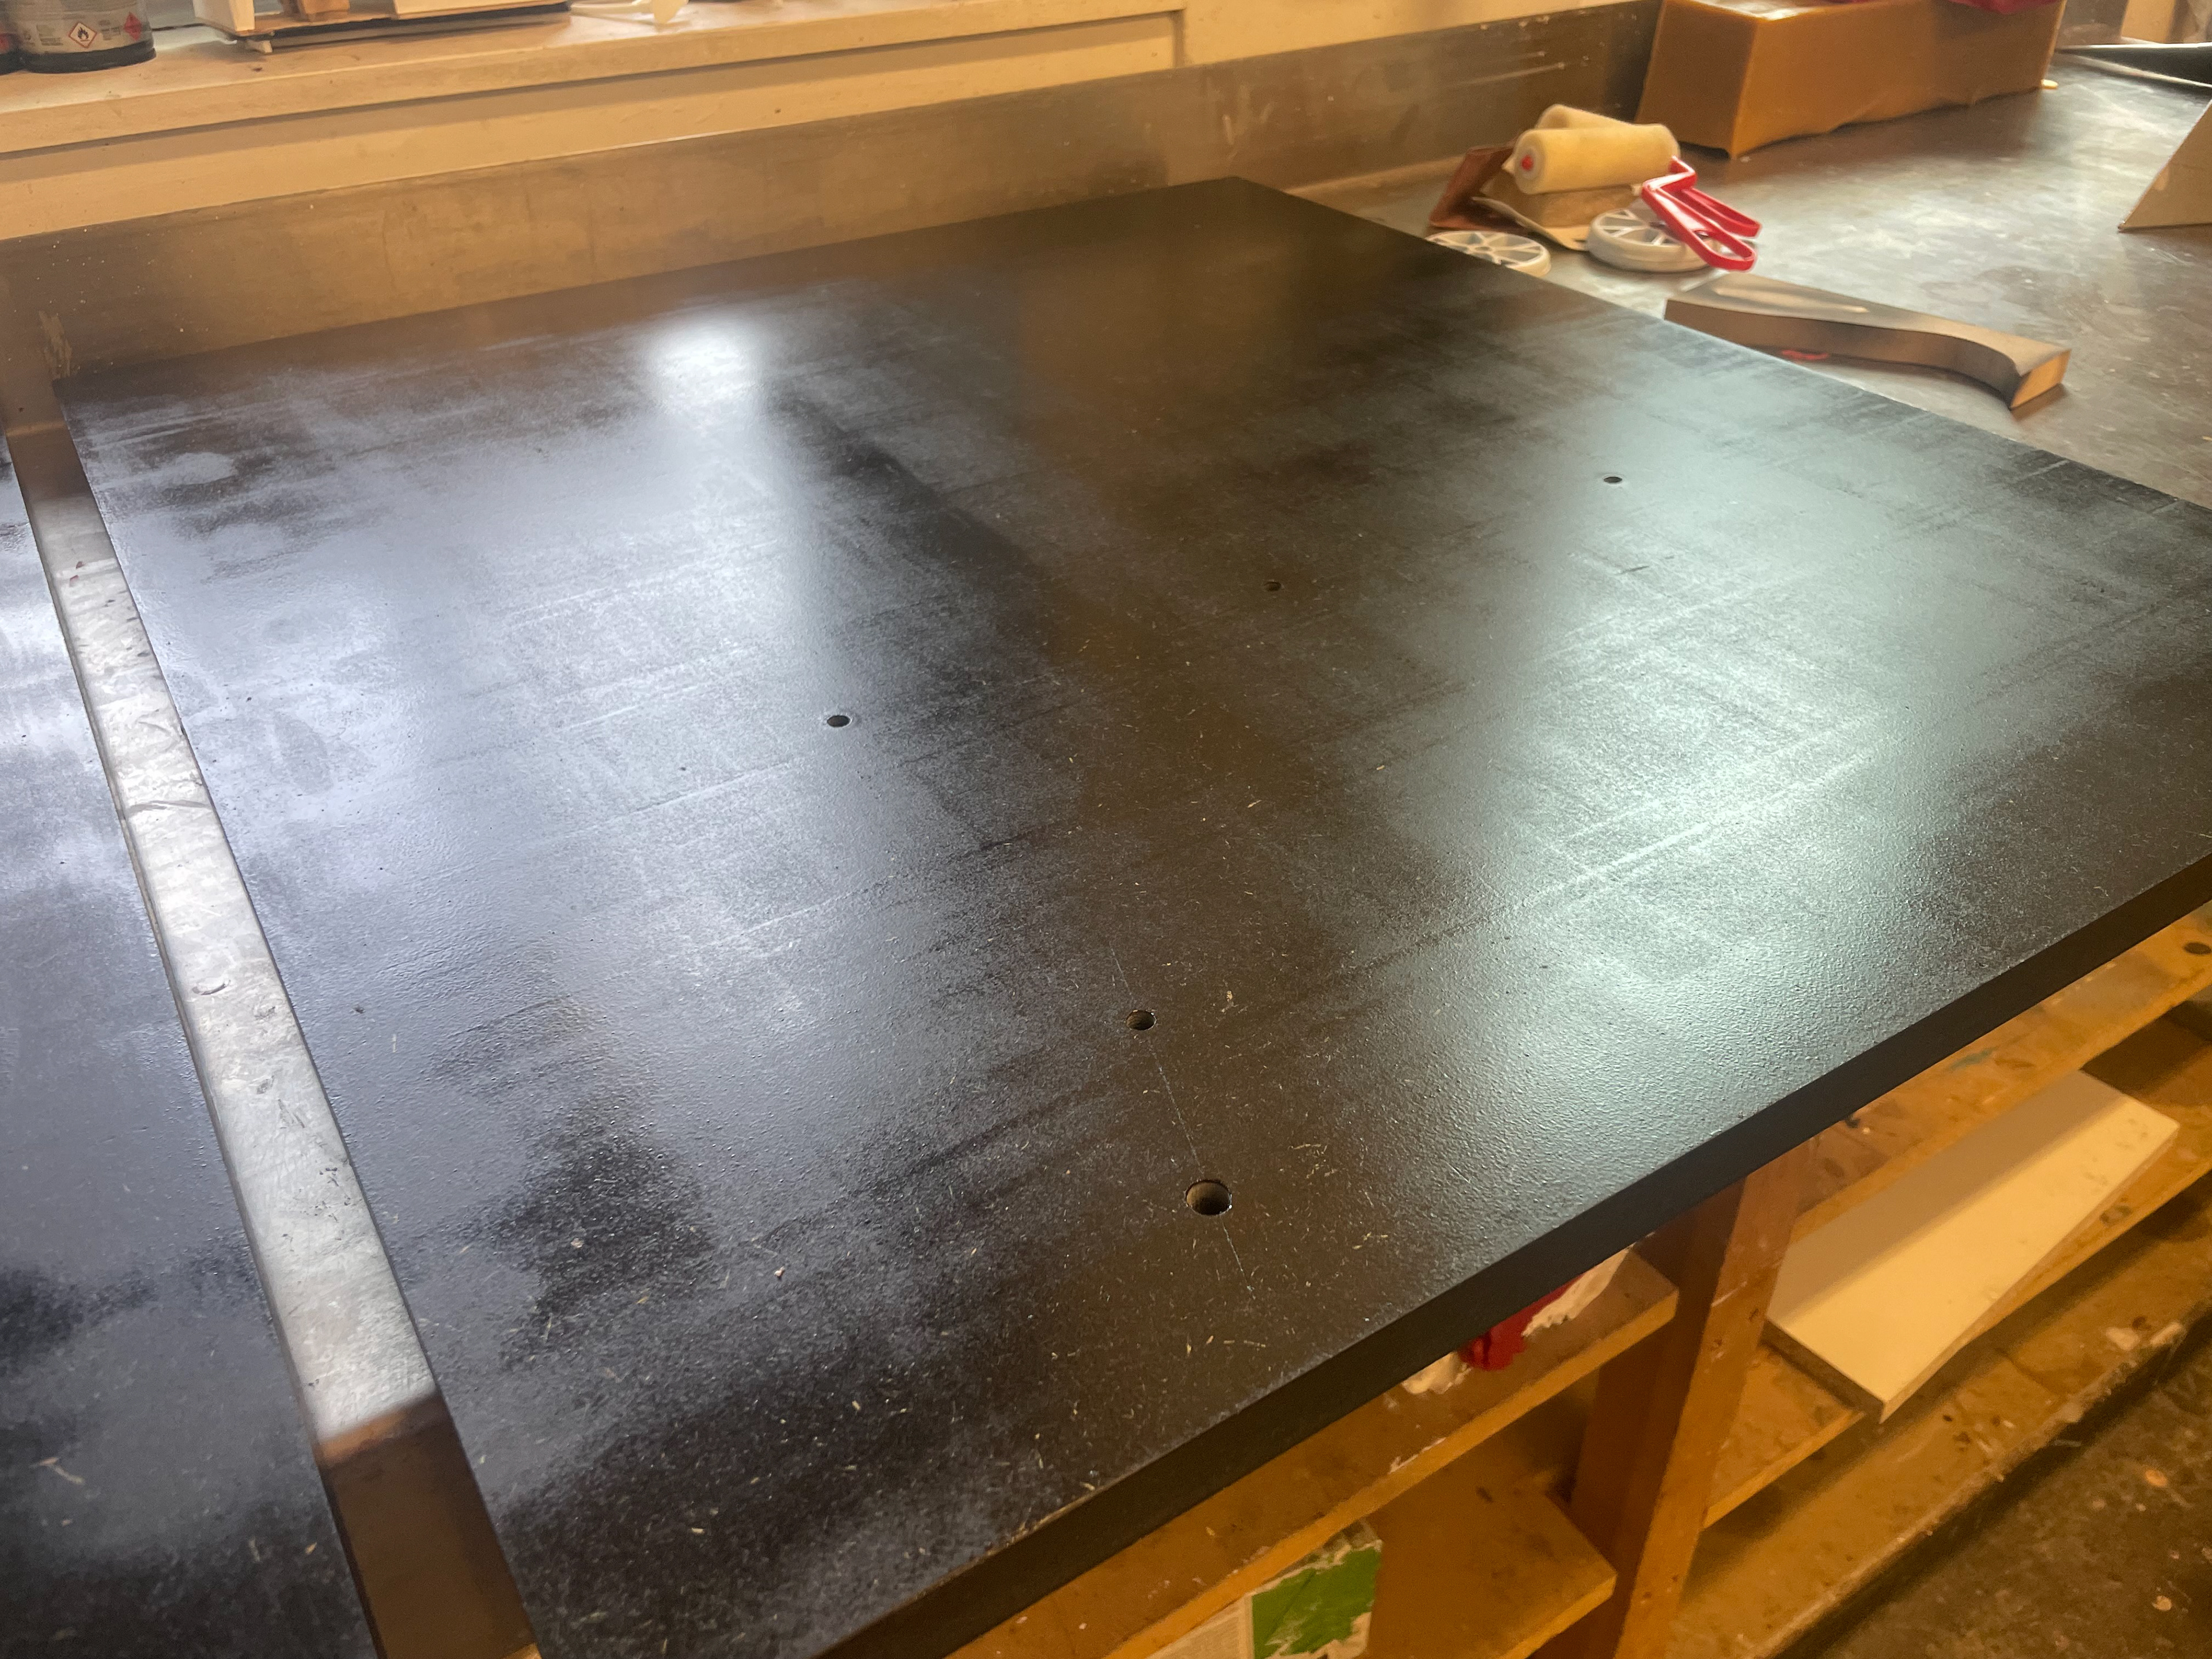
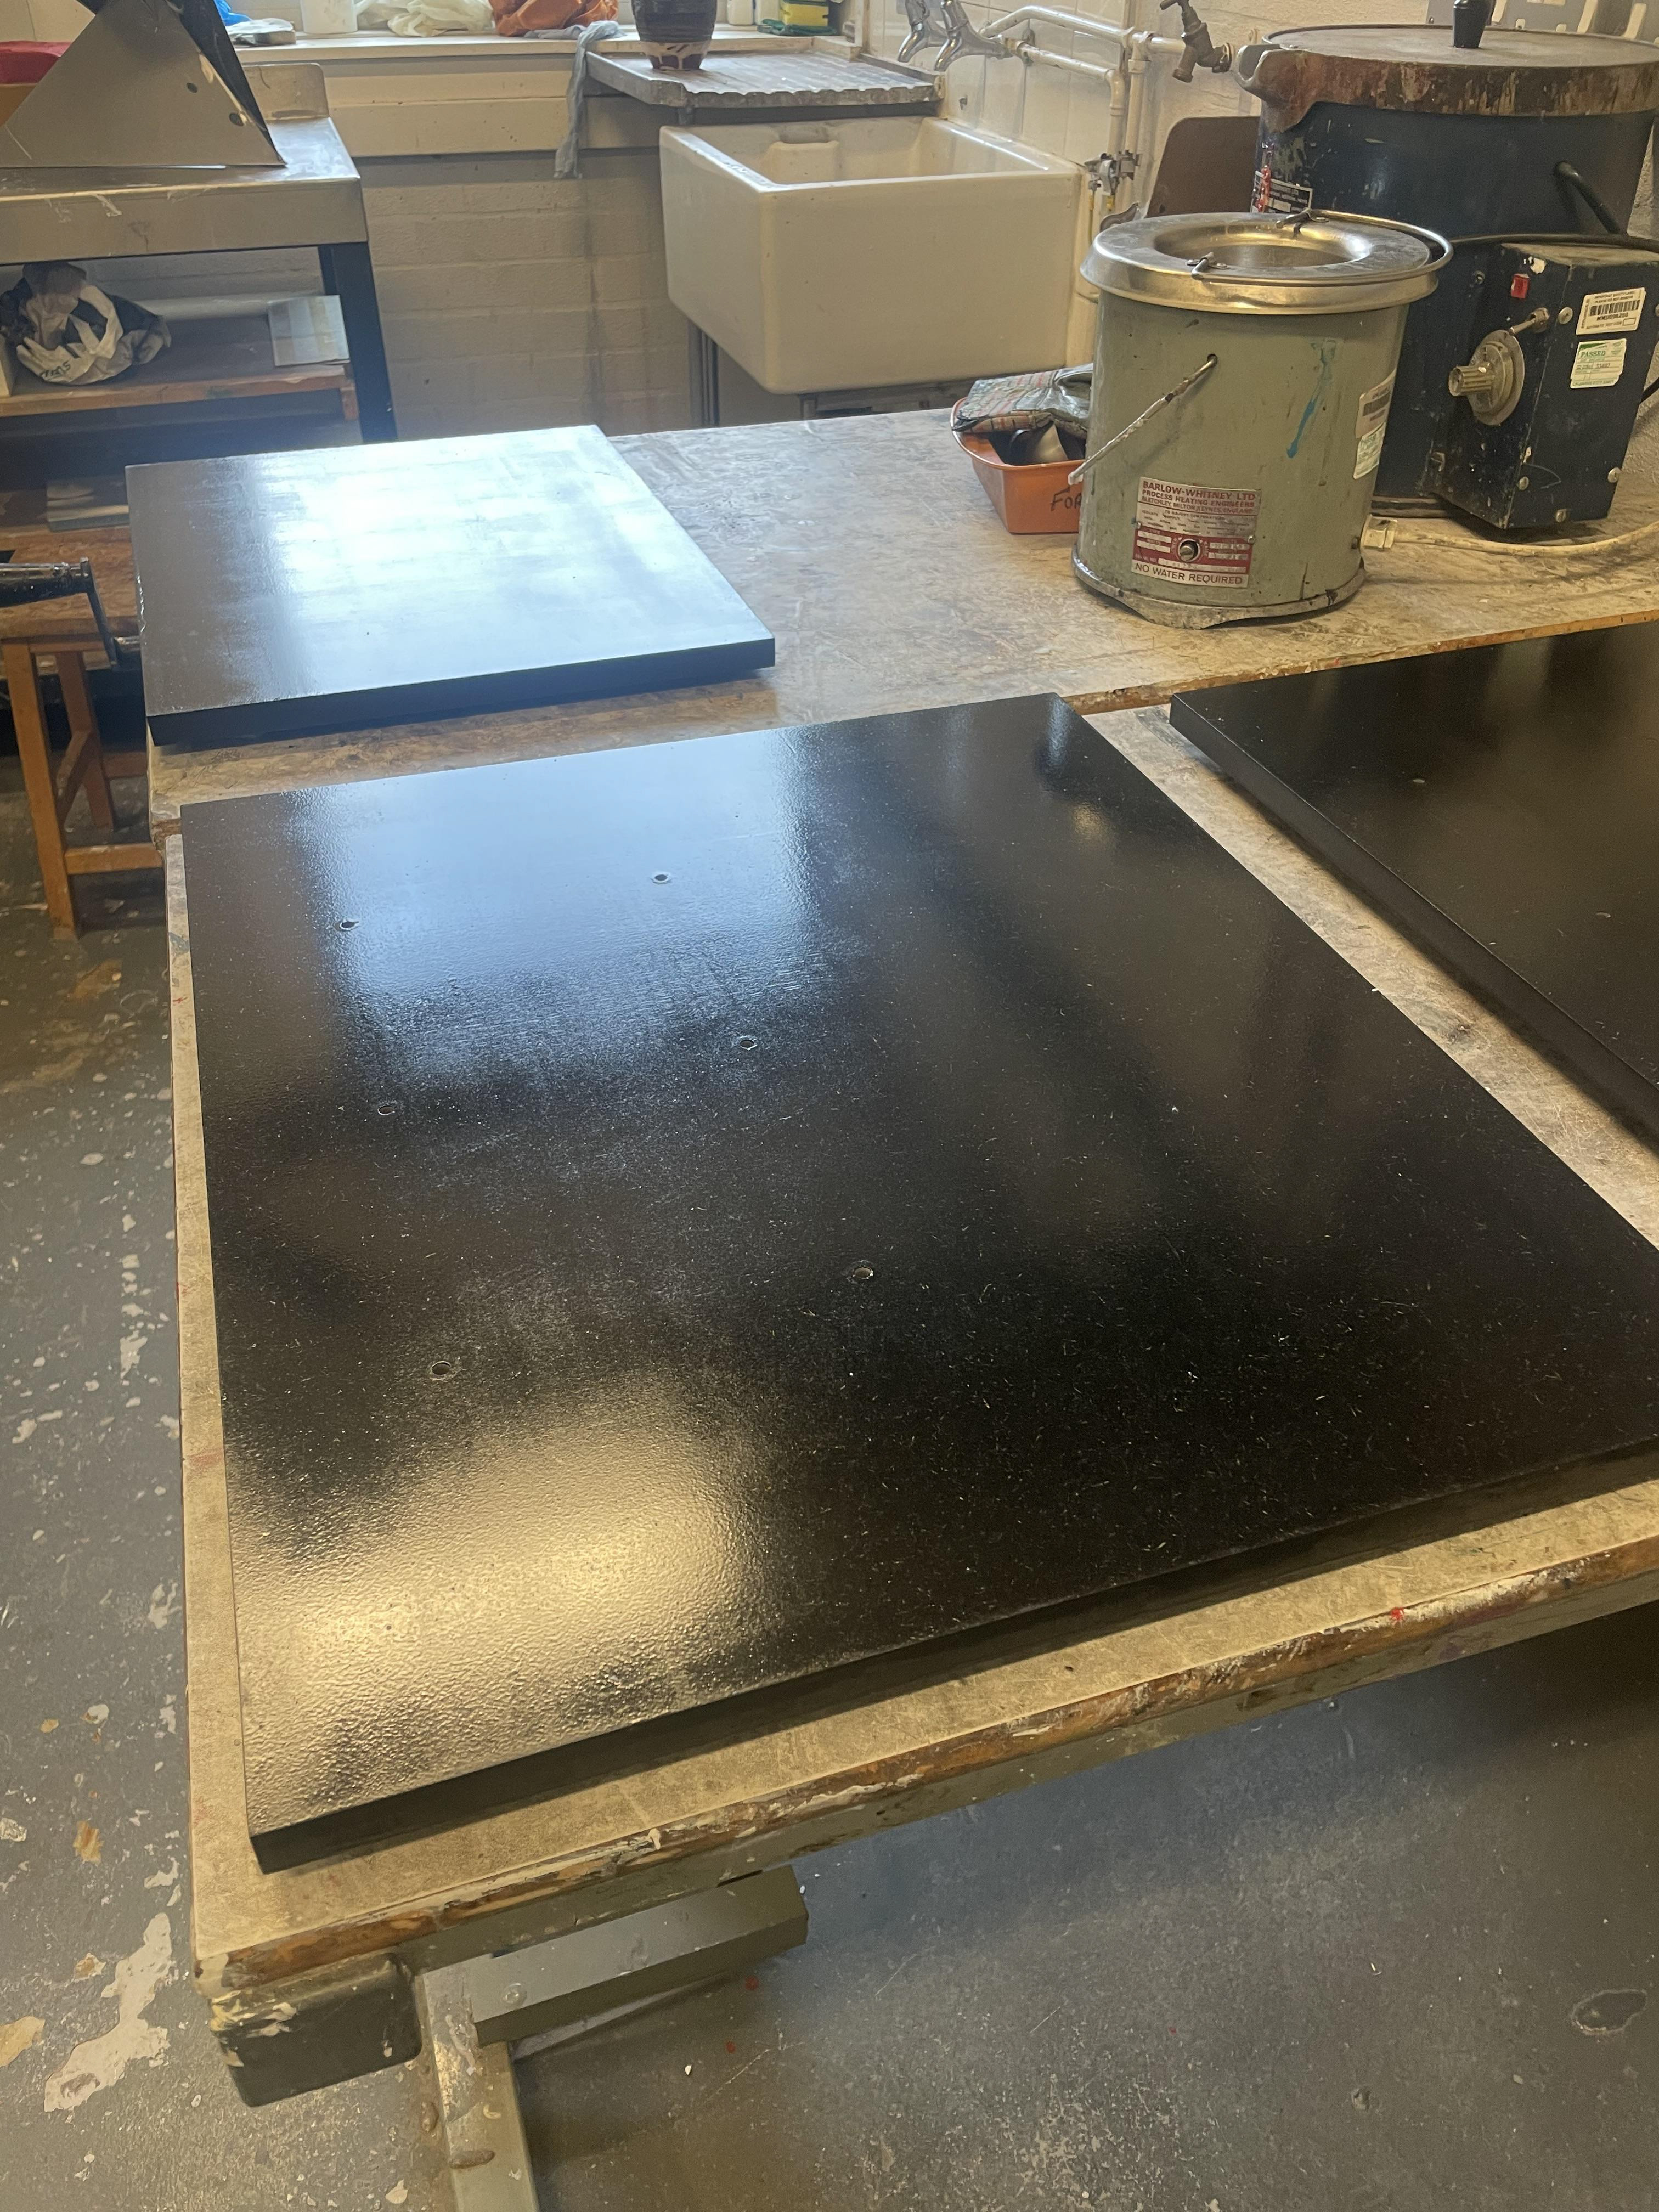
Above: drying panels, less streaking due to foam roller being used. - the uneven drying pattern caused me a lot of stress but this was caused by not allowing the surface to dry long enough between coats. For future use of OSMO oil on Velchromat I've got to leave it a minimum of 12 hours between coats.
Below: rough around the edges for sure! these areas will need sanding back and finish reapplied before the degree show. it's quite possible that i might end up reapply finish to the whole piece.
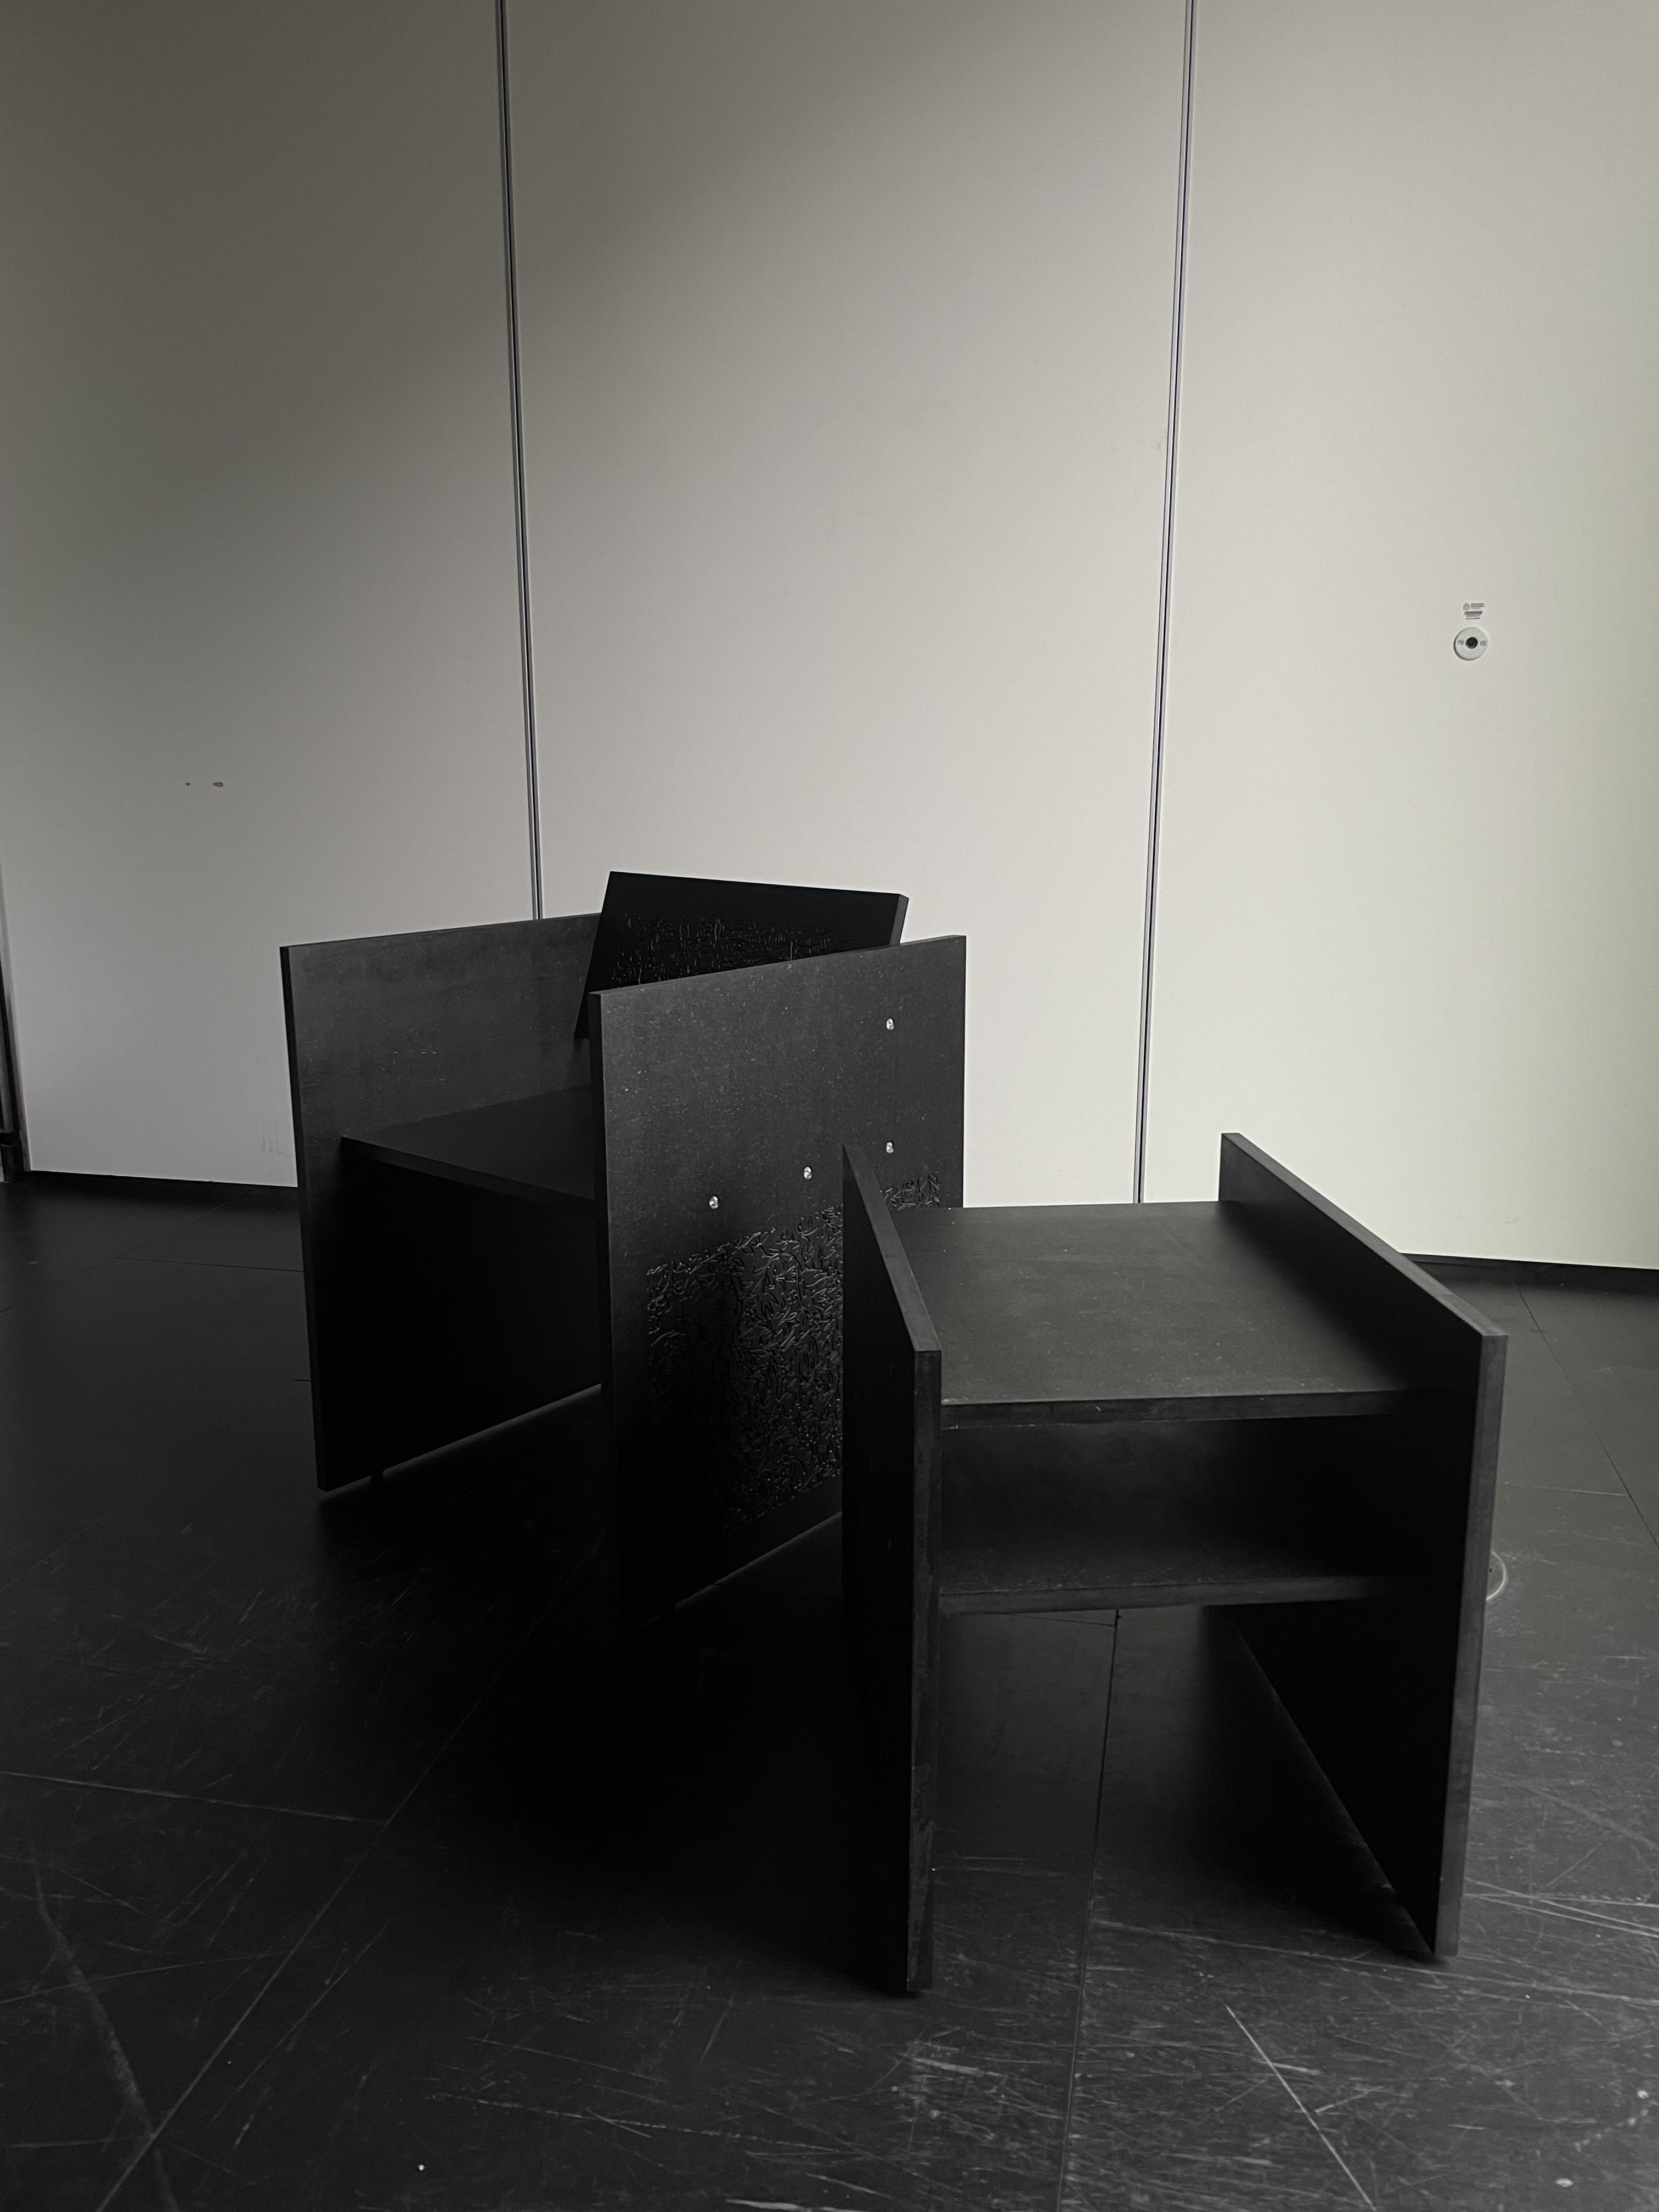
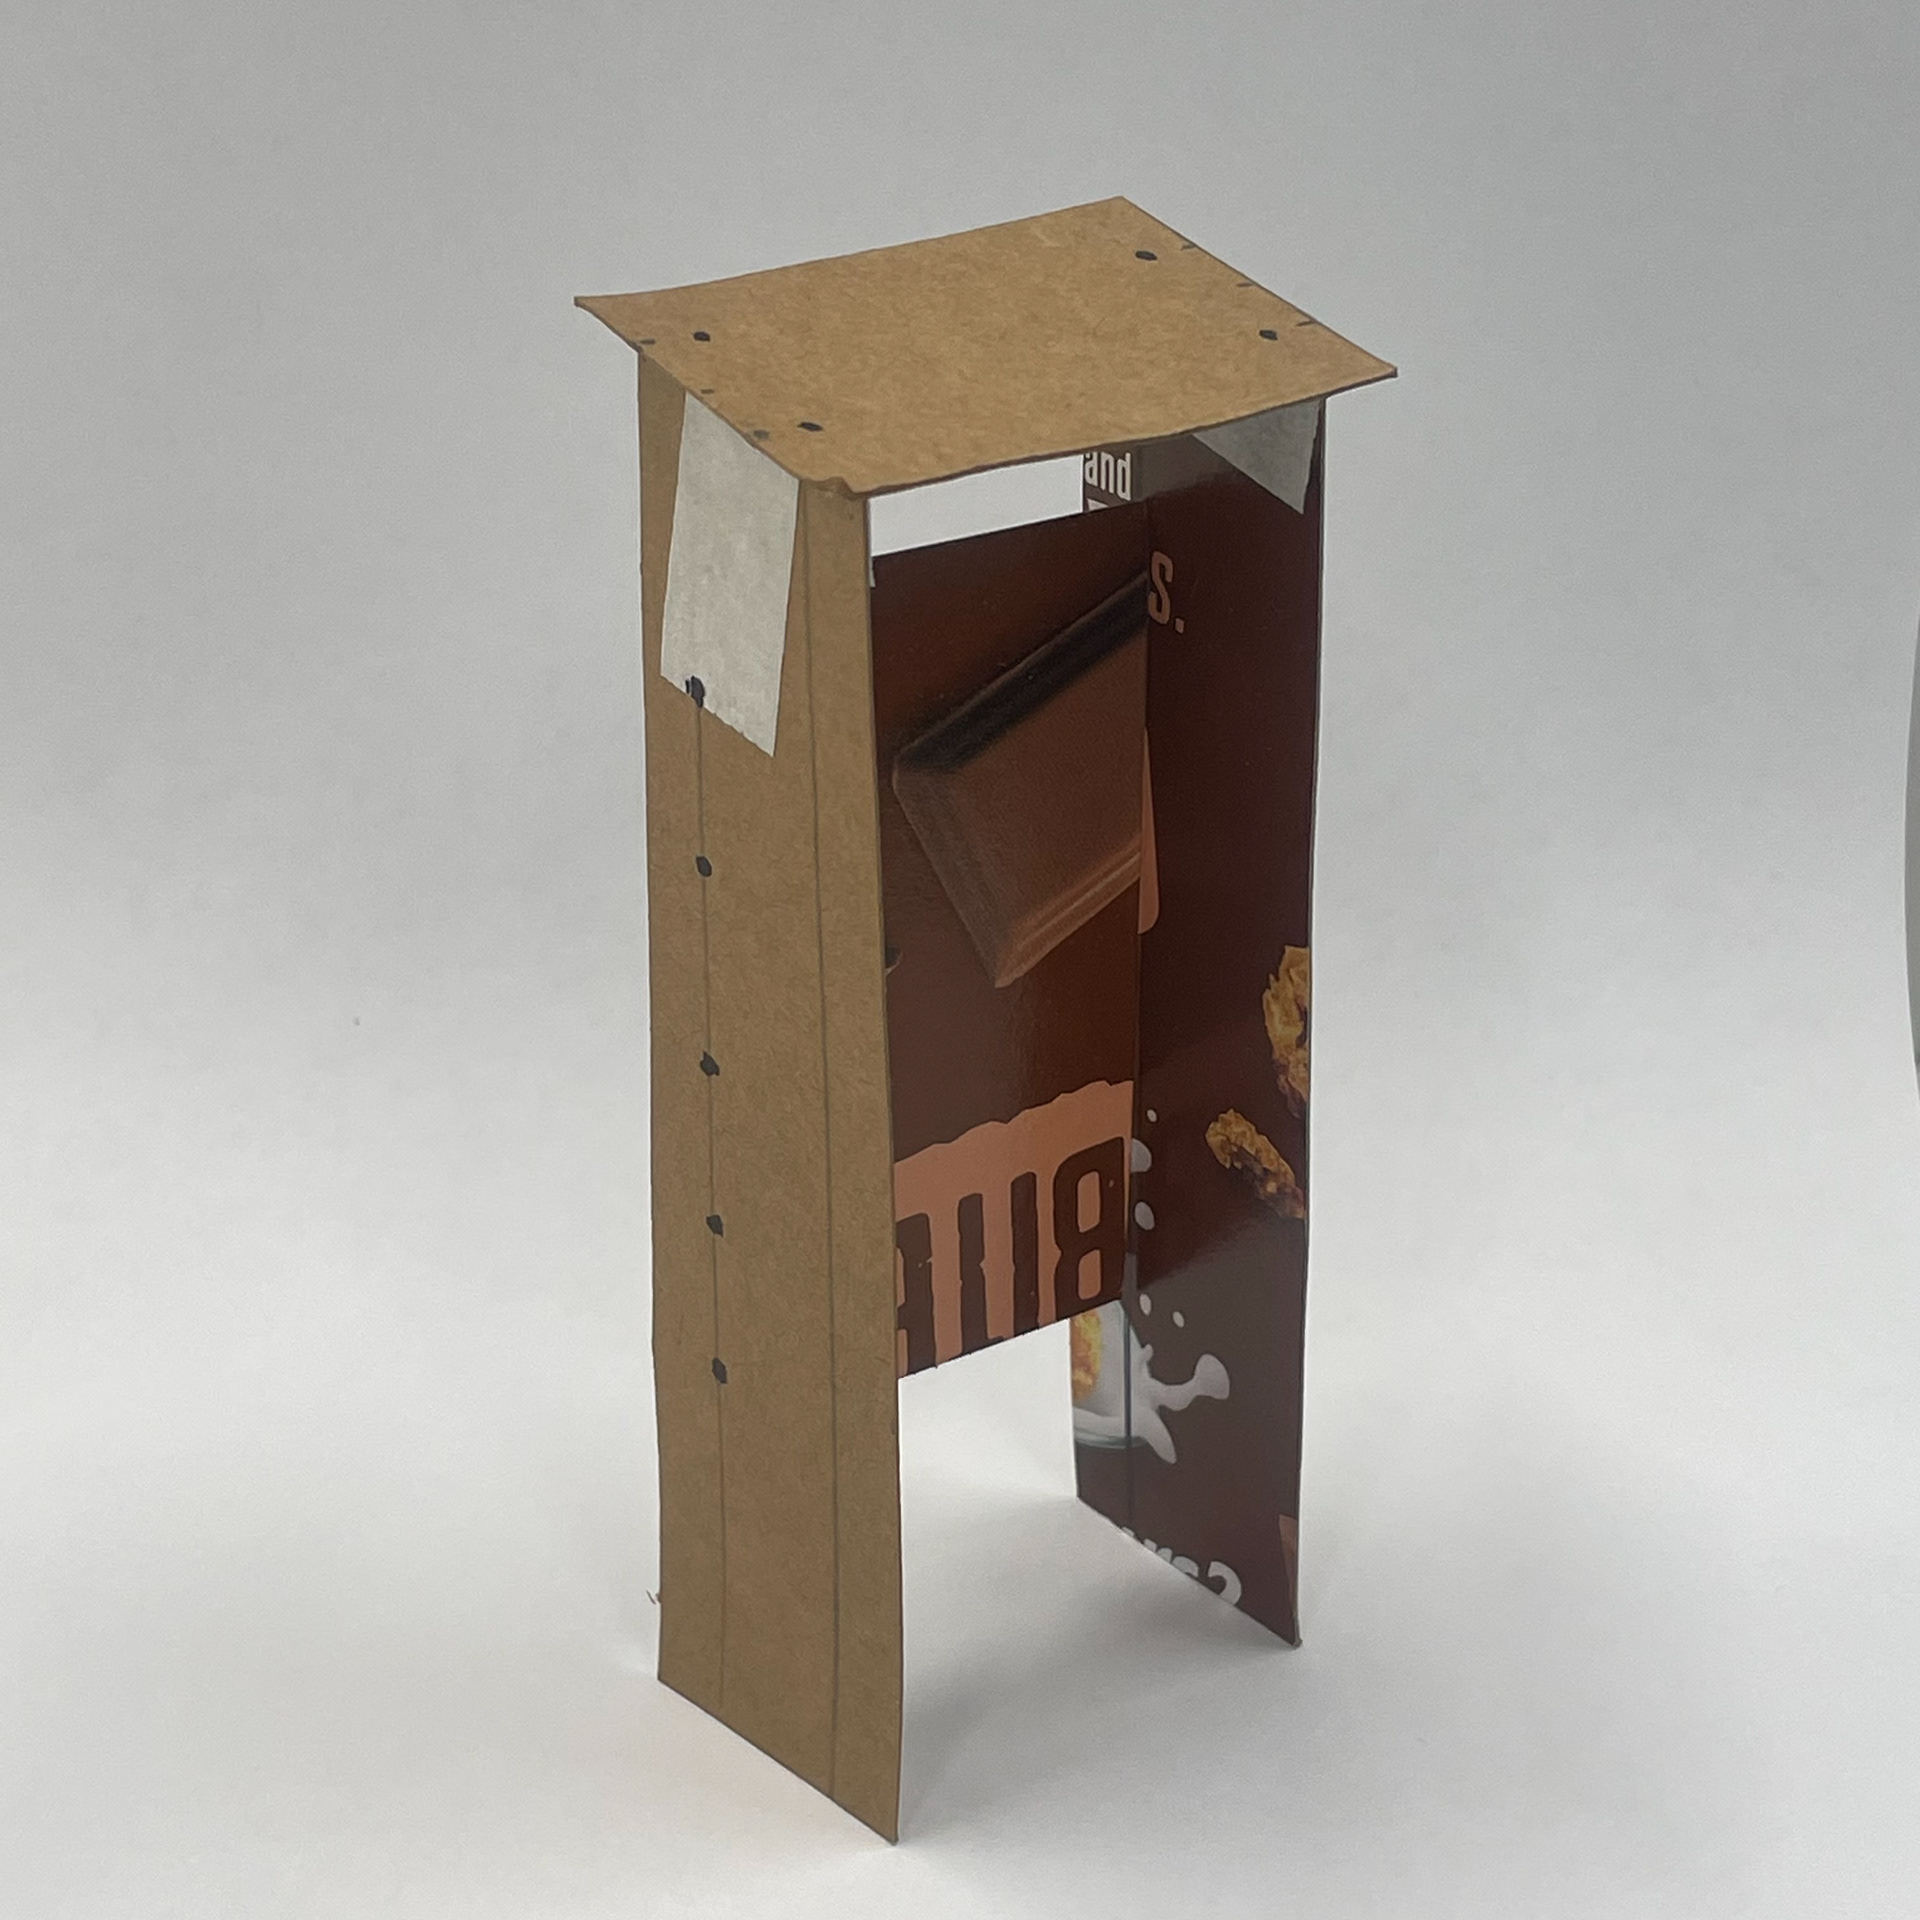
Above: Final pieces after being assembled for photoshoot! I was looking for a really simple look for the photos and didn't want to emphasise the bolts or engraving all to much. They're only subtly hinted at in the photos and reveal themselves the longer someone looks at them. The images can be found on the Curated section for Synthesis and Resolution along with my context video and critical reflection.
Below: Submission for marking.
Below